JavaScript control add-in allows custom controls and visual elements for displaying and modifying data way beyond what you can accomplish with standard Dynamics NAV / 365 Business Central framework. While .NET development is dropped in Dynamics 365 Business Central extensions for web, JavaScript steps up to take its place. In this article, we will go step by step with increasing complexity on the basics of Dynamics 365 Business Central JavaScript add-in.
Dynamics 365 Business Central JavaScript control add-in setup
Preparations:
- Working Dynamics 365 Business Central 15 Wave 2 database
- Visual studio code (VSC) project, with symbols, already downloaded.
- Relevant Extensions will be used:
- AL language
- AL variable helper
- Waldo’s CRS AL Language Extension
Files and folders
We will start by creating folders to manage our extension:
- ControlAddin;
- JsScript;
- Pages;
- Stylesheet.
After the folder is created, we will start by creating our control add-in setup. Create control add-in “SPLN Demo”. It can be done by using snippet tcontroladdin. After that you will have something like that:
[php]
controladdin “SPLN Demo”
{
RequestedHeight = 300;
MinimumHeight = 300;
MaximumHeight = 300;
RequestedWidth = 700;
MinimumWidth = 700;
MaximumWidth = 700;
VerticalStretch = true;
VerticalShrink = true;
HorizontalStretch = true;
HorizontalShrink = true;
Scripts =
‘script1.js’,
‘script2.js’;
StyleSheets =
‘style.css’;
StartupScript = ‘startupScript.js’;
RecreateScript =’recreateScript.js’;
RefreshScript = ‘refreshScript.js’;
Images =
‘image1.png’,
‘image2.png’;
event MyEvent()
procedure MyProcedure()
}
[/php]
Leave it like that for a bit and create 2 files in the JsScript folder: Start.js and Demo.js. Leave them empty for now.
In StyleSheet folder create StyleSheet.css with code:
[php]
body{
background-color: cornflowerblue;
}
[/php]
Finally, add our files to control add-in links, comment out (or delete) unneeded parts. Test how add-in looks with different configurations. We will stick to this one:
[php]
controladdin “SPLN Demo”
{
MaximumHeight = 300;
VerticalStretch = true;
VerticalShrink = true;
HorizontalStretch = true;
HorizontalShrink = true;
Scripts = ‘JsScript/demo.js’;
StyleSheets = ‘StyleSheet/StyleSheet.css’;
StartupScript = ‘JsScript/Start.js’;
event MyEvent()
procedure MyProcedure()
[/php]
Adding JavaScript control add-in to page
Let’s create a page, add our add-in after the general fast tab, and publish our extension.
[php]
pageextension 69002 “SPLN Customer Card” extends “Customer Card”
{
layout
{
addafter(General)
{
usercontrol(“SPLN Demo”; “SPLN Demo”)
{
ApplicationArea = All;
}
}
}
}
[/php]
We have our cornflower blue extension, which does absolutely nothing apart looking good. Let’s improve that.
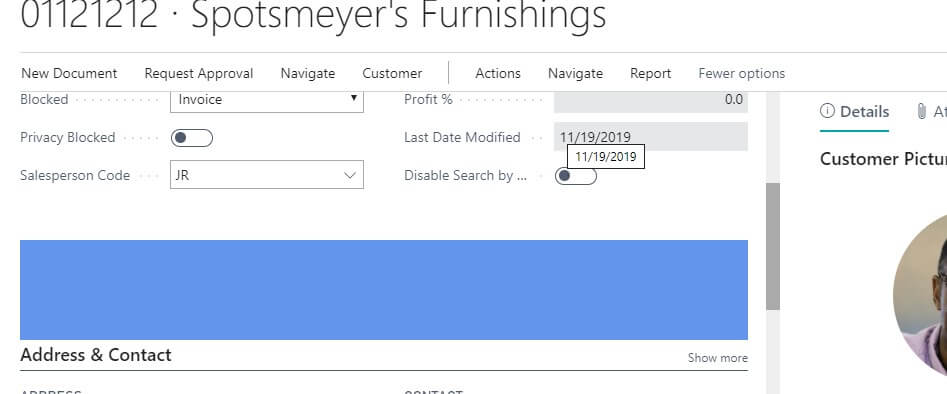
Creating add-in pagepart
Let’s put our control in a more convenient place – factbox area. Create page part with our add-in and put pagepart into page extension. Code should look like this:
[php]
page 69000 “SPLN WebPage”
{
PageType = CardPart;
SourceTable = Customer;
layout
{
area(Content)
{
usercontrol(“SPLN Demo”; “SPLN Demo”)
{
ApplicationArea = All;
}
}
}
}
[/php]
And modify page extension to:
[php]
pageextension 69001 “SPLN Customer Card” extends “Customer Card”
{
layout
{
addfirst(factboxes)
{
part(SPLNWebPage; “SPLN WebPage”)
{
SubPageLink = “No.” = field(“No.”);
Caption = ‘WebPage’;
ApplicationArea = All;
}
}
}
}
[/php]
Finally, remove maxheight from control add-in setup.
Registering Javascript control add-in events
Having just an empty rectangle is not very useful. Let’s create an event to know when the page with Javascript control add-in is loaded.
In order to do that we need to do 3 things:
- Create an event in the script file.
- Register event in control add-in.
- Subscribe to event.
Add event to Start.js. This script runs when Dynamics 365 Business Central Javascript control add-in is initialized and it is the earliest time we can access it.
So add to Start.js:
[php]
Microsoft.Dynamics.NAV.InvokeExtensibilityMethod(‘Ready’, ”);
[/php]
In control add-in:
[php]
event Ready()
[/php]
And subscribe to it in our page:
[php]
usercontrol(“SPLN Demo”; “SPLN Demo”)
{
ApplicationArea = All;
trigger Ready()
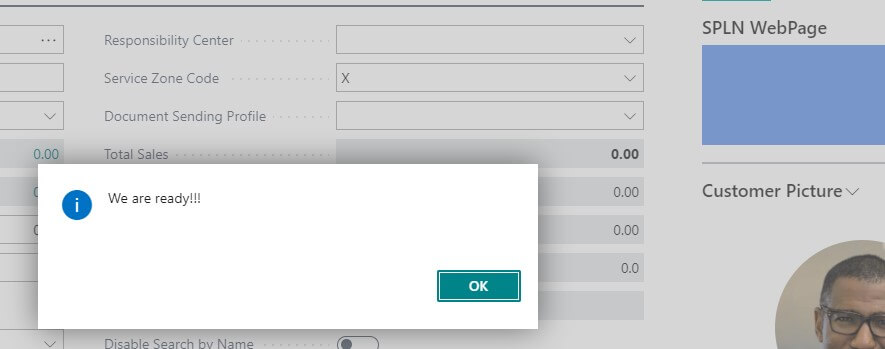
begin
Message(‘We are ready!!!’);
end;
}
[/php]
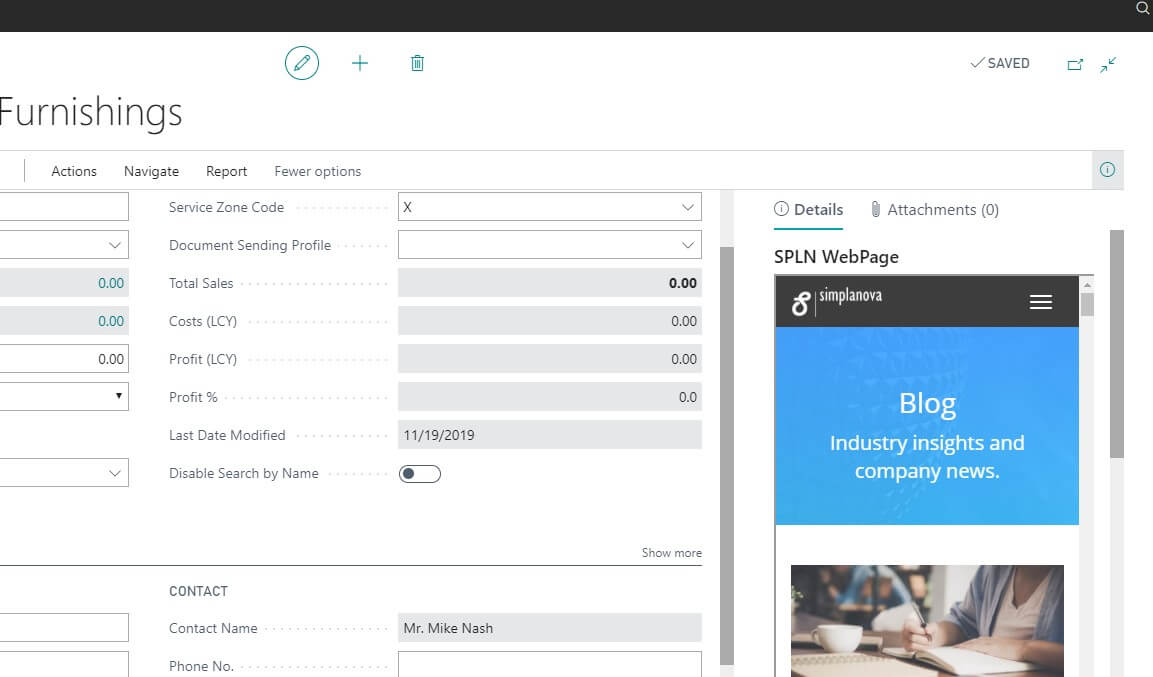
Embedding Home Page
Now that we created our control add-in, and confirmed that it is responding, let’s create something fun: let us embed our customer’s page into the card.
We will do that in 2 steps:
- Add iframe.
- Add a webpage to iframe.
To do that, modify demo.js with code:
[php]
function createIframe()
{
var placeholder = document.getElementById(‘controlAddIn’); //find a place
var webPage = document.createElement(‘iframe’); //create object
webPage.id = ‘webPage’; //set its parameters
webPage.height = ‘100%’; //set its parameters
webPage.width = ‘100%’; //set its parameters
placeholder.appendChild(webPage); //add object to place
}
function embedHomePage()
{
createIframe(); //run function to create
var webPage = document.getElementById(‘webPage’); //find our iframe
webPage.src = ‘https://simplanova.com/blog/’; //modify it’s parameters
}
[/php]
Do not forget to register and subscribe to the functions:
[php]
procedure embedHomePage() //on control add-in
[/php]
And on page extension:
[php]
trigger Ready()
begin
CurrPage.”SPLN Demo”.embedHomePage();
end;
[/php]
To make our page look a bit better, let’s replace
[php]
MaximumHeight = 300;
[/php]
with
[php]
RequestedHeight = 500;
[/php]
Try it out!
Sending information from Dynamics 365 Business Central with action
Of course, always loading the same page is not interesting: let’s add a dynamic Customer home page. Also, we don’t want the Customer’s home page would load every time, so let’s create action to load the Customer’s web page.
Comment out our Ready() trigger and add to our PagePart:
[php]
actions
{
area(Processing)
{
action(SPLNLoadHomePage)
{
Caption = ‘Load home page’;
ApplicationArea = All;
trigger OnAction()
begin
CurrPage.”SPLN Demo”.embedHomePage(Rec.”Home Page”);
end;
}
}
}
[/php]
Modify procedure with parameter:
[php]
procedure embedHomePage(homePage: Text)
[/php]
Then modify demo.js: add homepage, remove createIframe() call and move it to Start – we need only one frame, which we will modify instead of recreating a new one.
Now, demo.js looks like that:
[php]
function embedHomePage(homePage)
{
var webPage = document.getElementById(‘webPage’);
webPage.src = homePage;
}
[/php]
And Start.js looks:
[php]
Microsoft.Dynamics.NAV.InvokeExtensibilityMethod(‘Ready’, ”);
function createIframe()
{
var placeholder = document.getElementById(‘controlAddIn’);
var webPage = document.createElement(‘iframe’);
webPage.id = ‘webPage’;
webPage.height = ‘100%’;
webPage.width = ‘100%’;
placeholder.appendChild(webPage);
}
createIframe();
[/php]
Test it out!
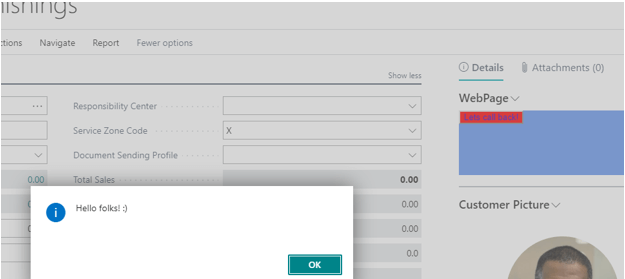
Finishing communication with NAV: create a button to call back
At this step, we will create a custom button in control add-in to call back to Dynamics 365 Business Central.
Create a function in demo.js to trigger event on button pressed.
[php]
function addButton(buttonName, callText)
{
var placeholder = document.getElementById(‘controlAddIn’);
var button = document.createElement(‘button’);
button.textContent = buttonName;
button.onclick = function() {
Microsoft.Dynamics.NAV.InvokeExtensibilityMethod(‘ButtonPressed’, [callText]);
}
placeholder.appendChild(button);
}
[/php]
Update control-addin:
[php]
event Ready()
event ButtonPressed(buttonText: Text)
procedure addButton(ButtonName: Text; callText: Text)
[/php]
And update our Pagepart:
[php]
area(Content)
{
usercontrol(“SPLN Demo”; “SPLN Demo”)
{
ApplicationArea = All;
trigger Ready()
begin
CurrPage.”SPLN Demo”.addButton(‘Lets call back!’, ‘Hello folks! :)’);
end;
trigger ButtonPressed(buttonText: Text)
begin
Message(buttonText);
end;
}
[/php]
Make some modifications in style, feel free to use your parameters.
Update stylesheet.css with
[php]
button{
background-color: red;
color: blue;
text-decoration: chartreuse;
height: 100;
width: fit-content;
}
[/php]
And here we go:
From this step by step guide, we learned how to create control add-ins, improve them, and engage communication forth and back. There are lots of possibilities with embedding contents, communicating with other services, dynamically creating the needed content, buttons, and functionalities. Want to learn more? Check out our Dynamics 365 Business Central Extension Training, which is adjusted to individual requirements and preferences.