Last month we wrote about AL Code Management with GIT and how to set up it along with one additional tool named GitExtensions. This month we continue this series with the Remote repository with Azure DevOps and a short guide on how to use GIT in daily development. We hope you will have a good read!
Setup Remote Repository with Azure DevOps
So the first step for remote repository setup is to go here and press Start Free. Use your Microsoft account, and after login, you should see something similar to this window (pic. 1). It‘s a window for your first project creation. I created a project named Remote Repo Example, which is private and only visible for people with access to it.
Pic 1
Click continue, and you should see your project window. From here, you can control your features and bugs list, repositories, project settings, and a lot more.
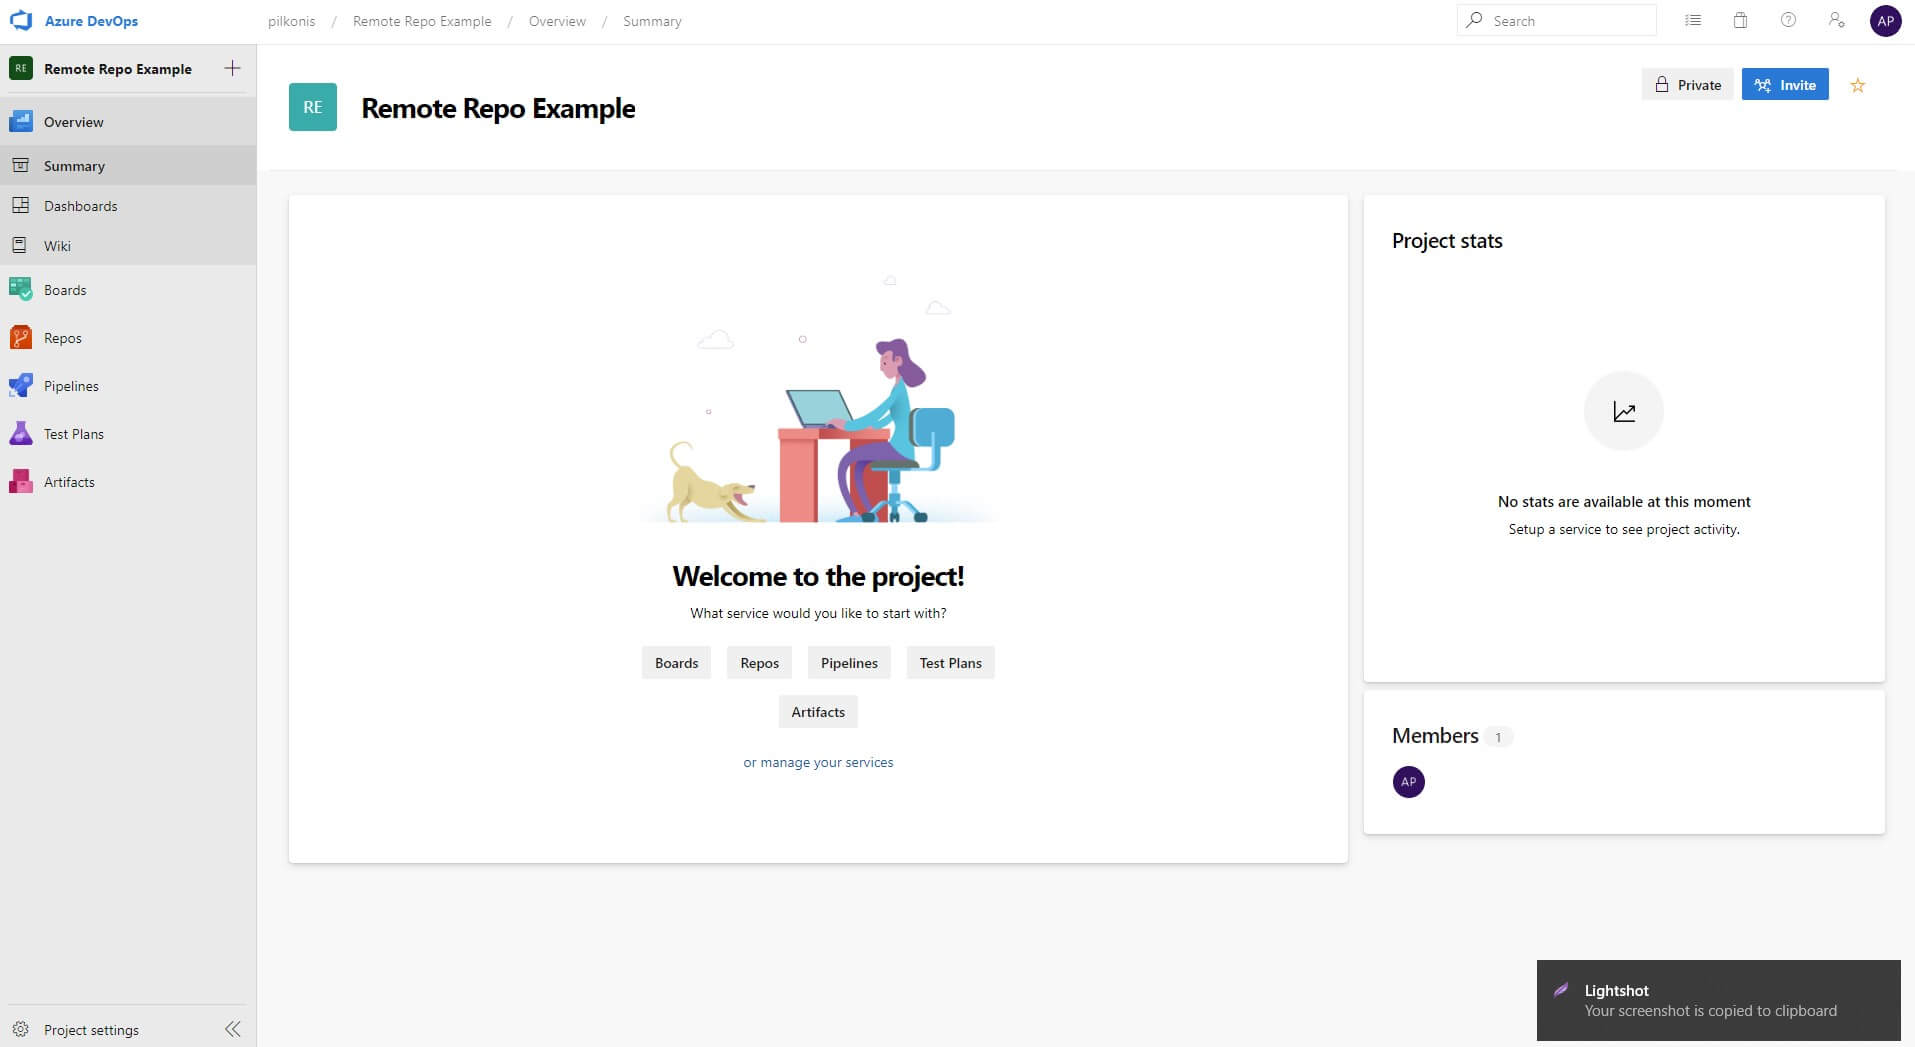
Pic. 2
If you click the Azure DevOps logo in the upper left corner, you could get to all projects menu, from where it‘s possible to create new projects and manage projects created before.
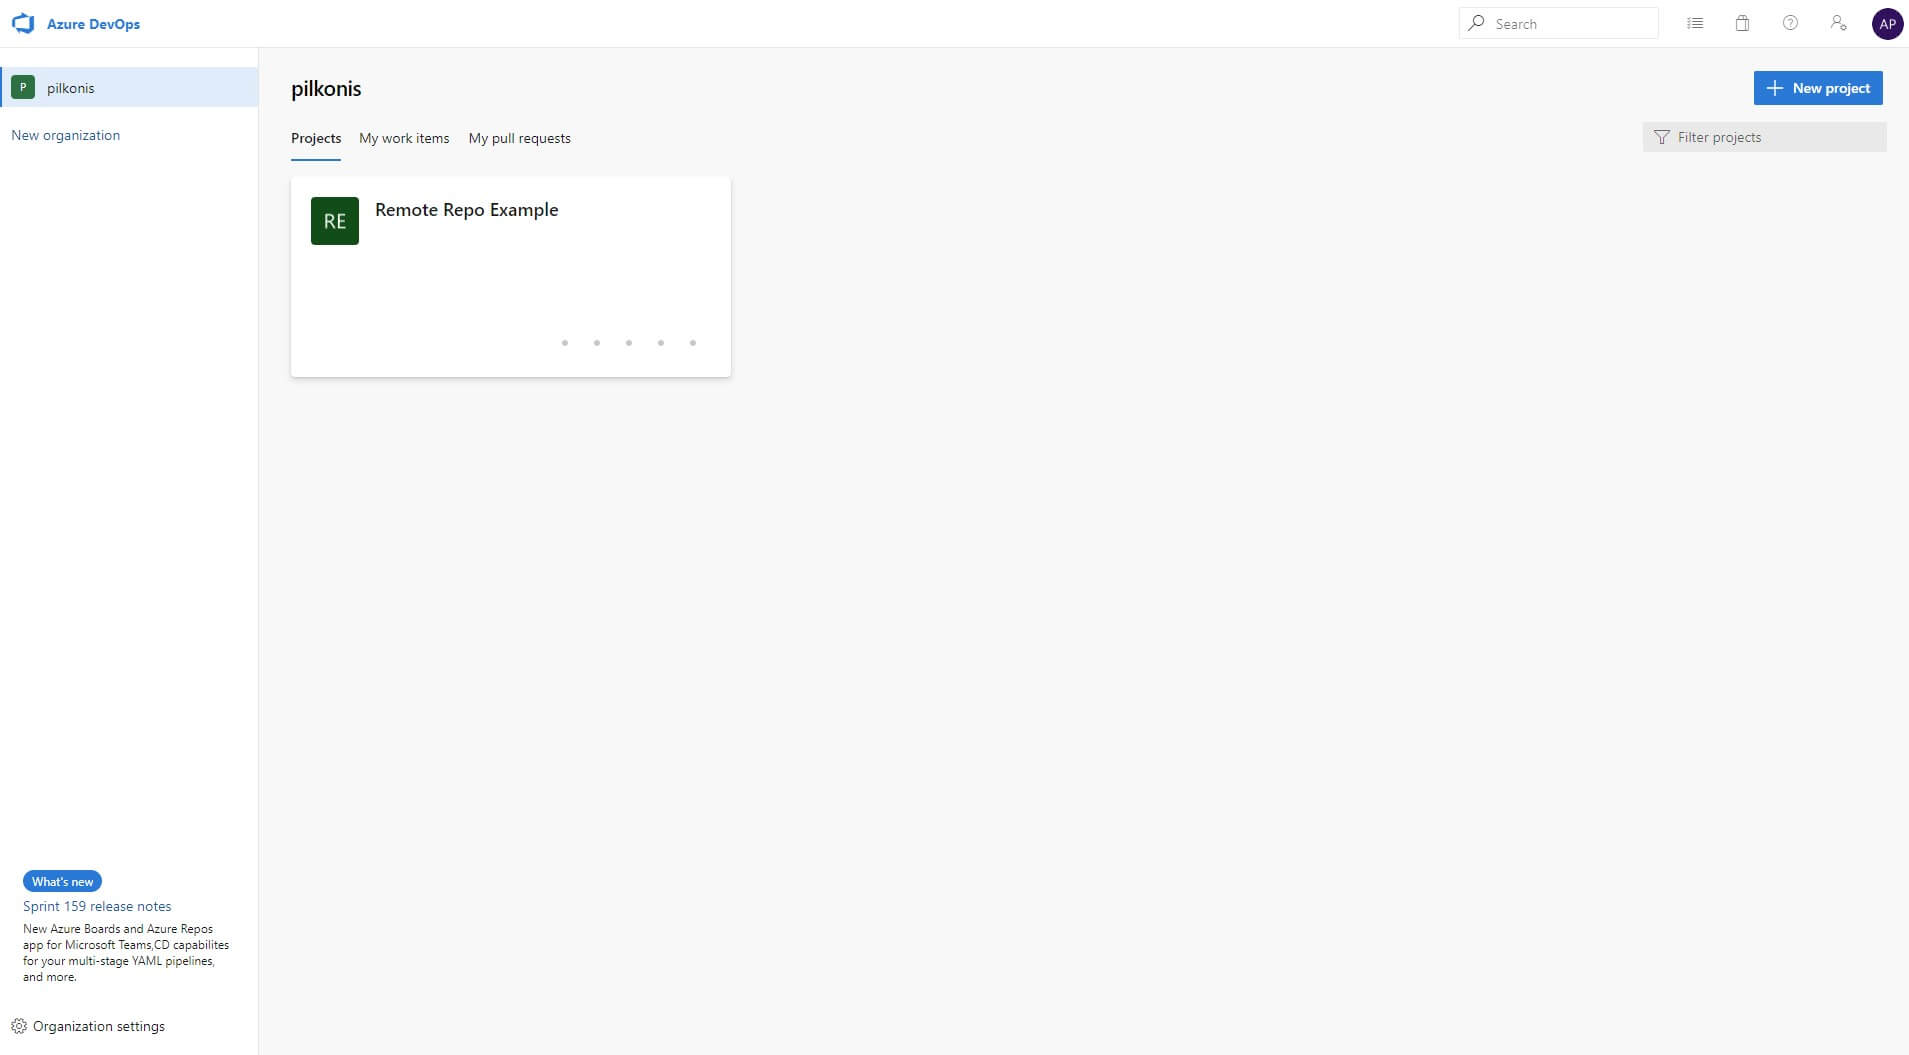
Pic. 3
For the upcoming steps, we need to get back to the previously created project. Click on the tab with your project name, get back to the Project control page, and from there, go to repos. As you can see, repo is empty, so probably the easiest way to put some files in repo is cloning it in VS code.
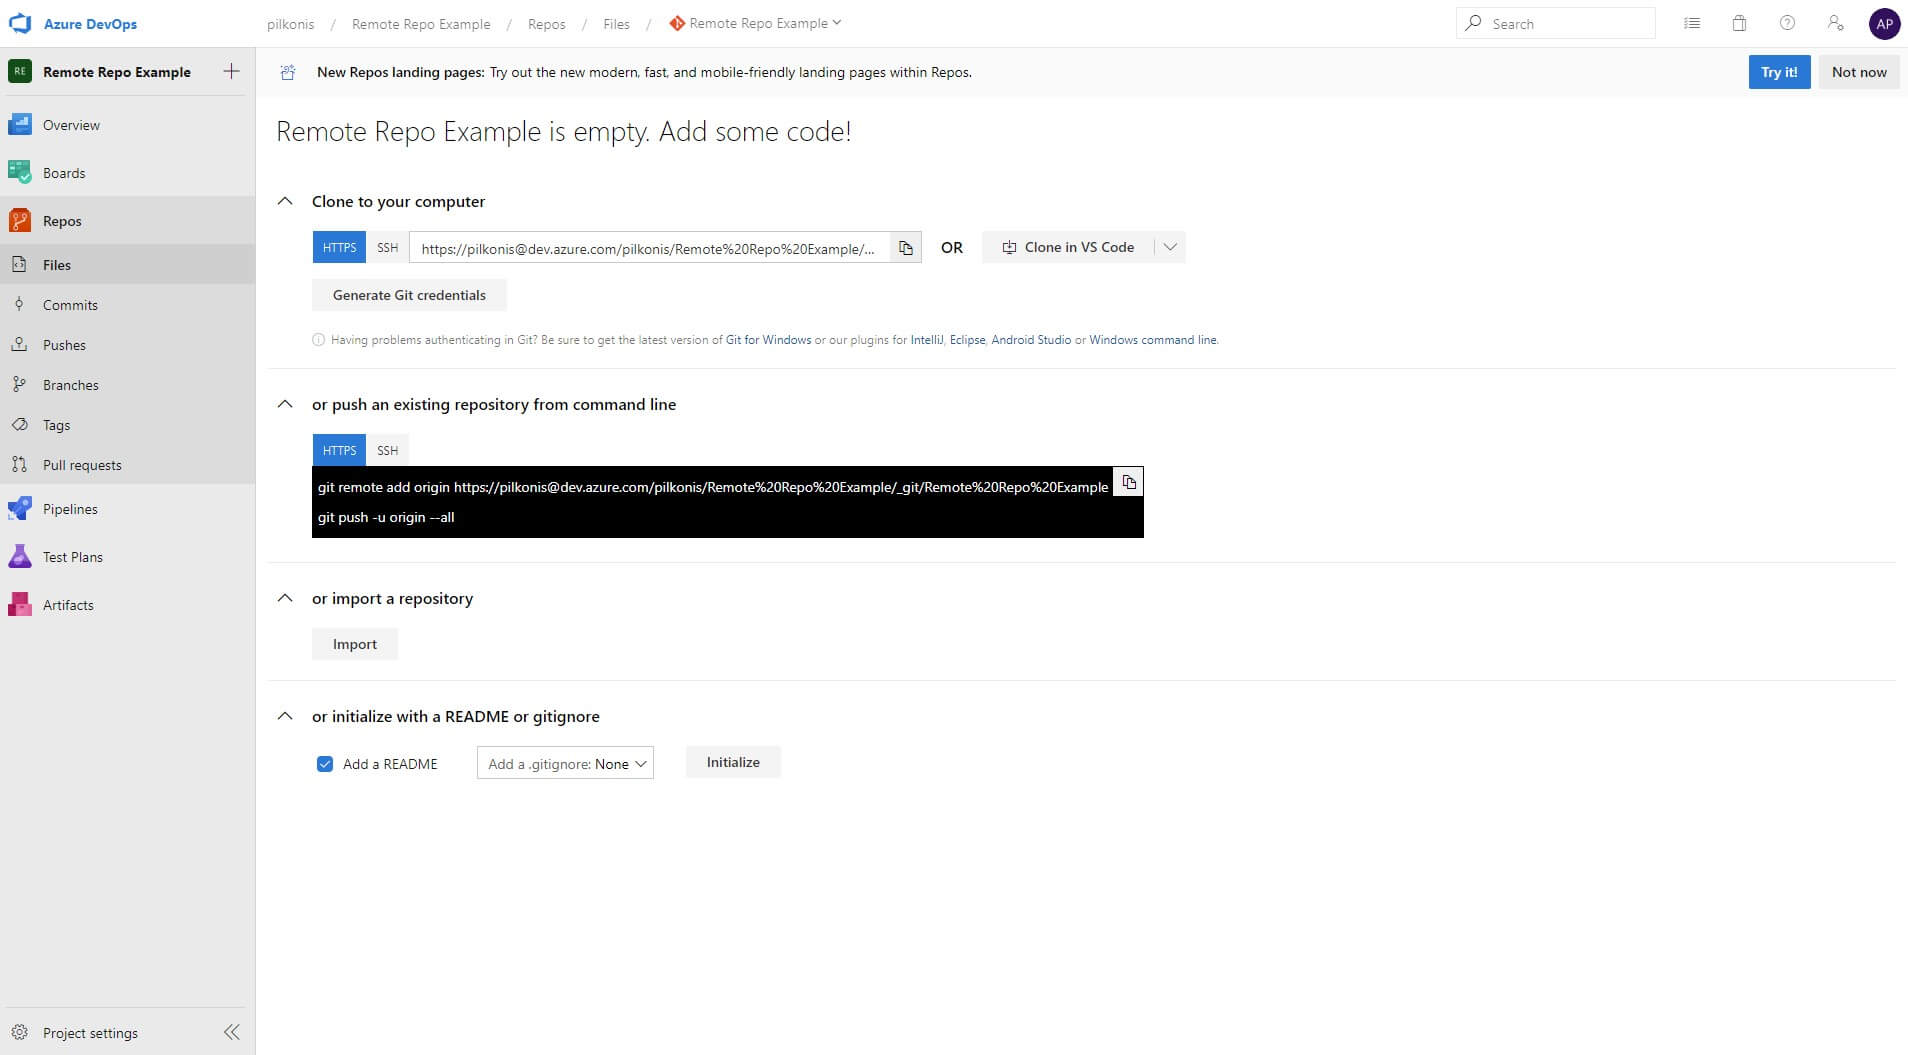
Pic. 4
Press Clone in Vs Code button, Vs Code should open and ask you for the login. Login with the same account as used in connecting to Azure DevOps. Finally, create a new folder for your repository.
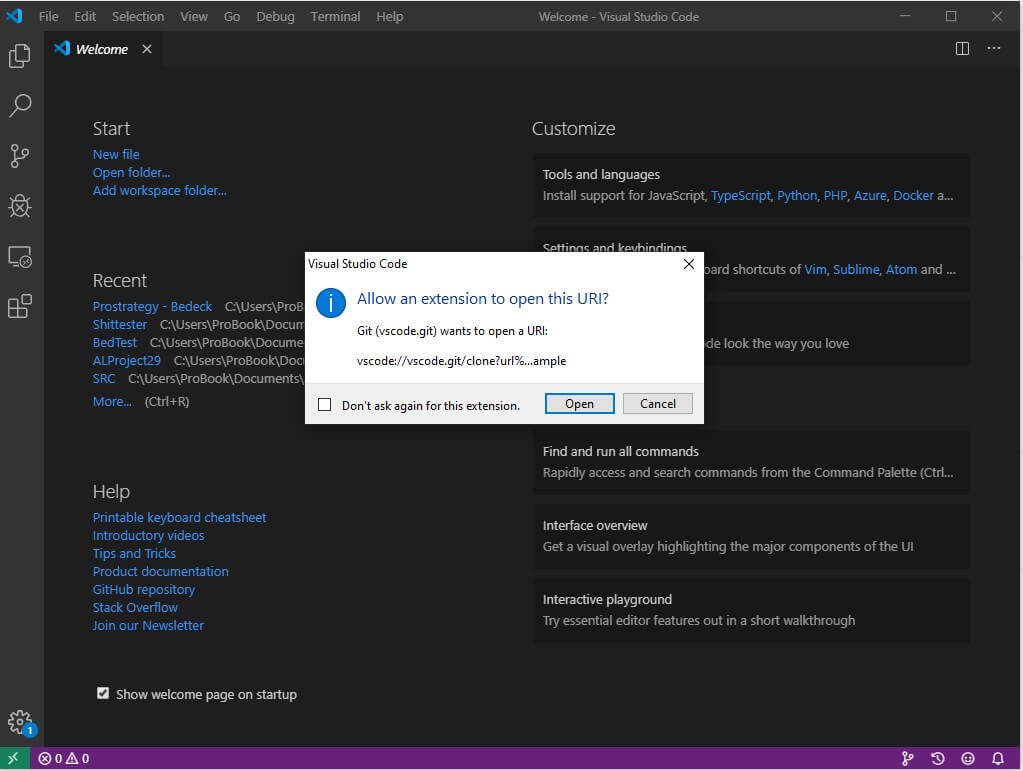
Pic. 5
If everything goes without error, your remote repository should be linked with your local repository. Also, a window (as shown in picture 6) should appear. Open your cloned repository, and put some files in it. For example, I created a new AL project in a new repository.

Pic 6.
After you put some files in the repository, it’s time for your first commit to the remote repository. Stage your changes for commit, write its message, and press Commit & Push.
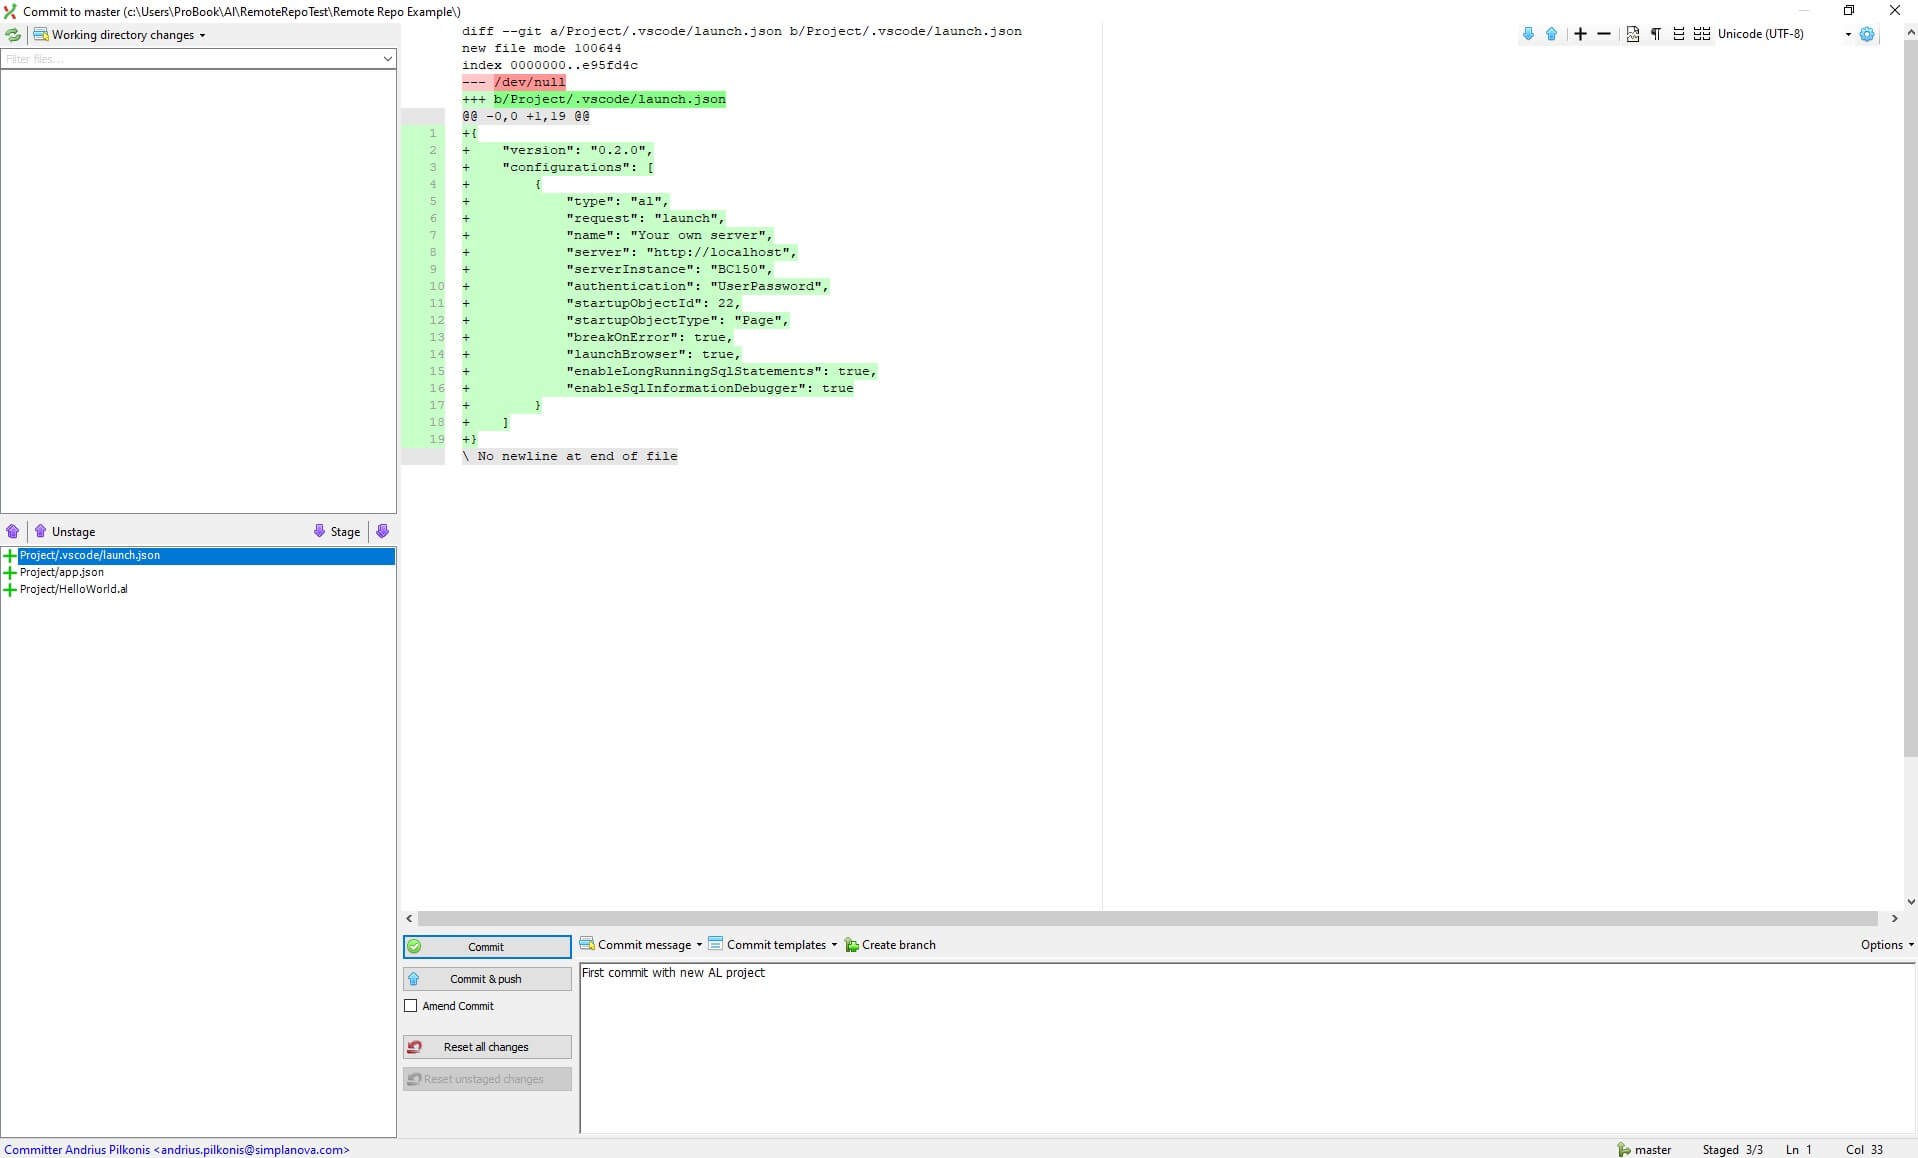
Pic. 7
You could check your changes in Azure DevOps. Just go back to your Project Control page, and again, go to repos. In files, you should see objects that are staged in the latest commit.

Pic. 8
Don’t forget to set up your .gitignore file as early as possible. This file is necessary to prevent some files from committing to the remote repository. For example, you don’t want to commit launch.json file, because every developer could have different setups, and on every pull request, you need to merge them manually. You could setup .gitignore from GitExtensions. Just go to Repository> Edit .gitignore.
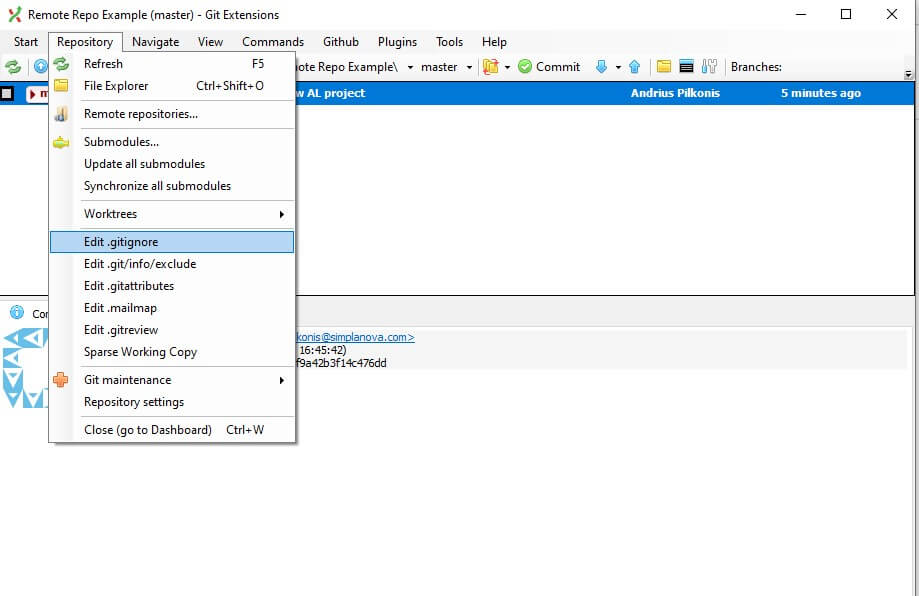
Pic. 9
In this example, you can see GitExtensions developers prepared a couple of typical examples of syntax under .gitignore. I set up my git to ignore launch.json and *.app files. So that means, that my launch.json and symbols with built packages never goes to the remote repository.
Basic rules you should follow
- Never develop in the master branch;
- Try to keep up with the newest master branch;
- Do commits, it‘s like your save point, and you want to have fuse if you screw up;
- Don‘t get mad with commits, do not create a commit for every new line, except your change is from one line;
- If you are not the only developer in the team, one or even two developers should check pull request before merging it to master;
- Do not commit binary files, GIT is for text files management, not binary, and it‘s pain in the ass to merge binary files;
- Keep commit messages short, but informative;
- Create a branch for every new task and bug, it takes seconds, but if you need to revert change or blame someone for the bad fix, good history saves hours;
- Commit only formatted code;
- The man which gets merge conflict should fix merge conflict;
- If you have a giant modification, do intermediate pull requests, because the giant change from one pull request could create merging problems for all team.
We hope you find this month’s article on Azure DevOps useful. If you are interested in how to set up GIT and GitExtensions, we discussed it in detail here. Also, if you feel that you need a more in-depth explanation and guiding on AL Code Management with GIT, Azure DevOps or any other Extensions topic, don’t hesitate to fill in the training form below, or find more info on our Dynamics 365 Business Central Extenstion Training page.