Probably most of you heard about AL code management with GIT, which is one of the most popular tools for this purpose. As you know, in the previous versions of NAV, you could use GIT, but in most cases, you needed some third party Addin. With AL and Visual studio code, we finally get native integration with GIT. In these two articles series, I‘m going to talk about how to start using these amazing tools. In the first article, I‘m going to talk about how to setup GIT and one additional tool named GitExtensions, in order to make GIT as easily understandable as possible. In the second article, I will talk about the Remote repository setup and a short guide on how to use GIT in daily development. So, if you are interested in AL code management with GIT, keep on reading.
GIT Setup
I assume you are new with the idea of source control and GIT usage in your project code managing, so where is the start point? If you guess that you need to setup something, you are right. If you open Visual studio code and go to the Source Control tab (ctrl + shift + g), you should see something similar to this:
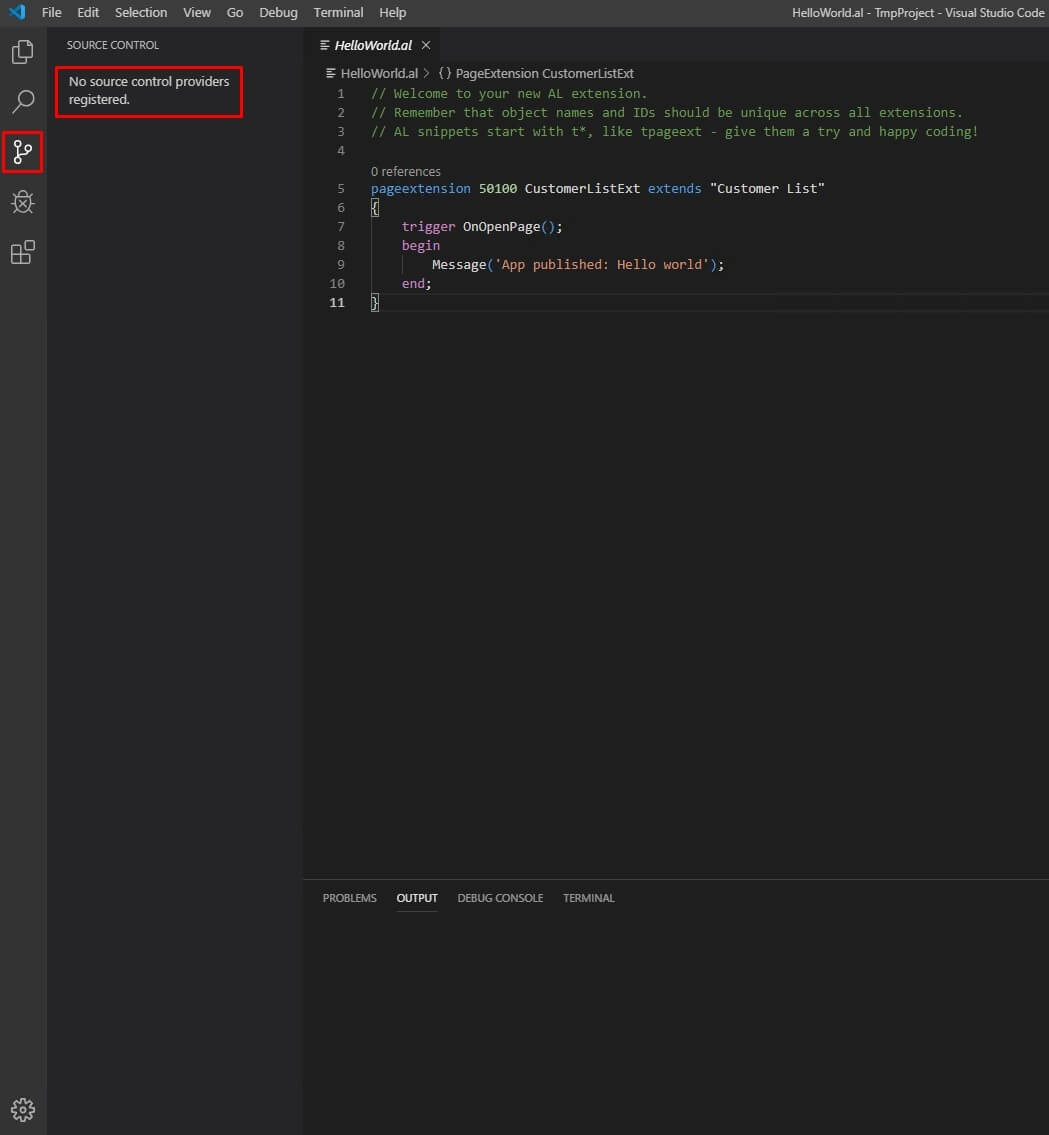
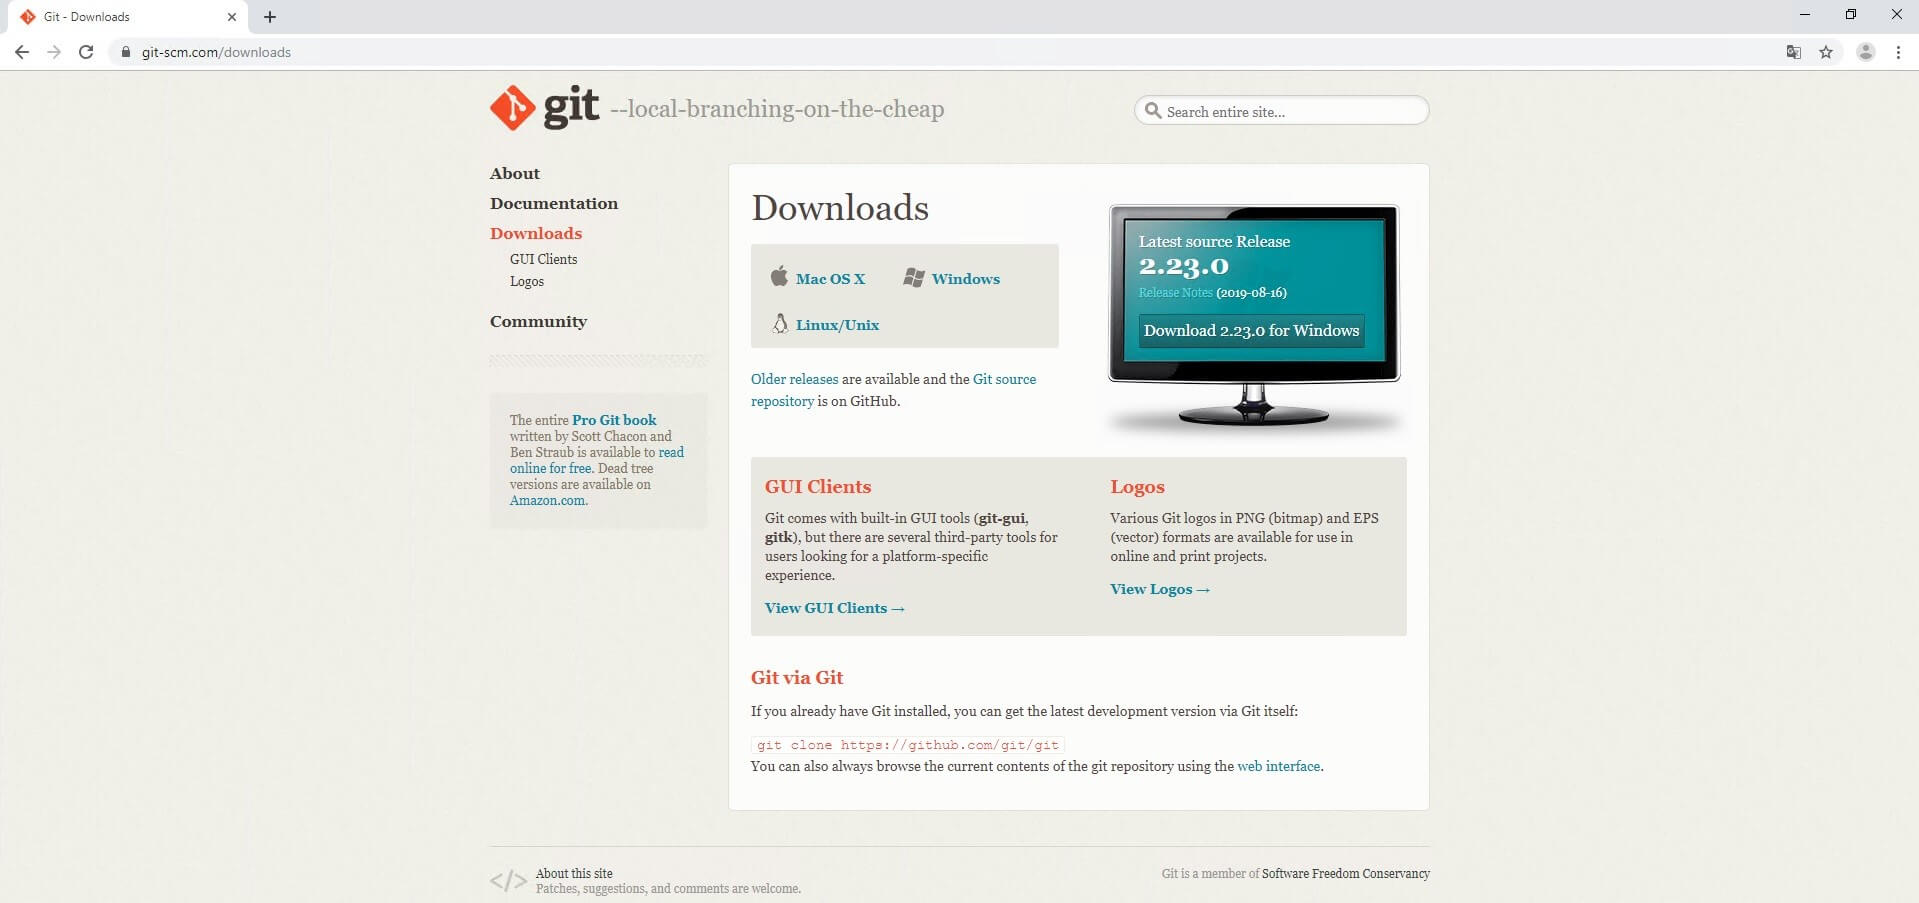
Vs code assuming that you are missing source control provider, so another question is: where to get it? You could go to the official GIT website and choose your OS here (I assume a big chunk of Business central using Windows) here.
We downloaded GIT and launched setup, so what‘s next? Good old agreement with terms and conditions, choosing setup directory and finally choosing of components. If this is your first time with GIT, I recommend staying with default options. If you want to be ahead of time, you can apply Check daily for GIT for Windows update option.
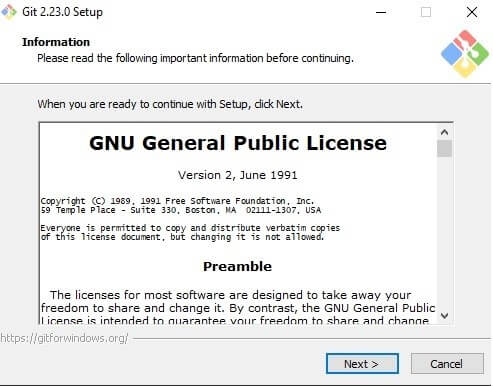
Pic. 3 Agreement with terms and conditions – AL Code Management with GIT
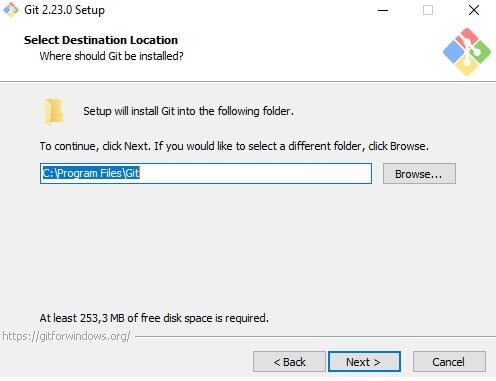
Pic. 4 Choosing directory – AL Code Management with GIT
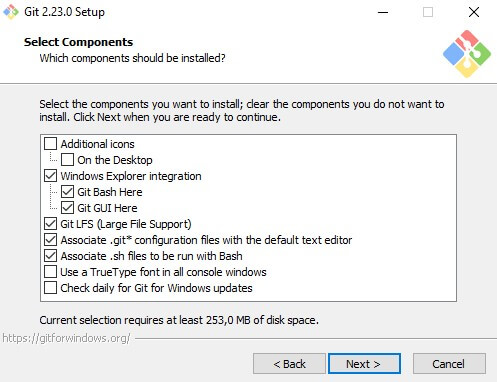
Pic. 5 Selecting components – AL Code Management with GIT
At this point, you probably clicking ‘next’ like crazy, when you see windows with red notes, saying that Vim can be hard to use. It‘s a default editor, and you shouldn‘t use it, but we like to live fast and dangerously, so leave Vim as a default Git editor.
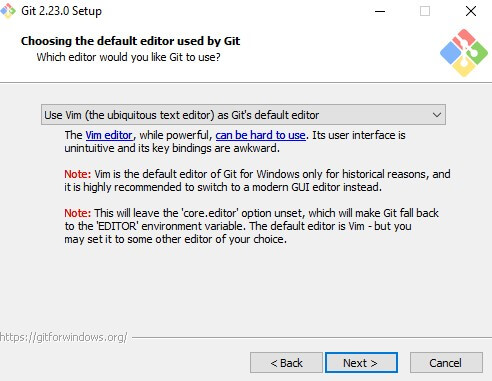
Pic. 6 Choosing default editor – AL Code Management with GIT
After that, there are three options for adjusting your PATH environment. We are going to stay with GIT from the command line and also from 3rd-party software.
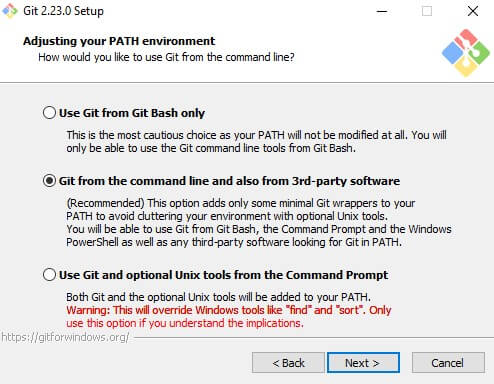
Pic. 7 Adjusting your PATH environment – AL Code Management with GIT
Now you need to choose which SSL/TLS library you would like GIT to use for HTTPS connections. I prefer the OpenSSL library, but for new users, the native Windows Secure channel is probably a better way, especially if you don‘t know how SSH works.

Pic. 8 Choosing HTTPS transport backend – AL Code Management with GIT
After choosing a library that GIT is going to use, now choose how GIT should treat endings in text files. I assume, that many Business Central developers are using Windows, so stay with the default option: Checkout Windows –style, commit Unix – style line endings.
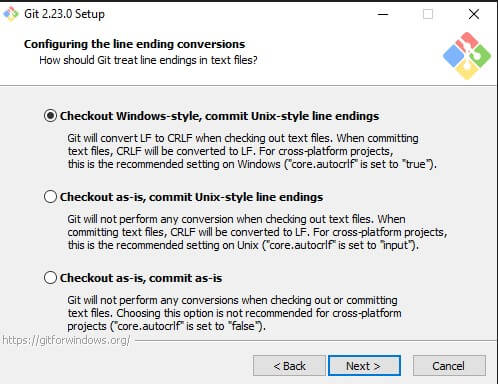
Pic. 9 Choosing how Git should treat line endings – AL Code Management with GIT
Now it‘s time to choose the default terminal for Git Bash. I‘m personally not a big fan of CMD, so I am staying with MinTTY. If you prefer CMD, go with Windows default console.

Pic. 10 Choosing default terminal emulator – AL Code Management with GIT
Finally, we get to the last step of GIT setup: Configuring extra options. I recommend staying with File system caching, and if you‘re going to use a remote repository, enable Git Credential Manager. Lastly, there is an additional option to Enable symbolic links, but we are not going to work in the command line, so leave this one unchecked.
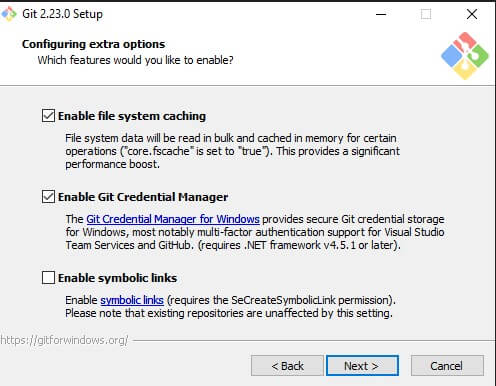
Pic. 11 Setting extra options – AL Code Management with GIT
Also, there are some experimental options, but for this example, we want to keep everything as simple as possible.
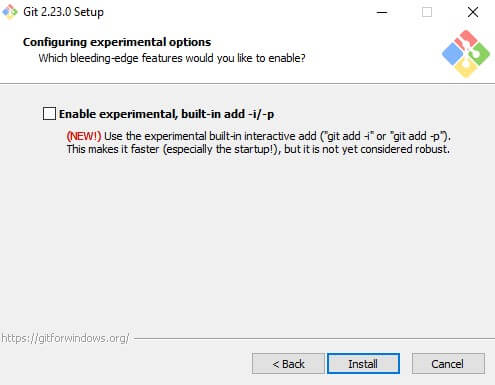
Pic. 12 Choosing experimental options – AL Code Management with GIT
After that, Git should start its setup routine and lead you to ‘Completing the Git Setup Wizzard’ window. Don‘t forget to restart your Visual studio code application.
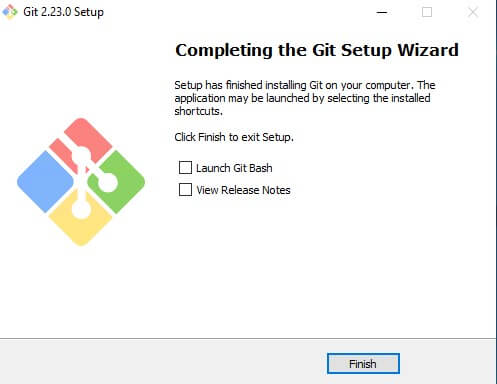
Pic. 13 The Final step of setup – AL Code Management with GIT
When you have installed Git, it‘s time to start using it. Firstly, get back to the Source control tab in Visual studio code and find cross symbol, then click it and choose a folder where you want to initialize Git repo.
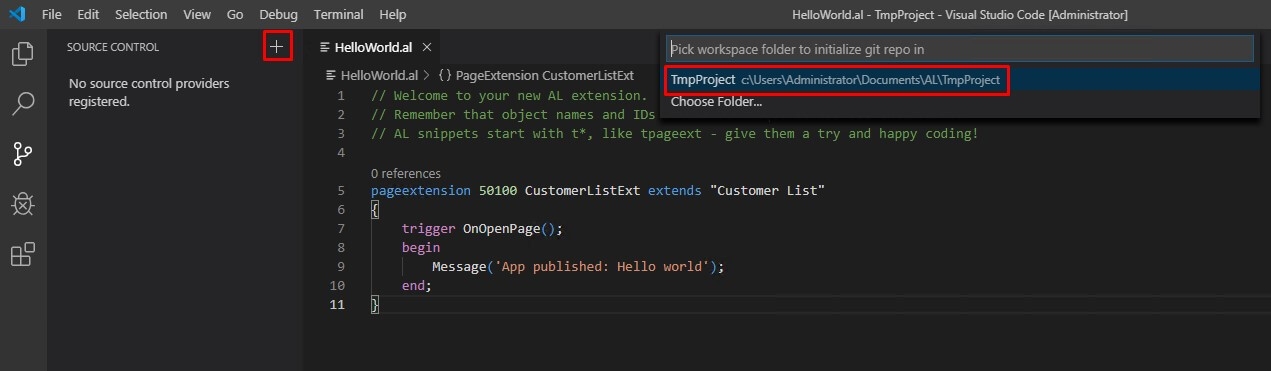
Pic. 14 Initializing Git repository – AL Code Management with GIT
Now you have a local GIT repository, and you can stage files that you want to commit.
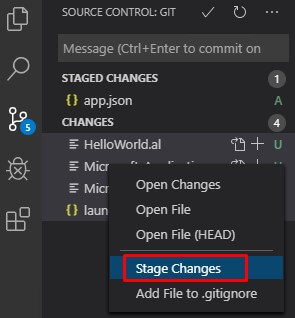
Pic. 15 Files stage – AL Code Management with GIT
Looks like sweet commit finally should be available, but there is still one additional step. In the Vs code terminal, you need to set your name and email. You could do it by using these commands: Git config –global user.email “Email”.
Git config –global user.name “Name”.

Pic. 16 Setup name and email – AL Code Management with GIT
Now for sure, you can commit your changes. You can do it from the source control page by entering your commit message (it should be short and meaningful), and clicking the Checkmark icon.
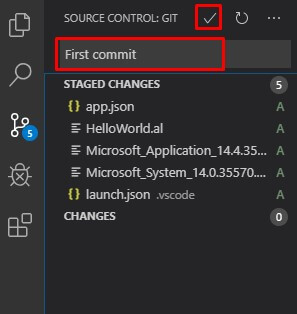
Pic. 17 Commit changes – AL Code Management with GIT
Also, there is an example of how changes look in the Source control page:

Pic. 18 File diff in Source control page – AL Code Management with GIT
Setup Gui for GIT
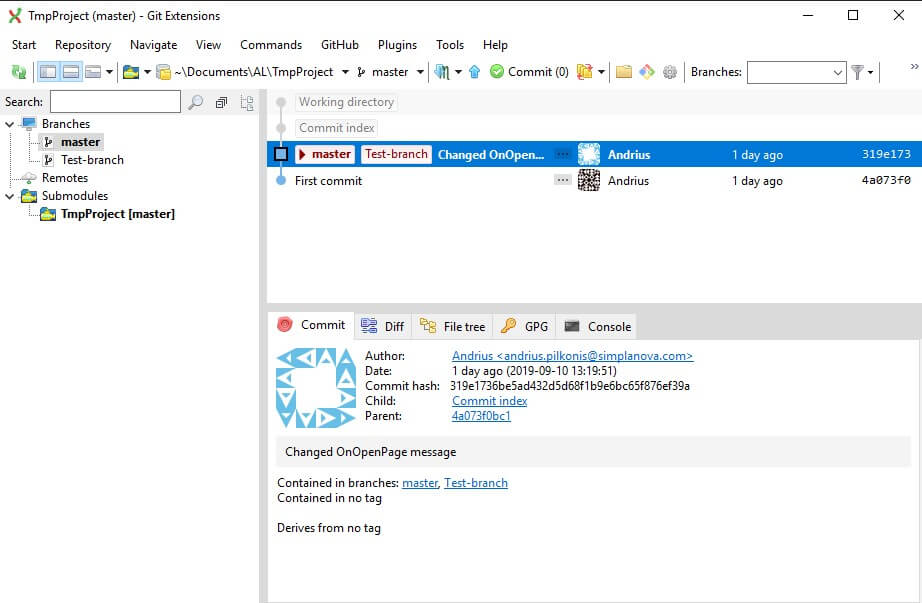
After the Git setup is completed, it’s time to learn how to use this tool for your AL Code Management with GIT project source control. We are trying to make things as simple as possible, and default Visual studio code environment for branches control is probably not the friendliest way to start dealing with GIT. So I want to introduce one tool that should help you better understand how your source code management flow is going.
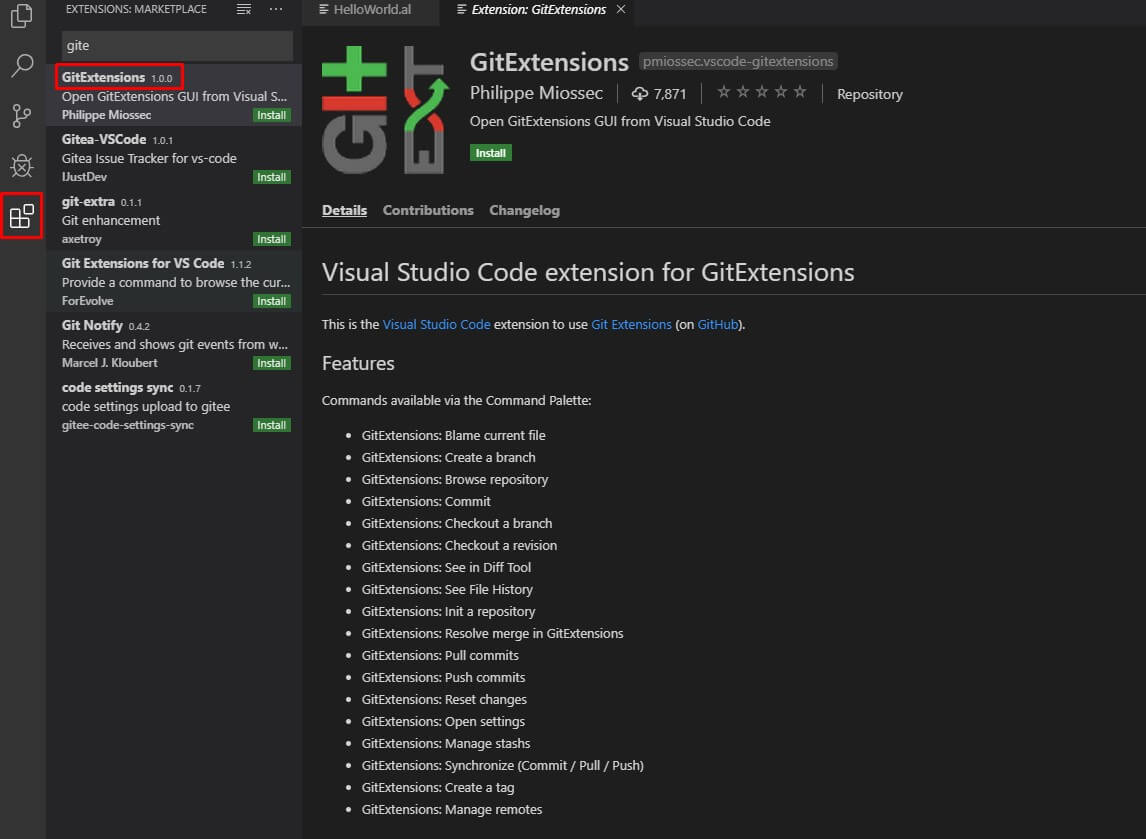
Step 1. Turn on Visual studio code, and go to Extensions tab (Ctrl + Shift + X), search for GitExtensions and install it.
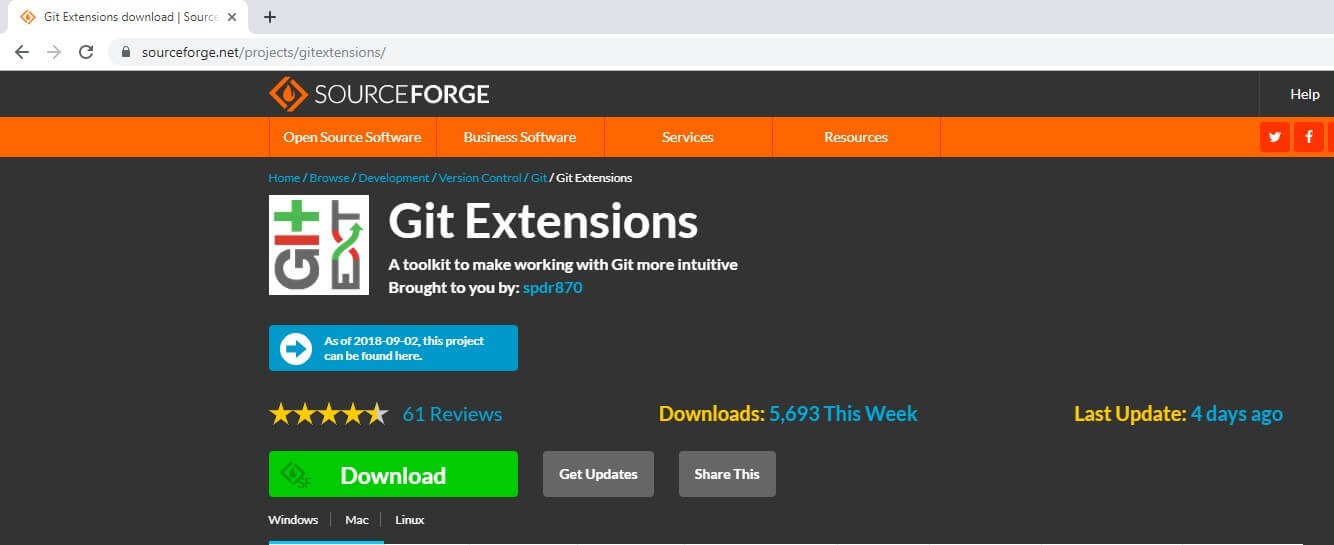
Step 2. Try to launch > GitExtensions: Browse repository command, it should do nothing, because the tool itself is not installed on your machine yet. Go here to download and install the latest version of GitExtensions. When installing, leave everything on default options.
Step 3. After GitExtensions setup, restart Visual studio code and launch > GitExtensions: Browse repository command again. You should get a page similar to mine, saying that Kdiff3 is missing. To fix these errors, you need to install Kdiff3, which is available here.
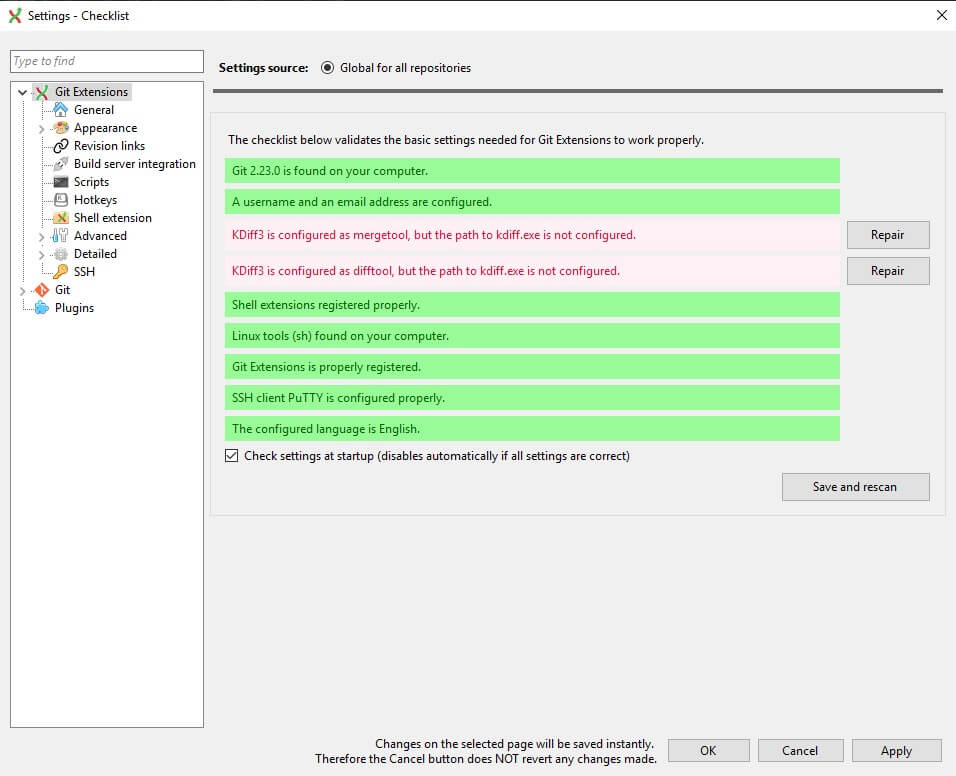
Step 4. After the Kdiff3 setup, launch BrowseRepository again. If you see a window similar to one bellow, congratulations, GitExtensions setup is completed successfully.
I hope you found AL Code Management with GIT (Part 1) useful. As mentioned at the beginning of the article, next month we are going to talk about Remote repository setup and a short guide on how to use GIT in daily development (Part 2).