Simplanova Report Wizard (SRW) allows you to quickly and easily build Dynamics NAV reports. You don’t need to know all Dynamics NAV report peculiarities and workarounds to get started. Users say it is as simple as using the Classic NAV reporting. SRW generates regular Dynamics NAV reports, thus you can transfer them to any customer solution without having to install any third-party software.
Simplanova Report Wizard runs on the NAV Role-Tailored Client and can be acquired here: http://www.simplanova.com/simplanova-report-wizard
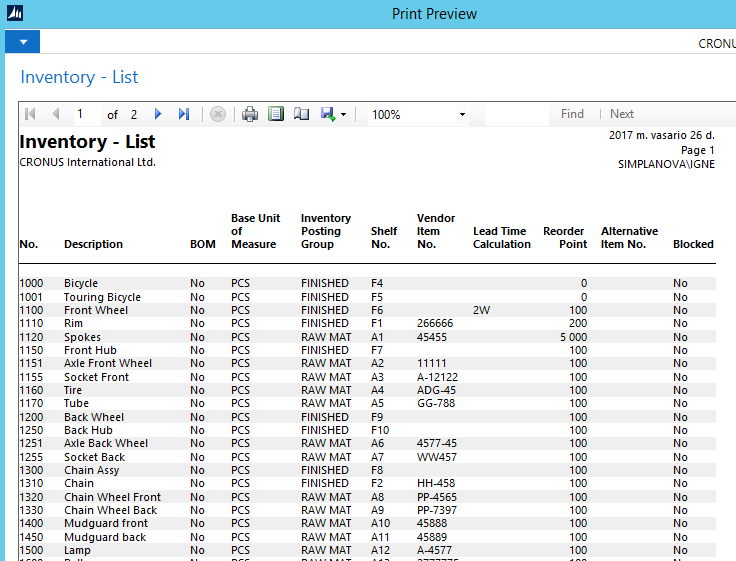
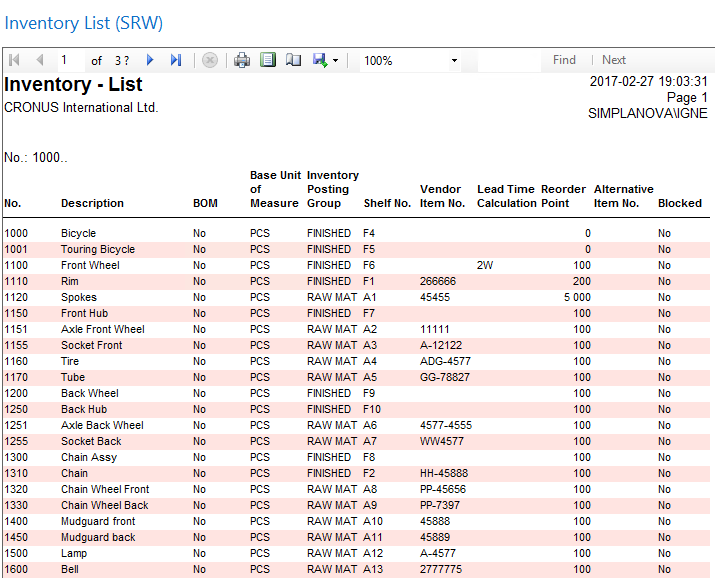
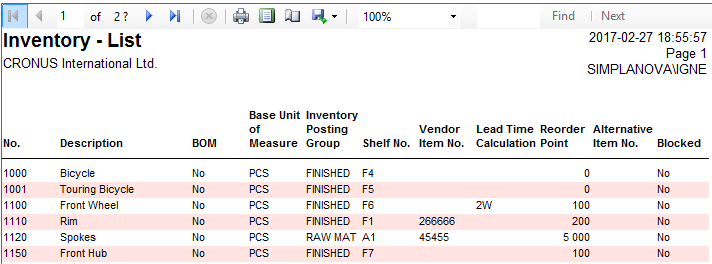
Today I will show you how easy it is to create a report like Dynamics NAV Inventory – List report in SRW, which is shipped with the NAV product (shown in the screenshot below).
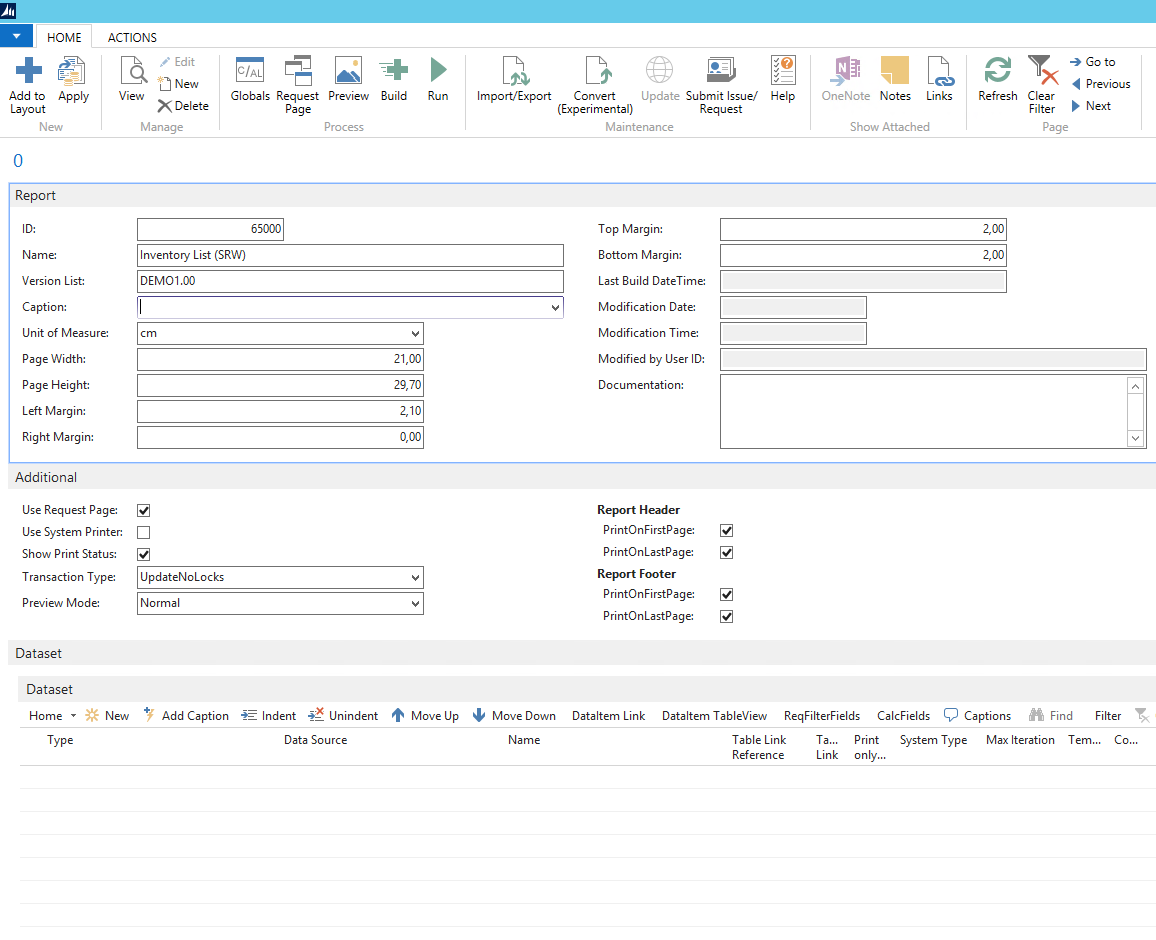
To get started with the Dynamics NAV Inventory List report, create a new report in the Simplanova Report Wizard.
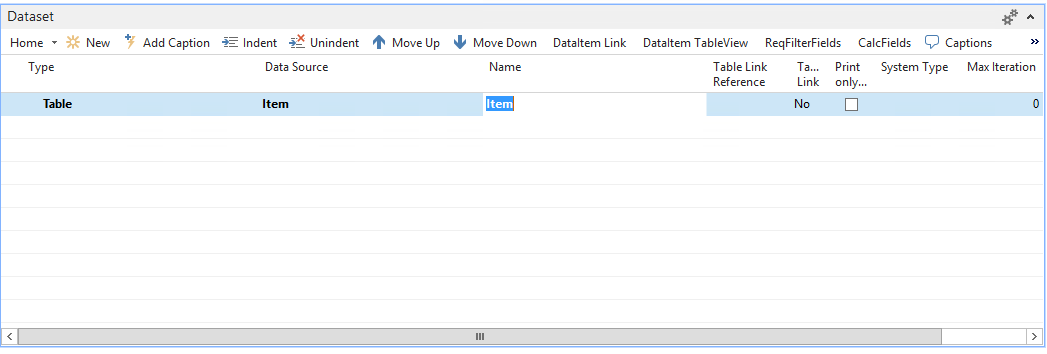
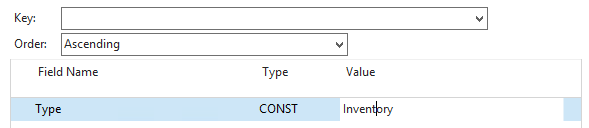
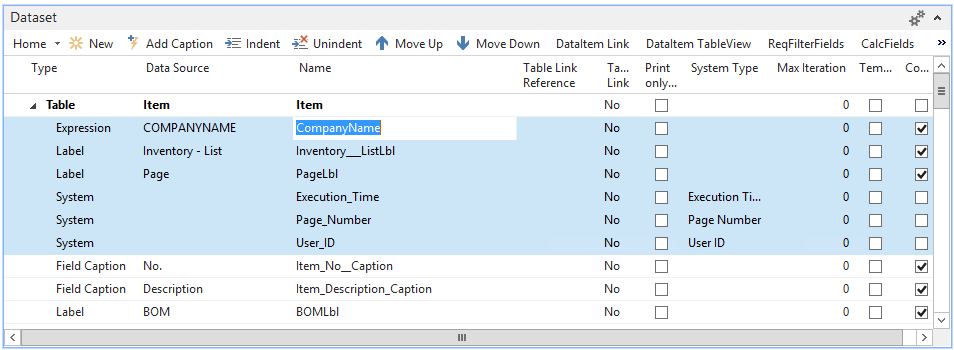
1. Now for the first step, let’s build the dataset. Add a new row (action New or Ctrl+Insert), type in or lookup Item table, then select “Data Item TableView” action to filter on “Inventory” Type items as shown below.
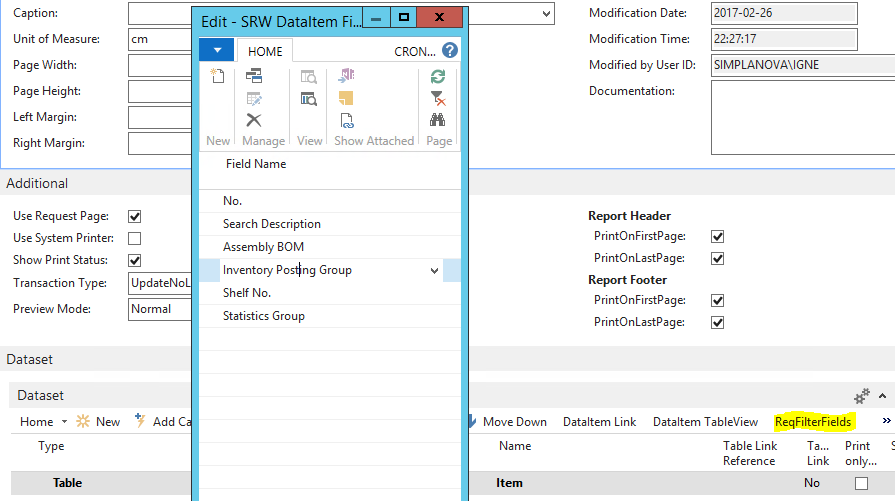
2. Add required filter fields either by typing them in or looking them up.
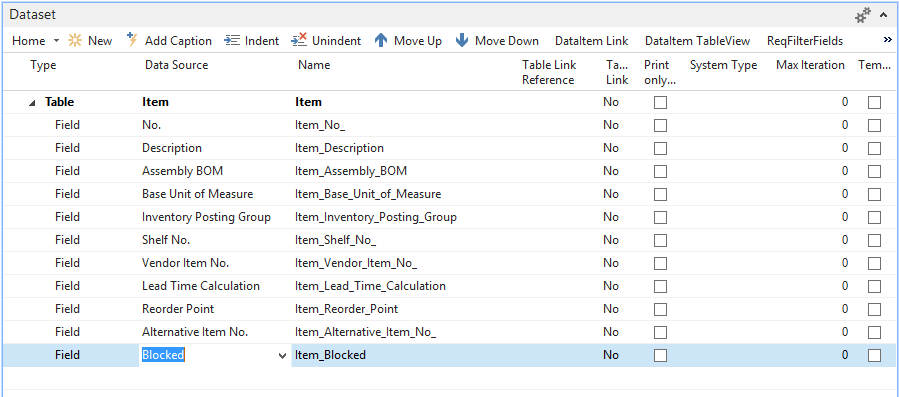
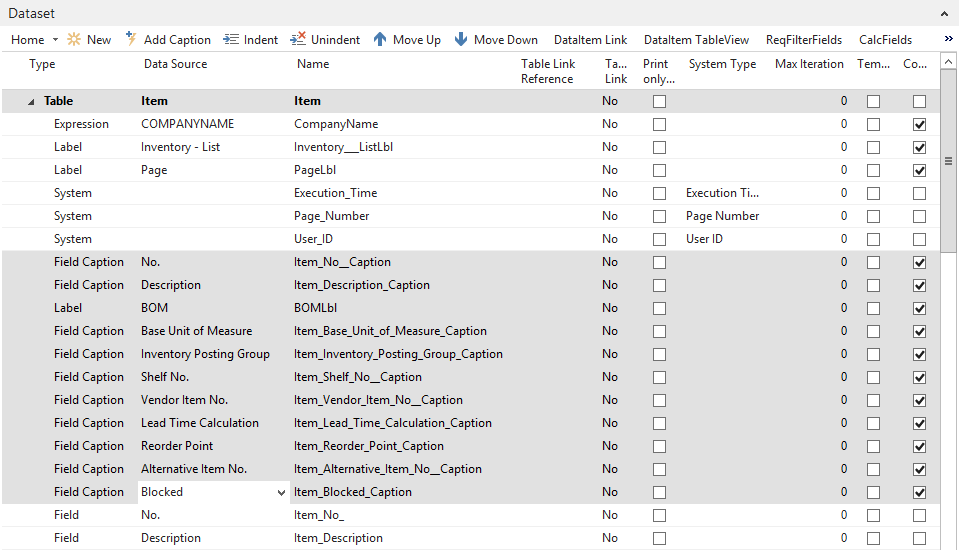
3. Now add all the fields you want to show on the report. I will use the ones, which are available on the standard Dynamics NAV Inventory List report.
Tip: you can look up the first field and select multiple ones from the fields’ list to add all of them into the dataset.
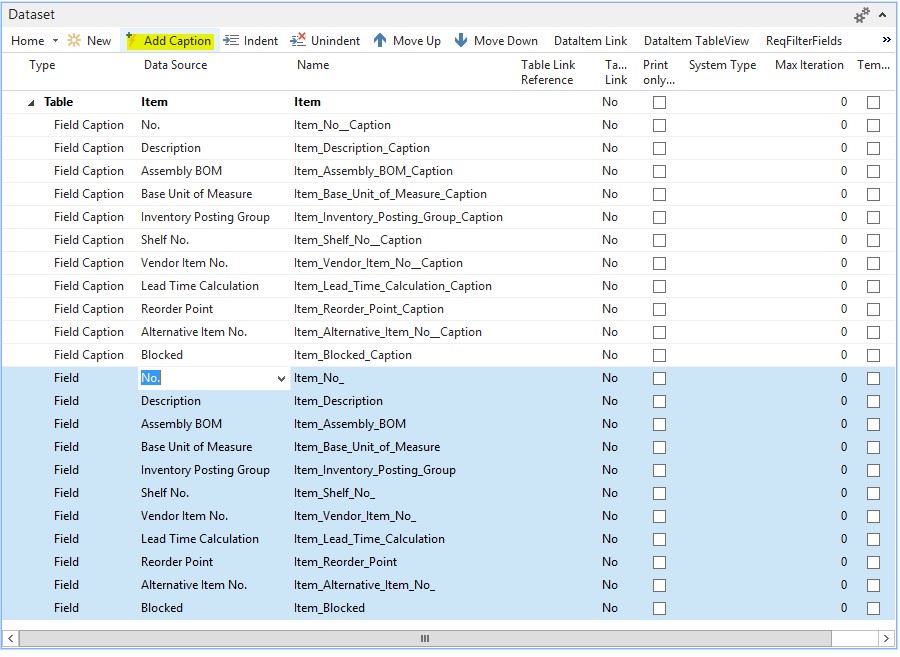
4. Add all the field captions by selecting all fields in the dataset and using action “Add Caption”. Captions appear above the fields.
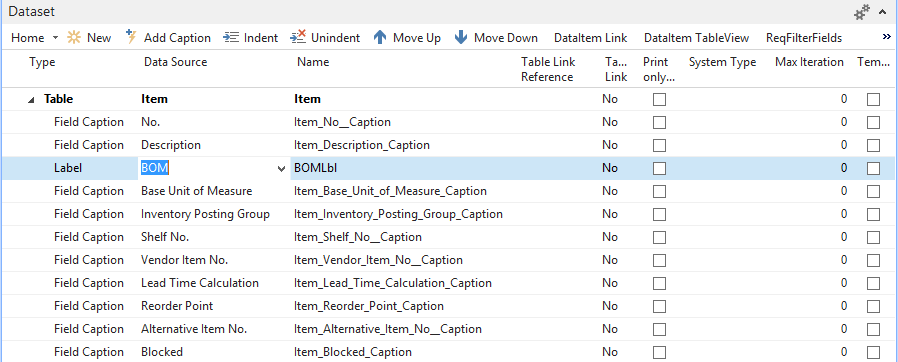
Some of them might be slightly too long for your report, so all you need to do is change the type from Field Caption to Label and type in the text.
Tip: you can lookup label data source to type in text in other languages.
5. For the next step, we add the additional label – report name (“Inventory – List”) and company name as well as a label for the page number (“Page” X).
Additionally, add three System type items: execution time, page number and user id.
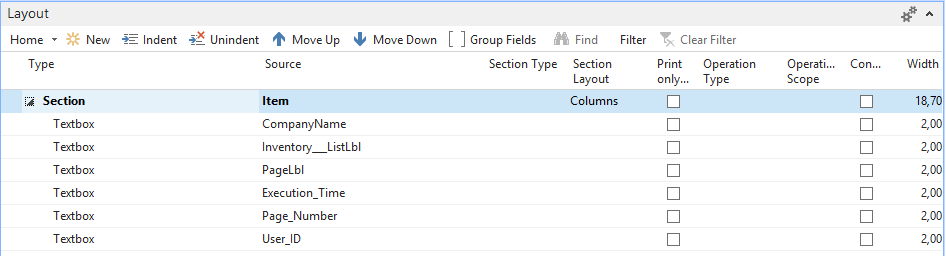
6. Now we can turn on the Preview page and start building the Layout. First select Item data item and all items you have just added and choose Add to Layout action or Ctrl+D. You should see a layout as below:
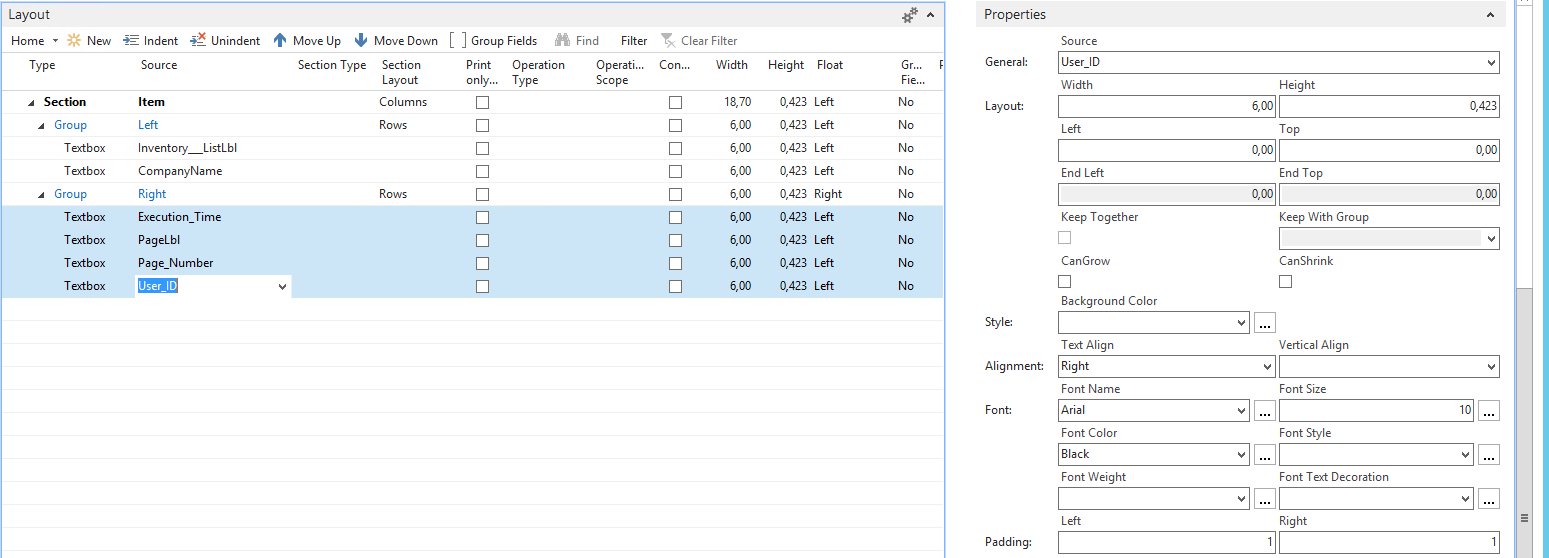
7. Set the Section Type to Report Header and create two new group elements, one will be called Left and one will be called Right, both 6 cm width. Set their Layout to Rows.
8. Place the Company Name and Inventory – List label inside the Left group and the rest in the Right.
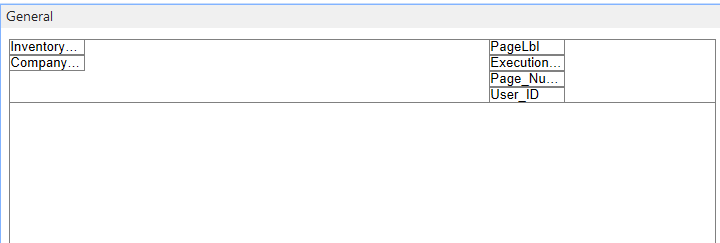
9. Extend all textboxes to 6 cm width and set Text-Align to Right for the textboxes on the right.
Tip: select all right-hand side textboxes, set Text-Align property as Right and choose Apply or Ctrl+Q to apply the same value to all.
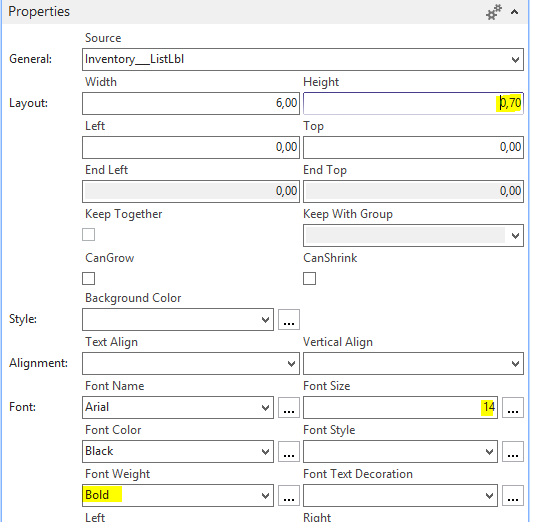
10. Style the Inventory – List label by making the textbox higher, adding Font Weight “Bold” and setting a bigger Font size.

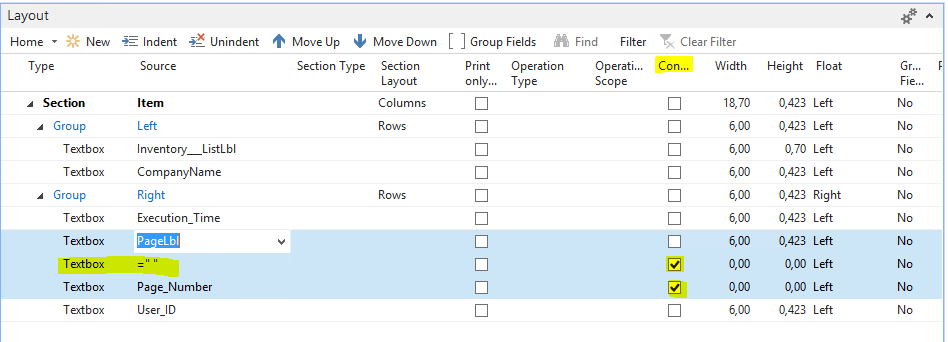
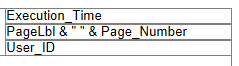
11. Create a new textbox with a text constant inside between the Page Lbl and Page Number to separate them with a space and checkmark Concat property on it and Page_Number to concatenate them into PageLbl textbox as shown below.
Tip: you can add the space by creating a label with just the space, adding a space at the end of “Page ” label or by creating an expression in the dataset with source ‘ ‘.
Alternative: you can create a single textbox and do the concatenation manually by writing the source as such: ={PageLbl} & “ “ & {Page_Number}
12. Set the section height to 2 cm, so there is more space, before the item list starts.
13. To build the header section with all captions, select Item dataitem and all needed Field Captions and Labels from the Dataset designer. Additionally mark the last item on the Layout Item as the placeholder for the new section. Use Add to Layout action or Ctrl+D.
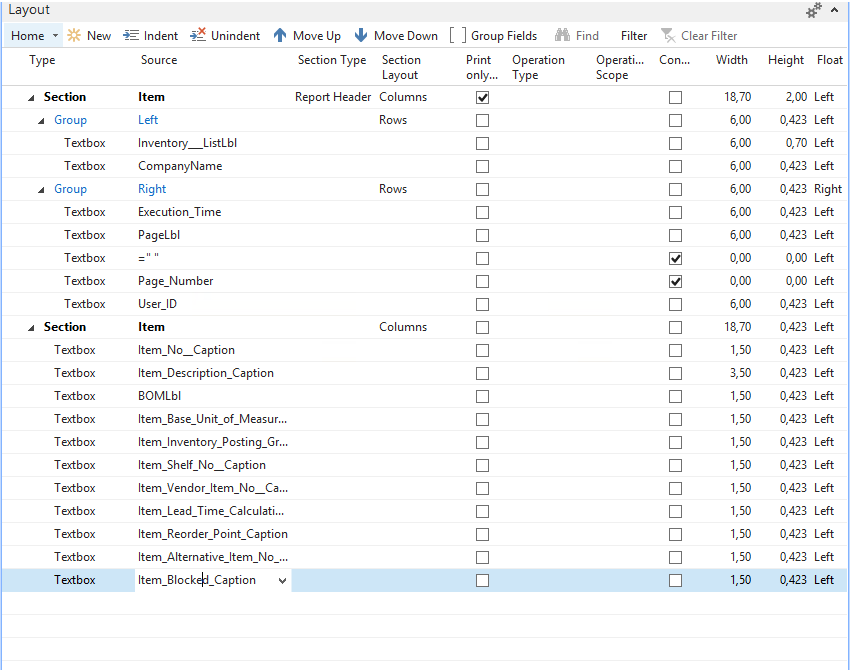
14. Do the same with the “Field” dataset items.
Alternative: create a section in the layout designer, lookup the first textbox source and select all fields you need to add them all into the layout.
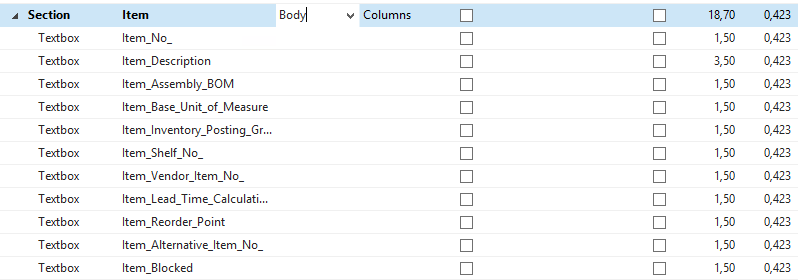
15. Set section types to Header and Body accordingly and make sure you check mark Repeat on New Page property of the header section for it to be printed on all pages.
16. Make the header section and all of its textboxes 1,2 cm high and set the textbox Vertical Align property to Bottom.
Tip: use Apply option to apply any changes to all elements at once.

17. To add striped colors on odd rows, set the Background Color of the Item Body section to this expression:
=IIF(RowNumber(“DataSet_Result”) MOD 2,”White”,”MistyRose”)
For every odd row, it will color the background white and every even row will be colored in misty rose color.
If you build the report now, it should look something like this:
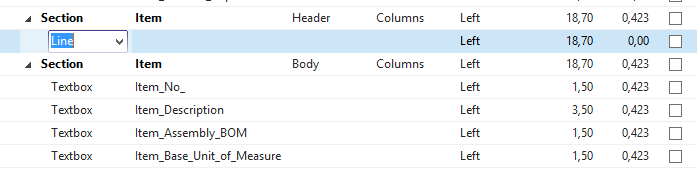
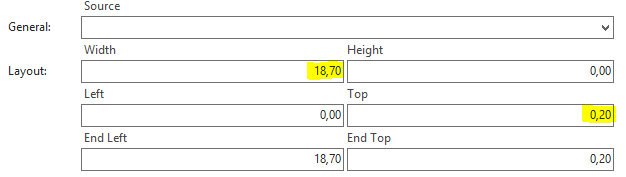
18. Next create a new header section below the current one, set Repeat on New Page property, so it would print on each page. Place a Line element inside it. Then set its width to 18,7 cm and Top parameter to 0,2 cm, so it ends up going across the page horizontally.
19. Lastly, we want to print the record filters as per original report design. Create a new Expression dataset item under Item dataitem. Type in GETFILTERS and name it ItemFilters.
![]()
20. Place the new dataset item in another new Header section above the Item table captions.

Build the Dynamics NAV Inventory list report and there you have it with striped rows and filters in 20 simple steps – in 20 minutes, easy to maintain and easy to import into a customer’s database. You can find a copy of the report attached.
If you still have not tried Simplanova Report Wizard – Request FREE Demo

Igne Butene,
Product Manager
Phone No.: +44 745 056 0300
E-mail: [email protected]