Probably most of you already know that with the Dynamics 365 Business Central Wave 2 release, we have the ability to modify the Base App. But to extract Dynamics 365 Business Central Base App as .al files that would compile might be quite difficult, so in this article, we will talk about how to extract the Dynamics 365 Business Central Base App using Docker, Business Central DVD, and symbols. Also, we will briefly mention how to upload a customized Base App.
If you want to extract Dynamics 365 Business Central Base App, you need to have one of these three: Docker installed on your machine, Business central DVD or access to working Business Central server, where you can download symbols from. We will start with the easiest way to get the Base App, which is using Business Central Docker.
If you want to learn how to use Docker and the basics of AL, you can check out Simplanova Extensions Training.
First of all, download Dynamics 365 Business Central Wave 2 Docker image, and create a container from it. When creating a container, you have to add a parameter: -includeAl.
DO NOT use parameter: -doNotExportObjectsToText.
When a container is created, there is some information that might be useful for the future. It’s not relevant when using Docker to extract Dynamics 365 Business Central Base App unless you plan to move the project’s location.
These are the locations from where Docker copied .net libraries.
When Docker container is created, use command:
Create-AlProjectFolderFromNavContainer -containerName “<container name>” -alProjectFolder “<location where you want your project to be located>” -useBaseLine -useBaseAppProperties.
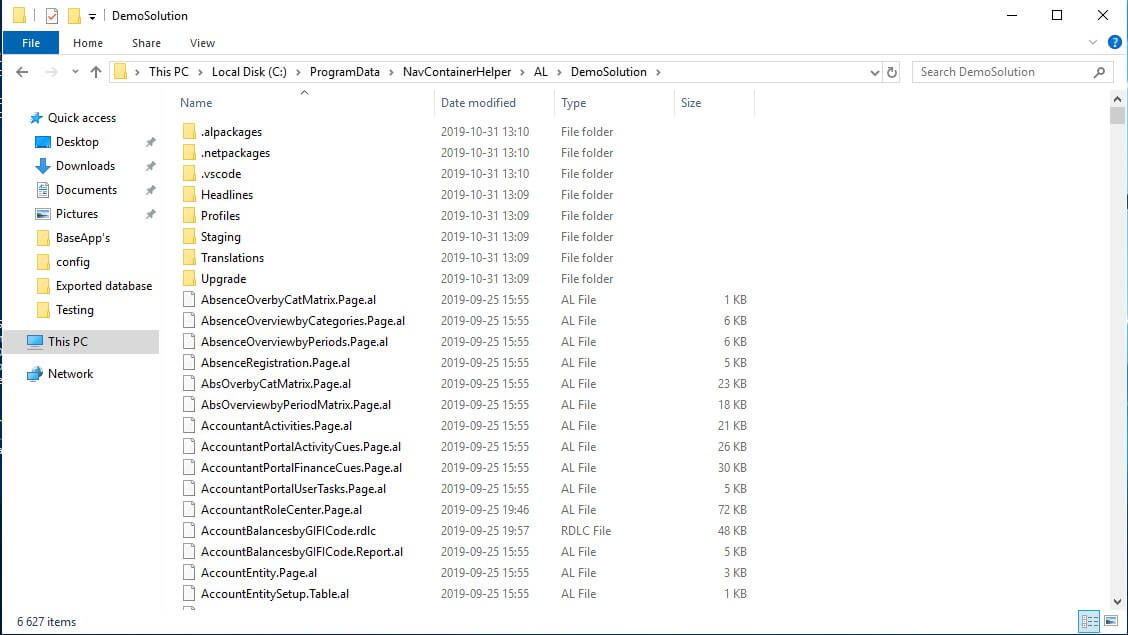
When you activate this command, the .al project will be created.
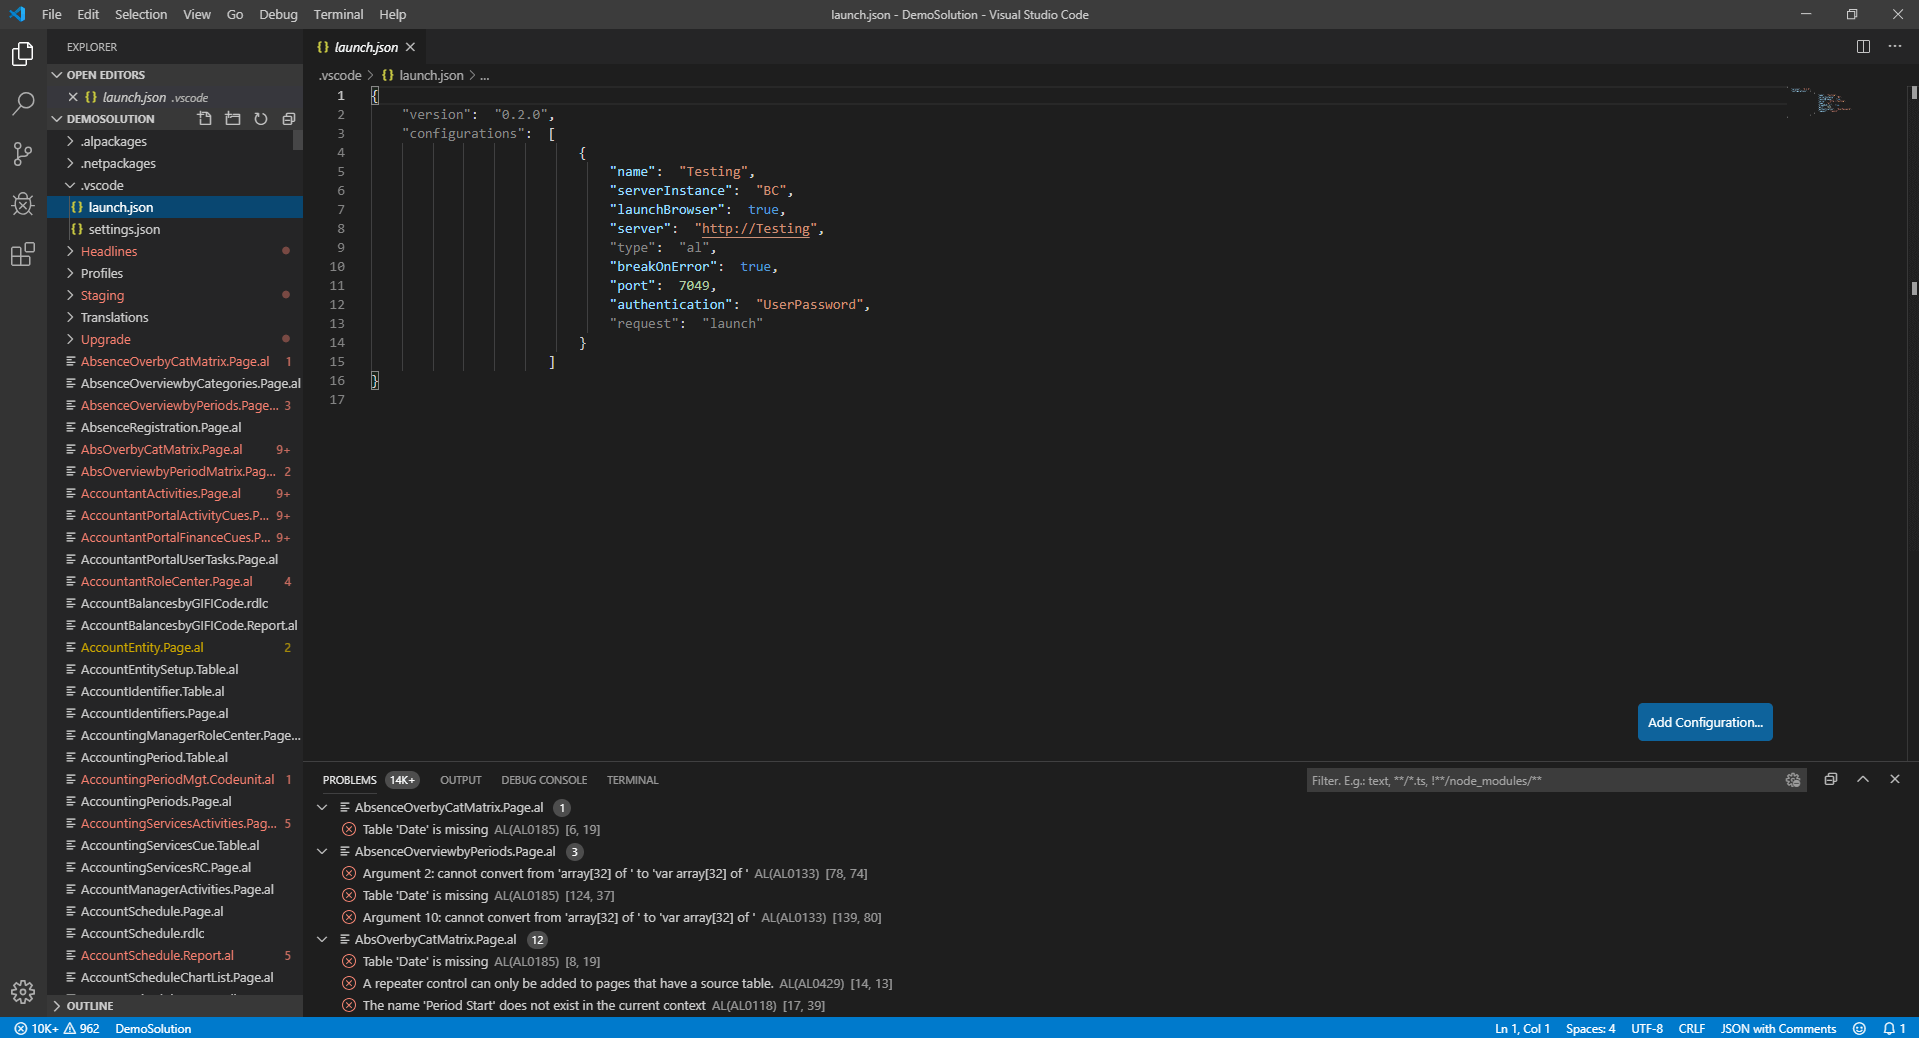
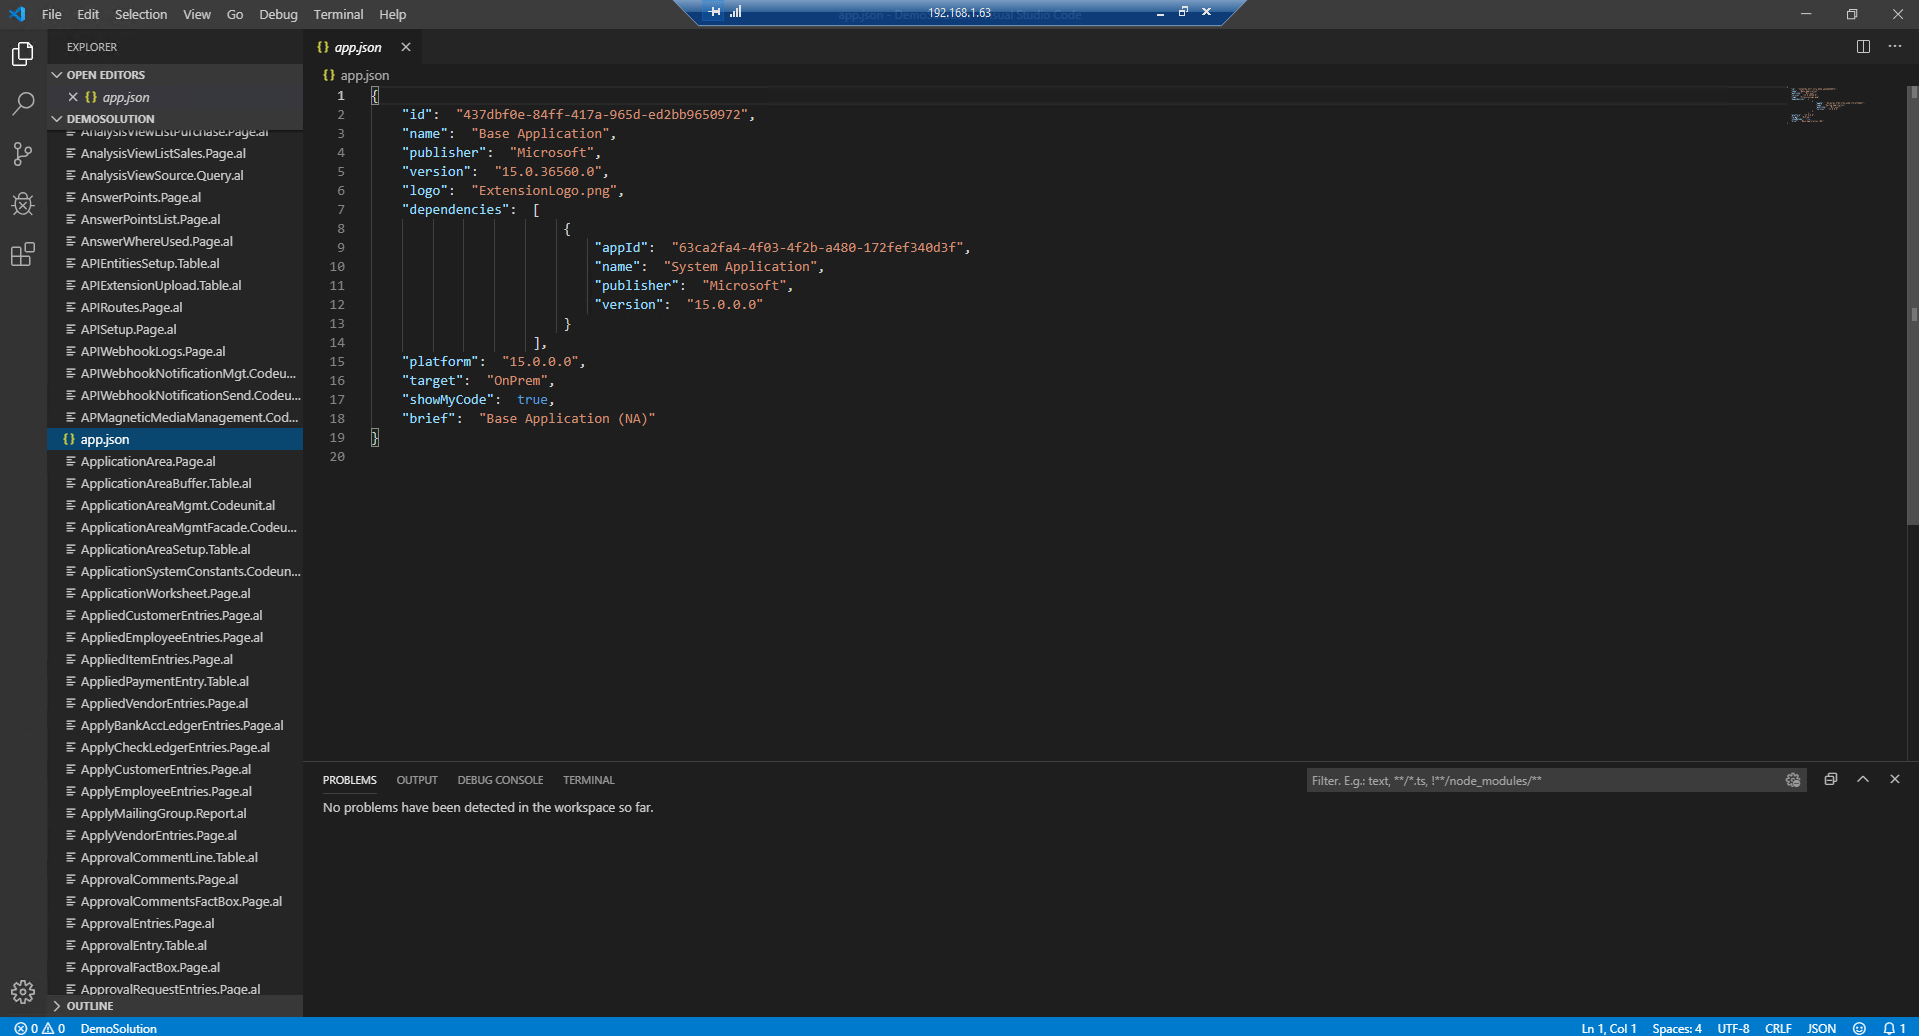
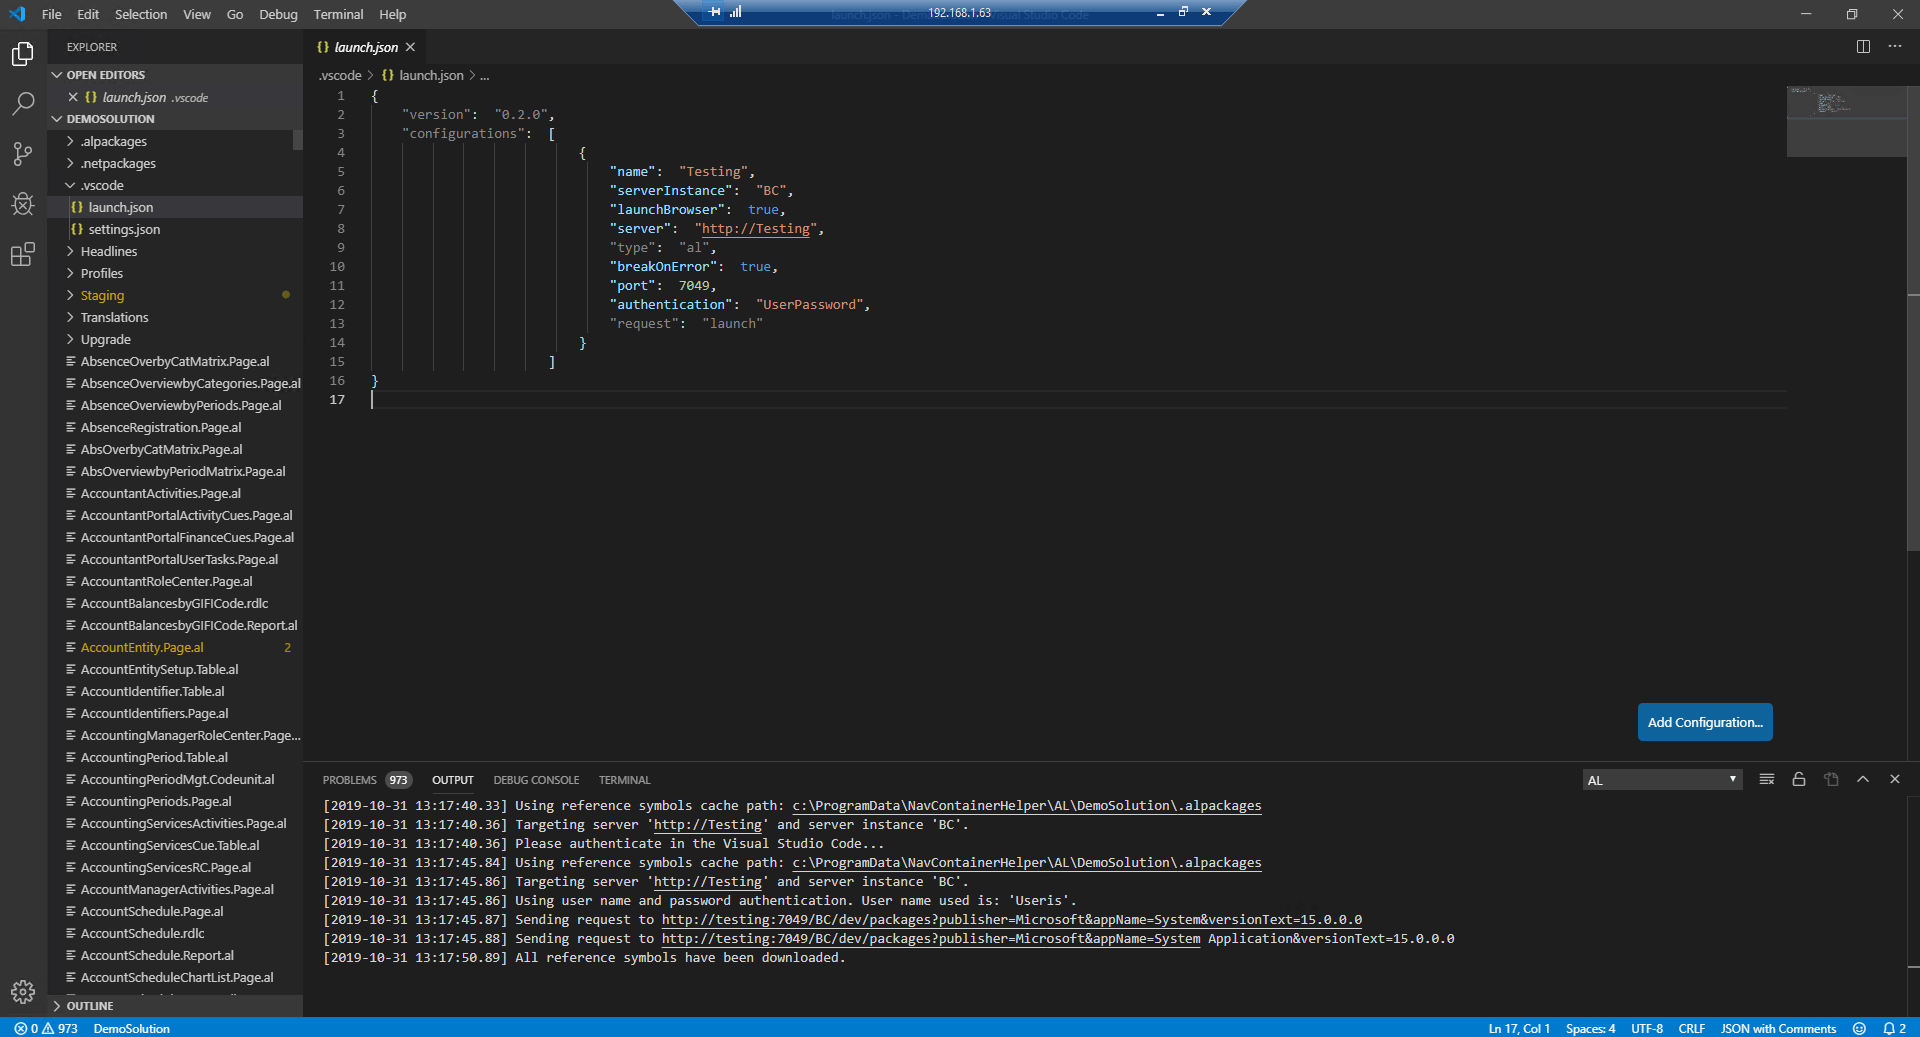
You can open this project using VSCode, launch.json, and app.json will be configured to connect to the container.
Now you will notice that there are a lot of errors. To fix those, you need to download symbols, since you need a reference to “System Application” and “System” apps.
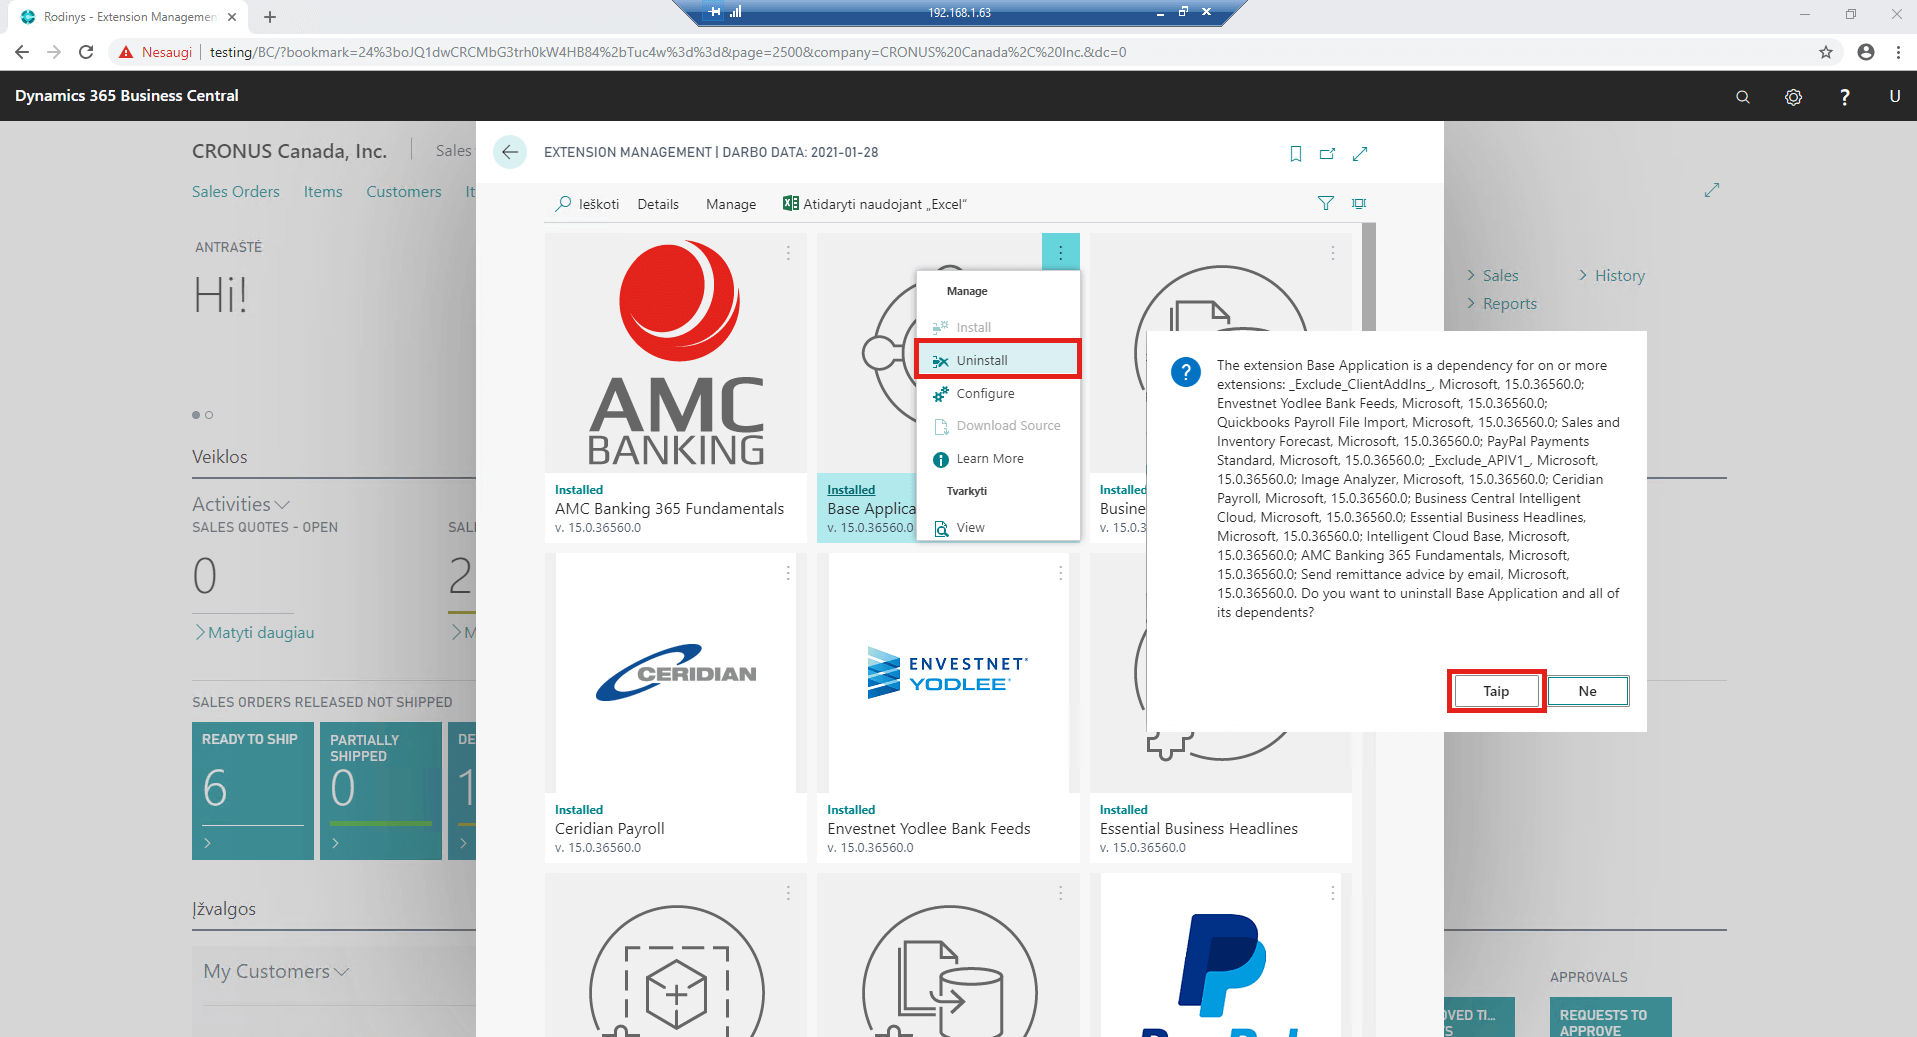
Now that you have a Base App in your .al project, you can modify it as you like. When you are done, don’t publish the application, instead of publishing, package it. Next, you need to delete the original Base App in the database which you want to modify.
After you have deleted the Base App, open PowerShell, and use commands:
Publish-NavContainerApp -appFile “<path to your base app .app file” -containerName <container name> -install -scope Tenant -skipVerification
Sync-NavContainerApp -appName “<name of your base app>” -appVersion <version of your base app> -containerName <Container name>
Start-NavContainerAppDataUpgrade -appName “<name of your base app>” -appVersion <version of your base app> -containerName <container name>
After running the first command, you will most likely get an error saying that the app cannot be installed. Don’t panic, after you run the other two commands, everything will work just fine. You can upload this app on your local database, just use equivalent commands in PowerShell:
- Publish-NavApp
- Sync-NavApp
- Start-NAVDataUpgrade
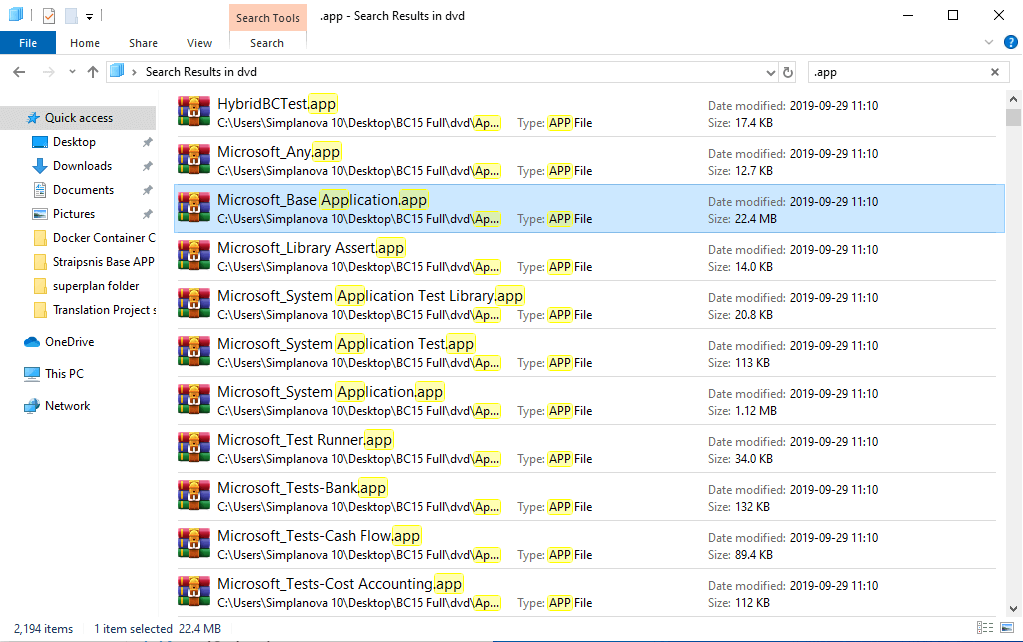
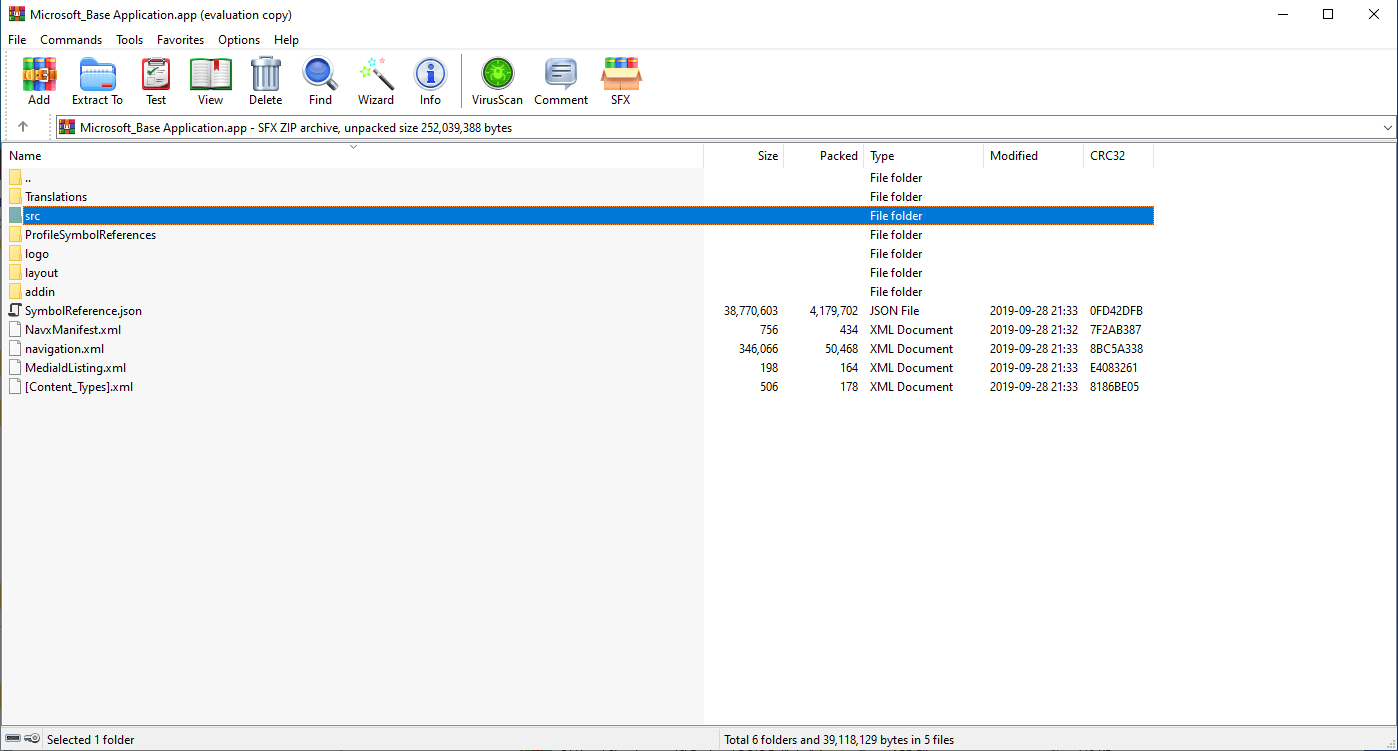
Now, to get the Base App from Business Central DVD, open your DVD and in search bar type in “.app”. You will find a file named “Microsoft_Base_Application.app”. You can open the .app files using WinRAR.
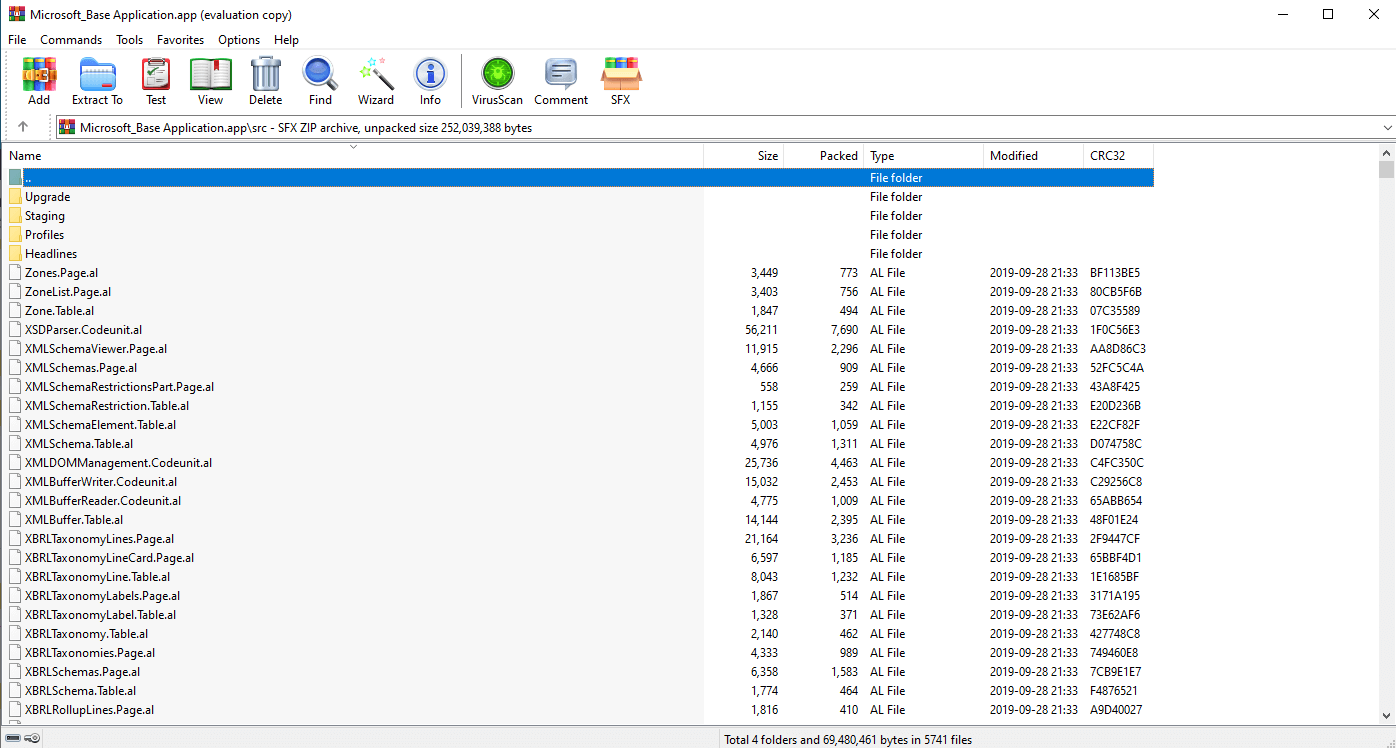
Extract the src folder. That is the folder containing the Base application.
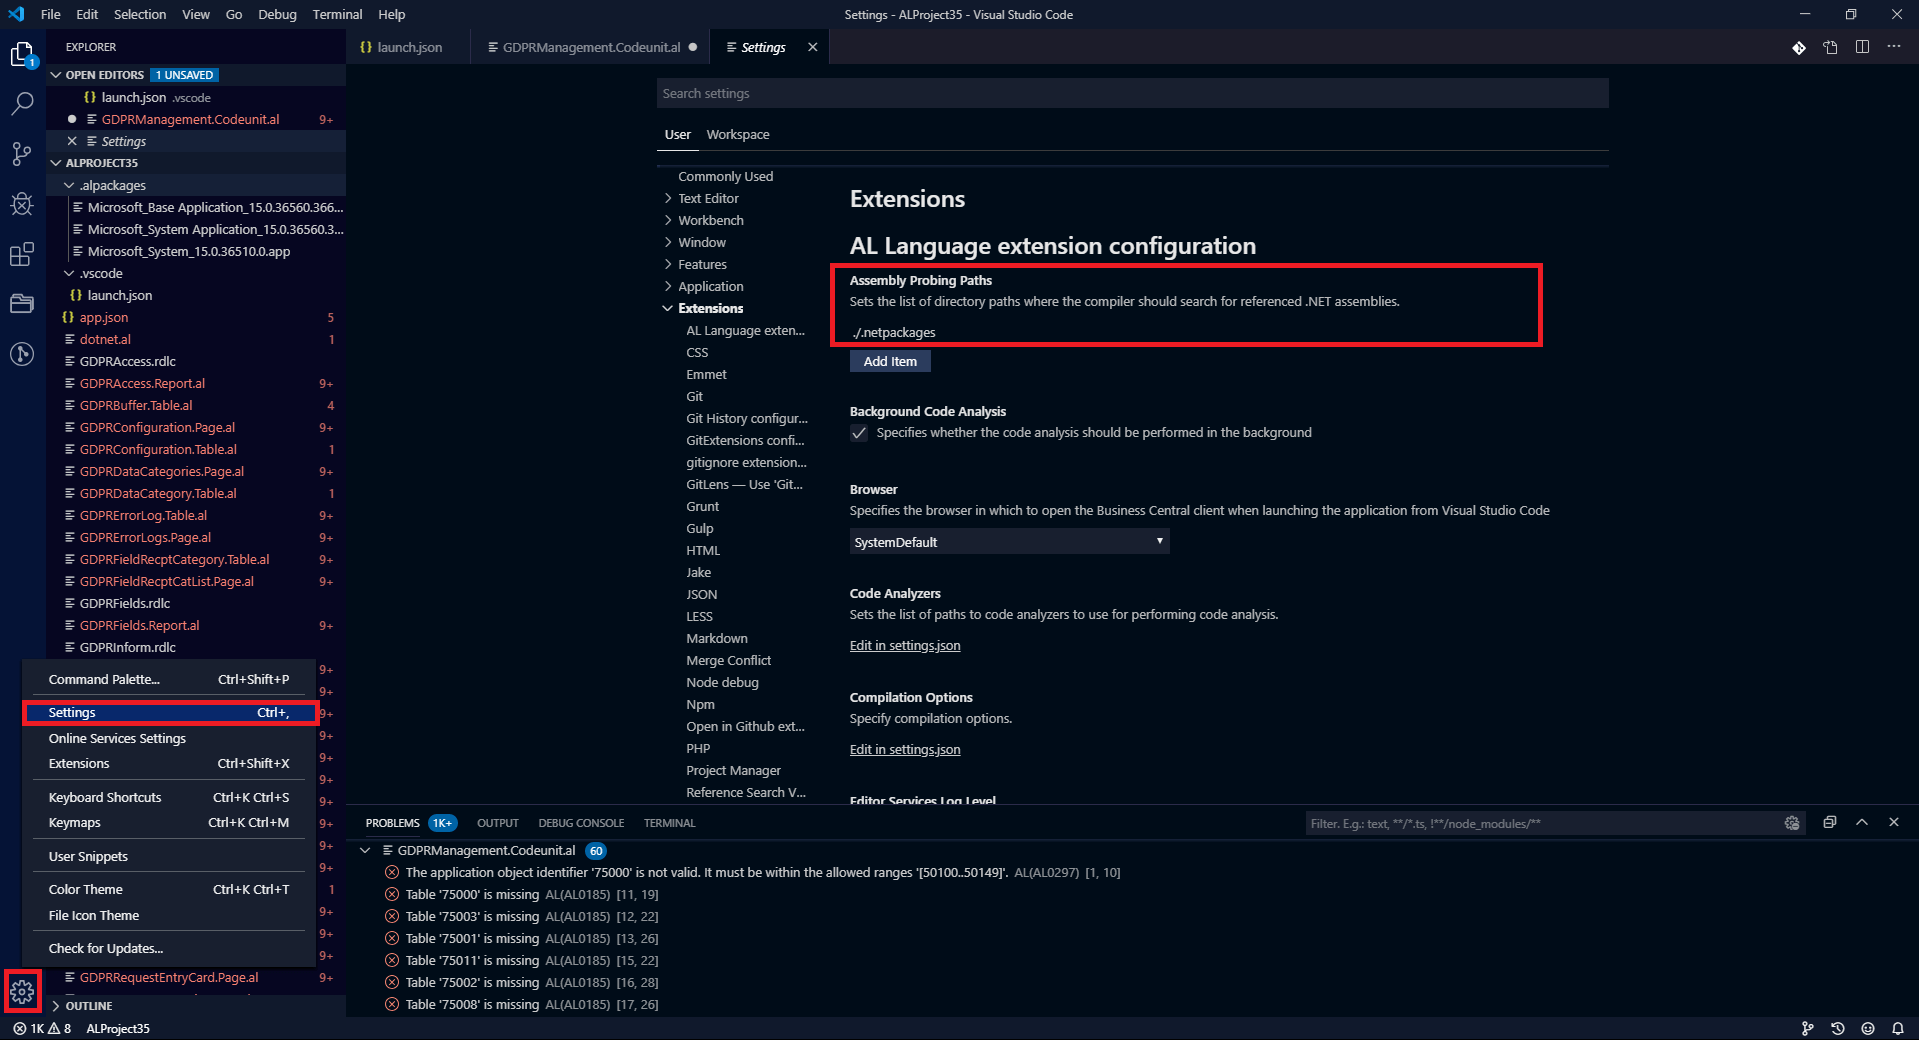
Now it is possible to create a new .al project and just paste these files to it. You will need to adjust launch.json and app.json files (you can adjust them using previous pictures as an example). After downloading symbols, you will notice, that there are still plenty of errors. Do not worry, the reason behind that is .net libraries, which are missing. This is where the information from container creation comes in handy, alongside this article. First of all, create a folder in your project, then go to VSCode settings, and set the path to a newly created folder.
Now, using Docker’s provided information, you can pick up all the libraries yourself. Since you don’t need everything in those folders, you will find all the necessary photos below.
From assemblies folder
From Mock Assemblies folder
From Open XML SDK folder
Whole RoleTailoredClient folder
Whole Service folder used for Business Central.
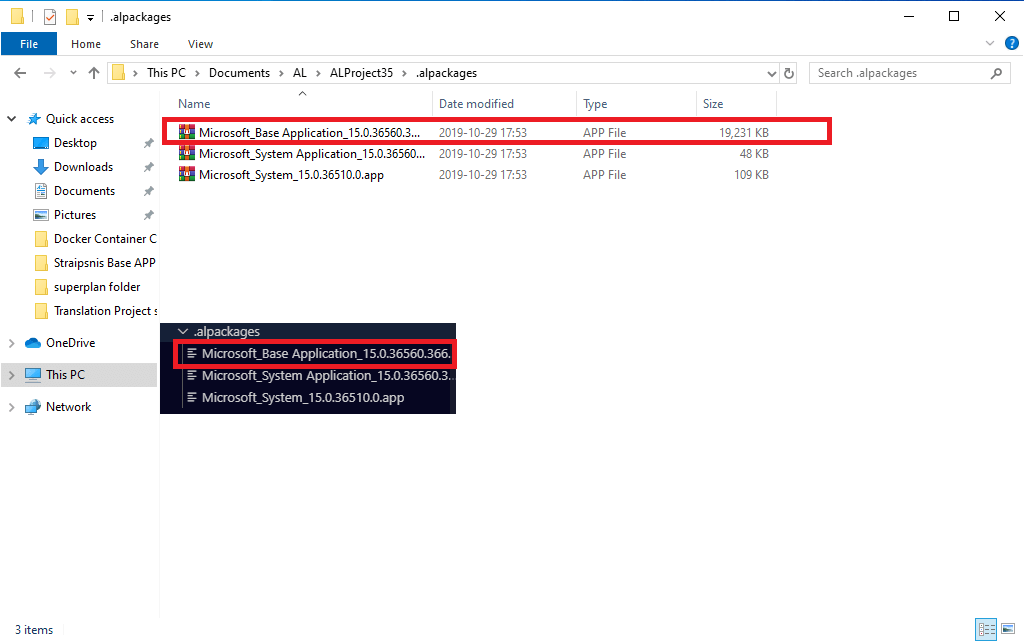
To extract Dynamics 365 Business Central Base App from symbols is a similar process. After downloading symbols, you will find Microsoft_Base_Application_<vertion>.app in your projects directory. You can open this file using WinRAR, it contains your Base application.
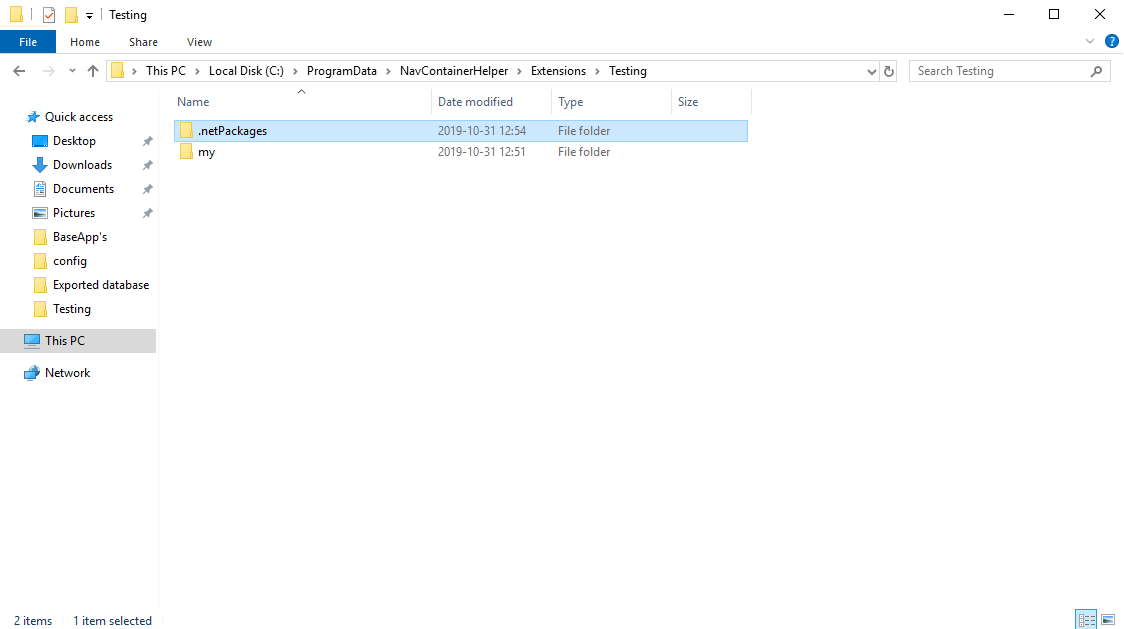
You will still need to gather .net libraries, but if you have Docker on hand you can get those by creating a new container and going to: “C:ProgramDataNavContainerHelperExtensions<container name>” there you will find folder .netPackages, all libraries will be in it.
We hope that you find this article on How to Extract Dynamics 365 Business Central Base App useful. As mentioned before, if you have any questions on how to use Docker or want to learn more on the basics of AL, drop us an e-mail at [email protected] or fill in the form below.
Dynamics 365 Business Central Extensions Training
Please complete the form below if you would like Simplanova representative to contact you regarding Dynamics 365 Business Extensions Training for your company.


