Dynamics NAV Extensions are a way for Microsoft Dynamics NAV developers and ISVs to extend the functionality of NAV without modifying Microsoft’s original source code.
In this blog post I will provide detailed information on how to move Dynamics NAV reports to NAV Extensions V2, also I will explain how to modify converted reports and review other related issues.
Converting Dynamics NAV reports to NAV Extensions V2 is not as difficult as you may have thought. The process is almost the same as with the other Dynamics NAV objects, only a minor change is needed while converting and assigning the layout.
The procedure of converting NAV reports to Extensions goes as follows:
- Export NAV report(s) to a new syntax;
- Convert it to AL code using txt2al tool;
- Move it to Visual studio code environment;
- Refactor the code and publish as the extension.
Further, I will share four steps on how to move Dynamics NAV report to Extensions.
1) Create simple Dynamics NAV report
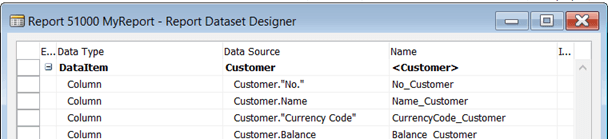
First, let’s create a simple custom Dynamics NAV report. I have created a report with ID 50100 which prints out customers.
Dataset part of the report looks like this:
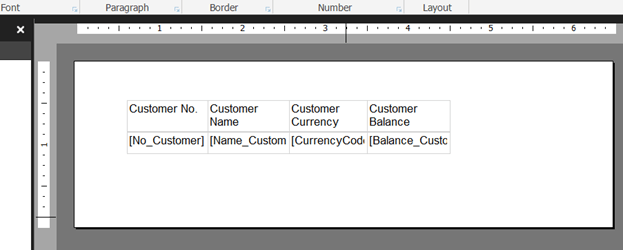
And the layout is as simple as that:
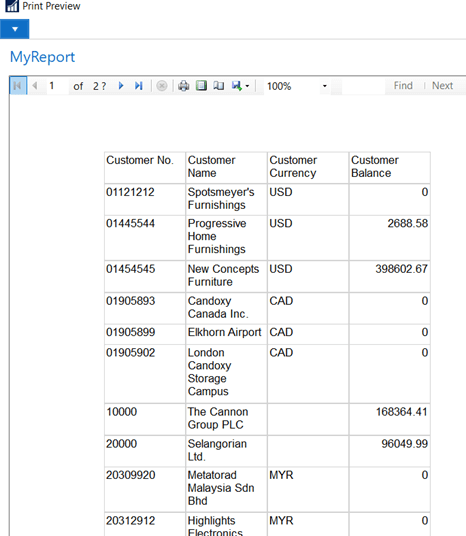
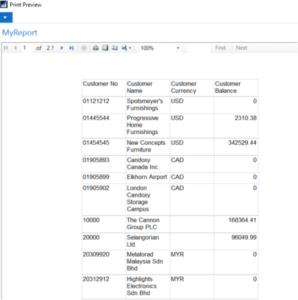
The following output is given by this report:
2) Export Dynamics NAV report
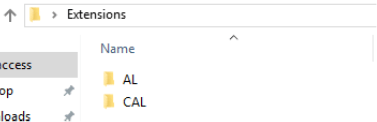
When you’re finished with your custom report, don’t forget to EXPORT it, in case you will need it again in the future. Once you are done, create two folders in your desired location which you will be using to store exported objects.
Then start a command prompt as administrator and navigate to RTC client. You can do it with this command:
![]()
Then run the export command:
finsql.exe Command=ExportToNewSyntax, File=”C:UsersTesterDesktopExtensionsCALexport.txt”, Database=”Demo Database NAV (11-0)”, ServerName=.NAVDEMO, Filter=Type=report;ID=50100
Where “Database=” is your database name, “ServerName=“ is your server name and “File=” is the path of the object to export to. If you don’t want to export all objects, you can use filter. For more information about this command visit: https://docs.microsoft.com/en-us/dynamics-nav/exporttonewsyntax
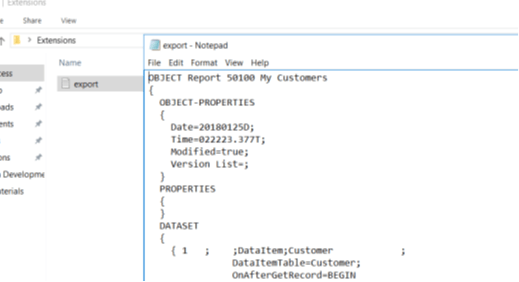
When exporting is finished you will have the exported file created.
3) Convert Dynamics NAV report to AL code
Now it’s time to convert your report to AL code. Run the txt2al converter command to convert your report:
txt2al –source=”C:UsersTesterDesktopExtensionsCAL” –target=”C:UsersTesterDesktopExtensionsAL” –rename
Where source is the location of your exported file, and target is the new location where converted report will be stored. “Rename” property renames output files to prevent clashes with the source txt file.
You can also add a Log file for this process, which will help you track down the errors and troubleshoot. Add this piece of code to your command:
Logfile=D:Log_ExportFile.txt
Once the report is converted successfully, you should see something similar to this:

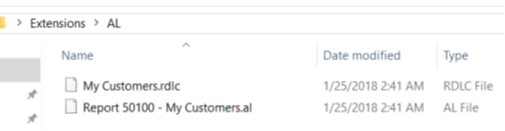
New files should appear in your target folder.
4) Move converter report files to Visual Studio Code
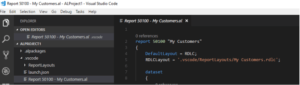
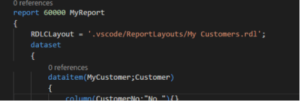
Now move your converted files to Visual Studio Code directory. In VSCODE open the report and specify RDLC Layout property value to the path of your RDLC layout as follows:
Save and delete the report from development environment. Now build and publish the extension and you should be good to go.
To test the report you may create a new codeunit and write a simple code:
REPORT.RUN(50100);
Keep in mind, that you cannot create new variables with a subtype of extended objects. And if you will try to create a new custom object with the same ID as an the Extension, the system will crash.
Modifying extended Dynamics NAV reports
If you want to modify Dynamics NAV report as Extension, you can do it in VS code environment and then republish the modified version. For RDLC layout, you have to open and modify the mentioned file with report designer application.
If you are not familiar with AL syntax, I recommend you to get familiar, as it may save you a whole bunch of time in the future. However, if you don’t want or you’re too lazy to do that, alternative and more difficult way, is uninstalling the Extension, then importing the original report to a custom database and modifying it in there. Then follow the steps described before, export and publish the report again.
Creating the Dynamics NAV report with AL
Creating reports from scratch in VS code may get a little bit annoying. Mainly because Microsoft does not provide a direct way of dealing with the layout. Logical part of the report is created in VSCODE and for the layout, you have to export the custom layout from Dynamics NAV and import it in Visual Studio Code and then modify it in the report designer. First let’s create the logical part.
Open visual studio code and create new object of .al type. Type in “treport” and press enter, this will create a template for your report. I will be creating a report to print out the customers.
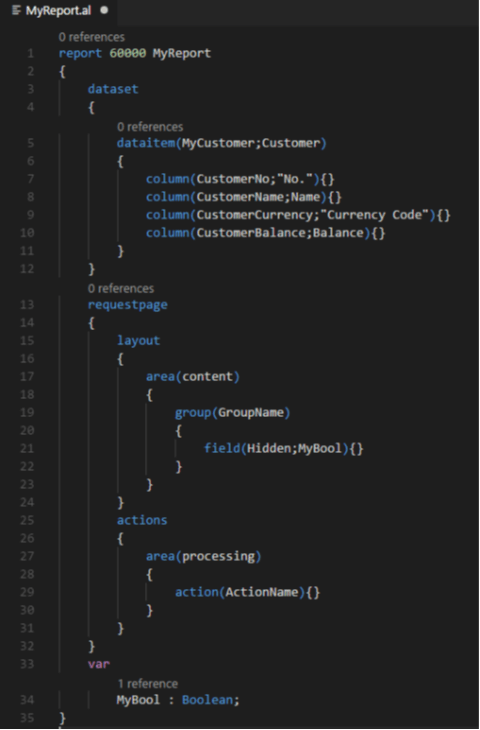
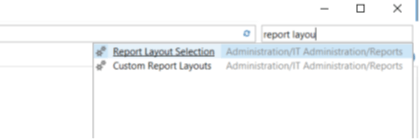
Once you’re finished, publish this Extension. If you will run this report, you would see a blank page because no layout is provided. Since Visual Studio Code doesn’t create a default layout for the reports, you will have to export it from Dynamics NAV environment. Open Report Layout Selection page, and find your report.
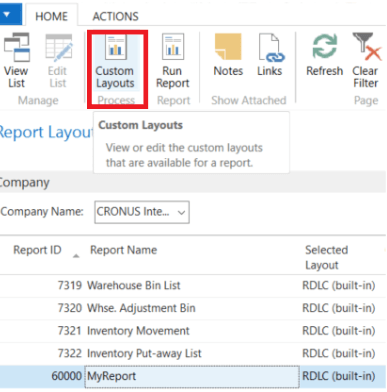
Then click Custom Layouts.
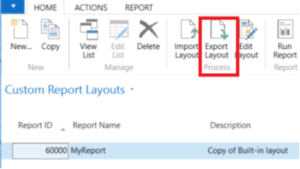
Then select New, Check “Insert RDLC layout” and press OK. Export this layout and save it in your Visual Studio Code project folder.
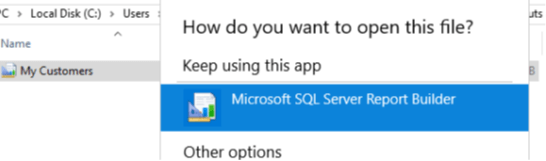
Open this layout with report designer and edit it as you want.
Now, in Visual Studio code, open your report object and assign property “RDLCLayout” to the path of your rdlc layout for example:
Now build and publish your extension. If you run the report you can see that the layout was created, and the output is the same as before.
Issues regarding customized standard reports
Last thing to notice about Dynamics NAV reports and Extensions, is that Visual Studio doesn’t provide a way to extend reports. You may build a new custom report with AL, but you may not extend one.
What you could do, is transfer your modifications to events. However, Microsoft provides publisher events in a few of the reports, so you have to create your own events and this means that you will have to modify the code.
Standard reports and their events:
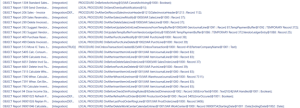
To find all integration and business events of your database, you can run a script described by Waldo in here: http://www.waldo.be/2015/11/
Want to find a way to a less time-consuming automated way to convert your reports? Check out Simplanova Report Converter. Why it is worth consideration?
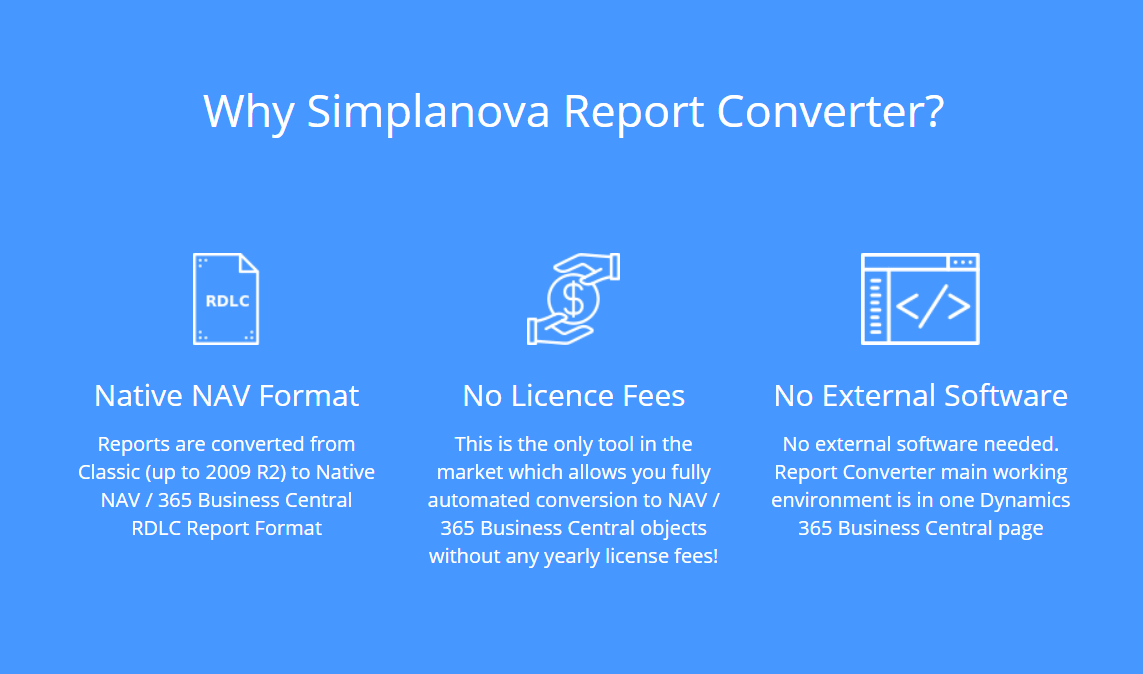
It is a tool that converts AUTOMATICALLY* Classic Dynamics NAV reports (supported up to Dynamics NAV 2009 R2) to RDLC NAV / 365 Busines Central report format (Dynamics NAV 2015 and up to Dynamics 365 Business Central) and Extensions 2.0 format, which consists of:
– .rdlc file (Layout)
– .al file (Dataset)
– .xlf (language files)
I hope this blog post was useful and now it will be much easier for you to move Dynamics NAV reports to Extensions. As mentioned before, if you are interested in automatic conversion from Classic Dynamics NAV reports (supported up to Dynamics NAV 2009 R2) to RDLC NAV / 365 Busines Central report format, submit the form below and we will provide you with more details.