Guidelines for Partners
1. Introduction
Microsoft Dynamics 365 Business Central allows businesses to automate and streamline approval processes through customizable workflows. By automating approvals with BC workflows, organizations can improve efficiency, reduce manual tasks, and enhance compliance. These workflows support approvals, notifications, and other triggers that simplify repetitive tasks and improve accuracy. With automated workflows, businesses can ensure faster purchase approvals, customer request handling, and document reviews, maintaining consistency across operations.
2. User Setup for Workflow Approvals
Approval users have specific permissions to review and approve transactions or records, such as purchase orders. Setting up approval users involves assigning appropriate permissions and defining approval hierarchies.
Before you can create workflows involving approval steps, you must set up the approval process users on the Approval User Setup page. Additionally, you can define amount limits for different types of requests, designate substitute approvers, and set up notifications. However, a user needs to exist in Business Central before setting up approval users.
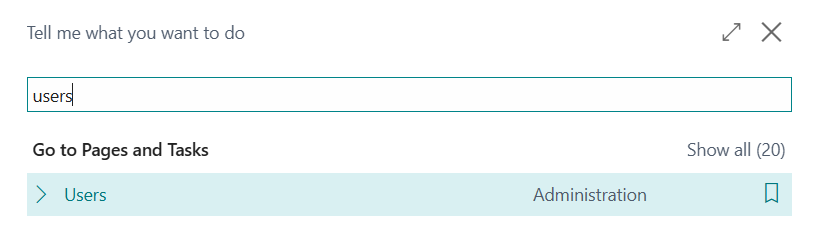
- Go to the Users Page:
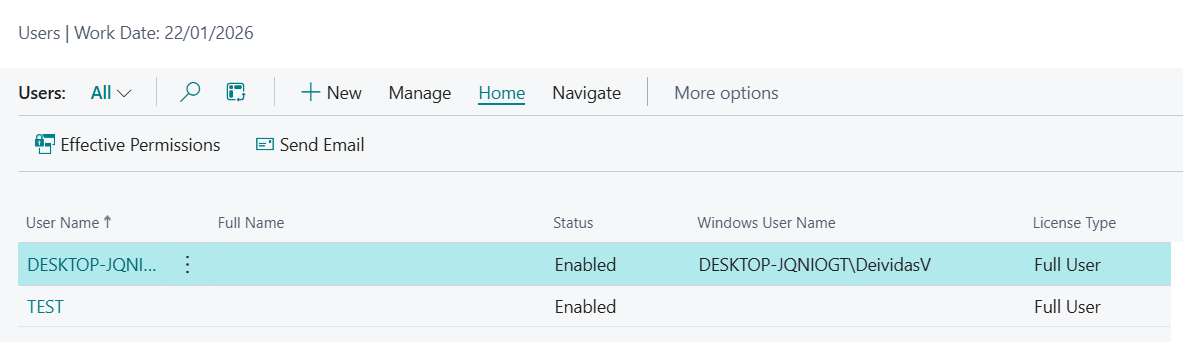
- Add two users, in this case, I have added a user named “TEST” and my own account:
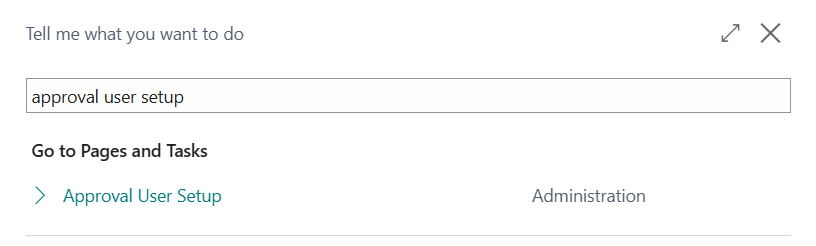
- Also, it is time to setup the created users for approvals, navigate to the page Approval User Setup:
- Here, you need to add your own account and the 2nd user you have created, it is essential to give the 2nd user approval permissions and assign a salesperson. Your account needs to have the 2nd user as the approver.

Now, you can now move on to setting up Workflows.
3. Setting up Workflows
Importantly, configuring workflows begins with understanding the standard templates available in Business Central. These templates cover common processes but can be customized to fit specific requirements. First, initial setup steps include configuring permissions and assigning roles, ensuring that all relevant users have access to perform workflow-related tasks.
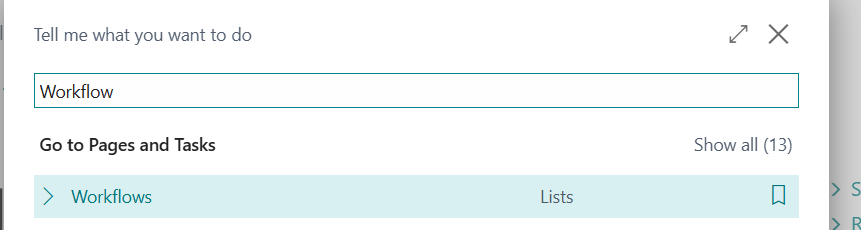
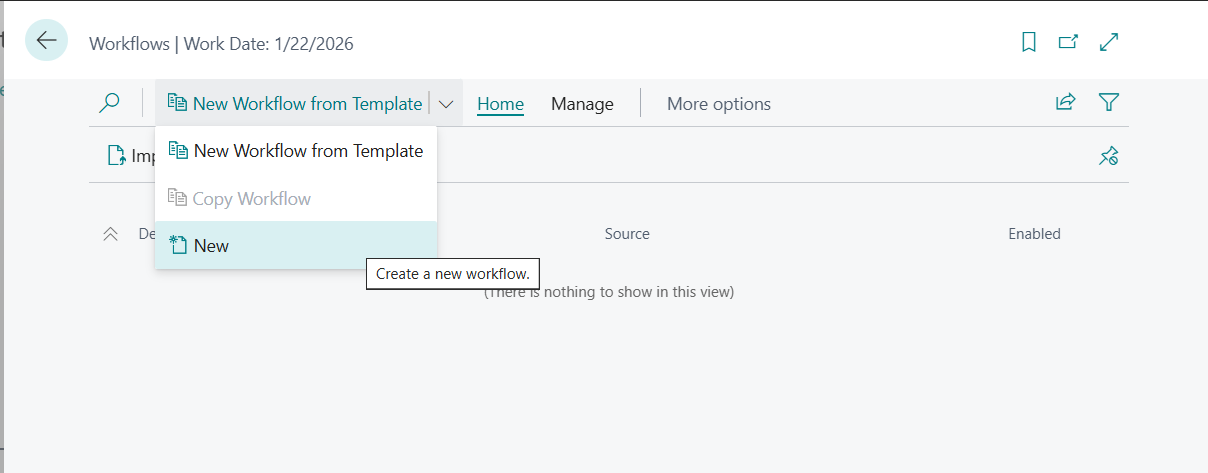
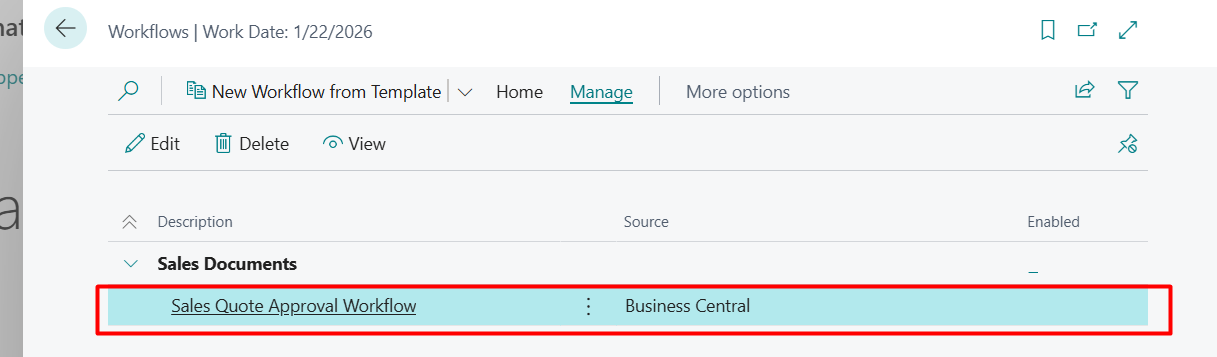
- Navigate to the Workflows page by searching “Workflows”:
- Select to create a new workflow or use an existing template:
Creating a new workflow involves defining the events (triggers) and responses (actions) that control when and how workflows execute. Business Central allows you to create workflows from scratch or modify existing templates to meet unique business needs. Key steps include selecting triggers, specifying conditions, and defining the workflow’s actions.
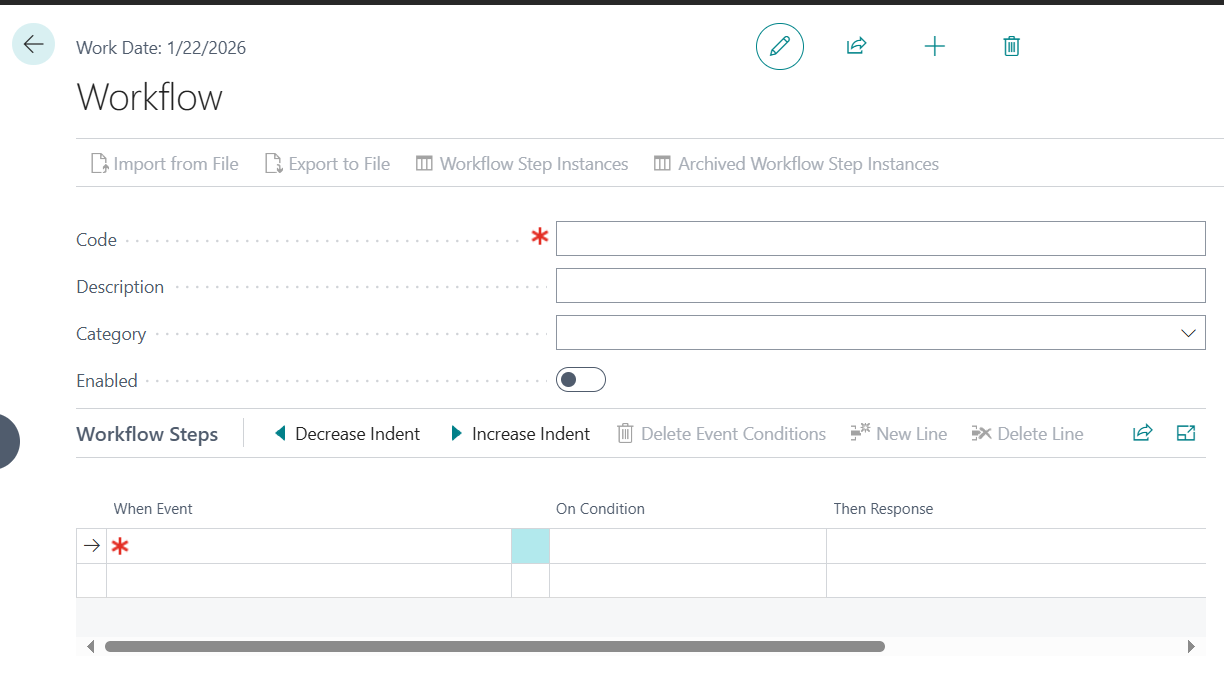
A workflow is divided into three sections:
1. When Event
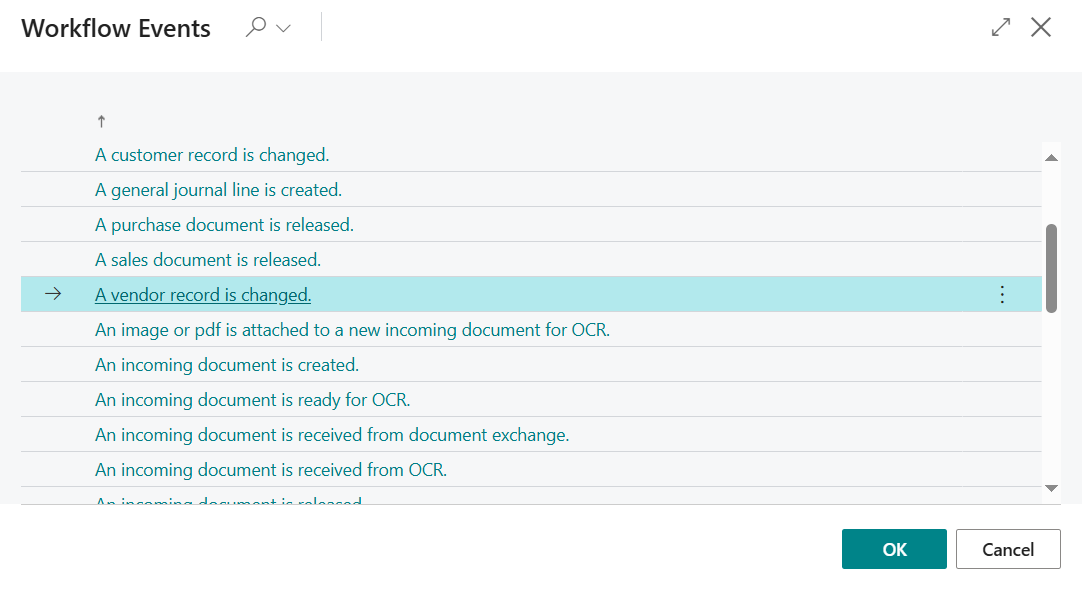
In short, this is where the trigger is selected.
Examples of a trigger:
- A master data record is changed
- A journal line is created
- An incoming document is created or released
- Approval of a document is requested
2. On Condition
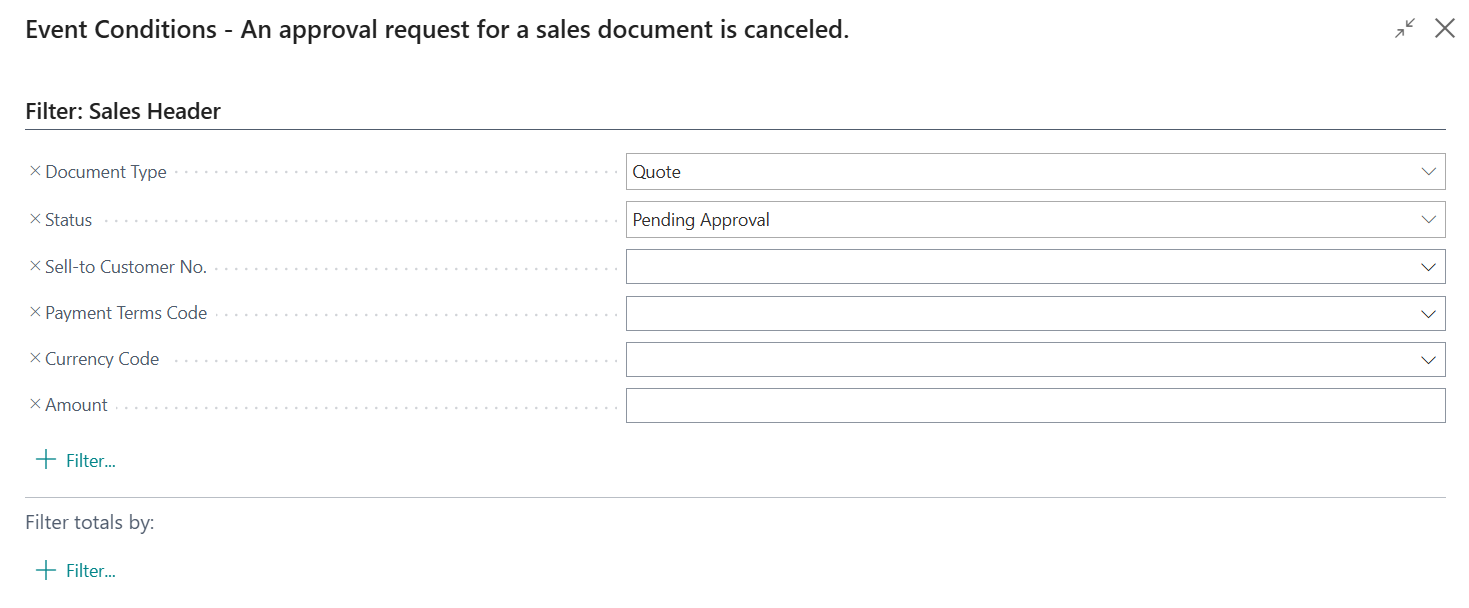
The conditions are related to the event and allow the creation filters to decide how the workflow continues.
3. Then Response
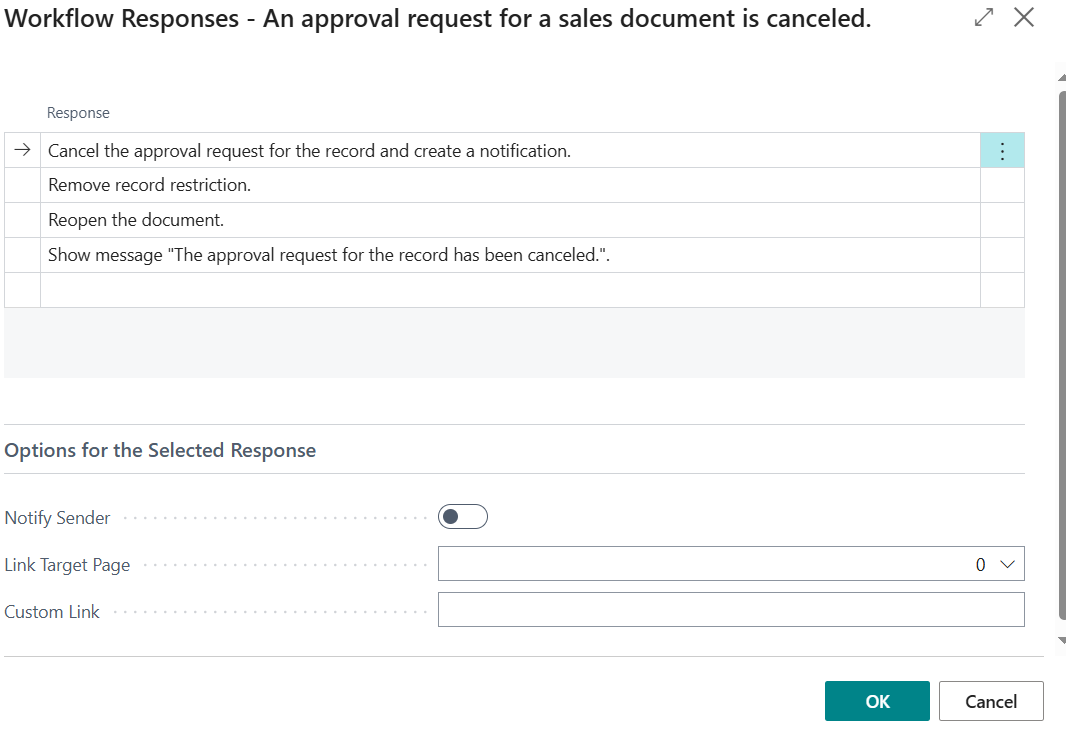
The responses specify the next steps in the workflow.
The options for events and responses are system-defined. To add new options, you’ll need to develop an extension.
Once created, workflows must be enabled to function within the system. Business Central provides straightforward options to activate workflows, ensuring they are ready to automate tasks across the platform.
To enable workflows:
- Firstly, open the created workflow and ensure all settings are configured correctly.
- Then, switch the workflow status to “Enabled” to make it live in the system.
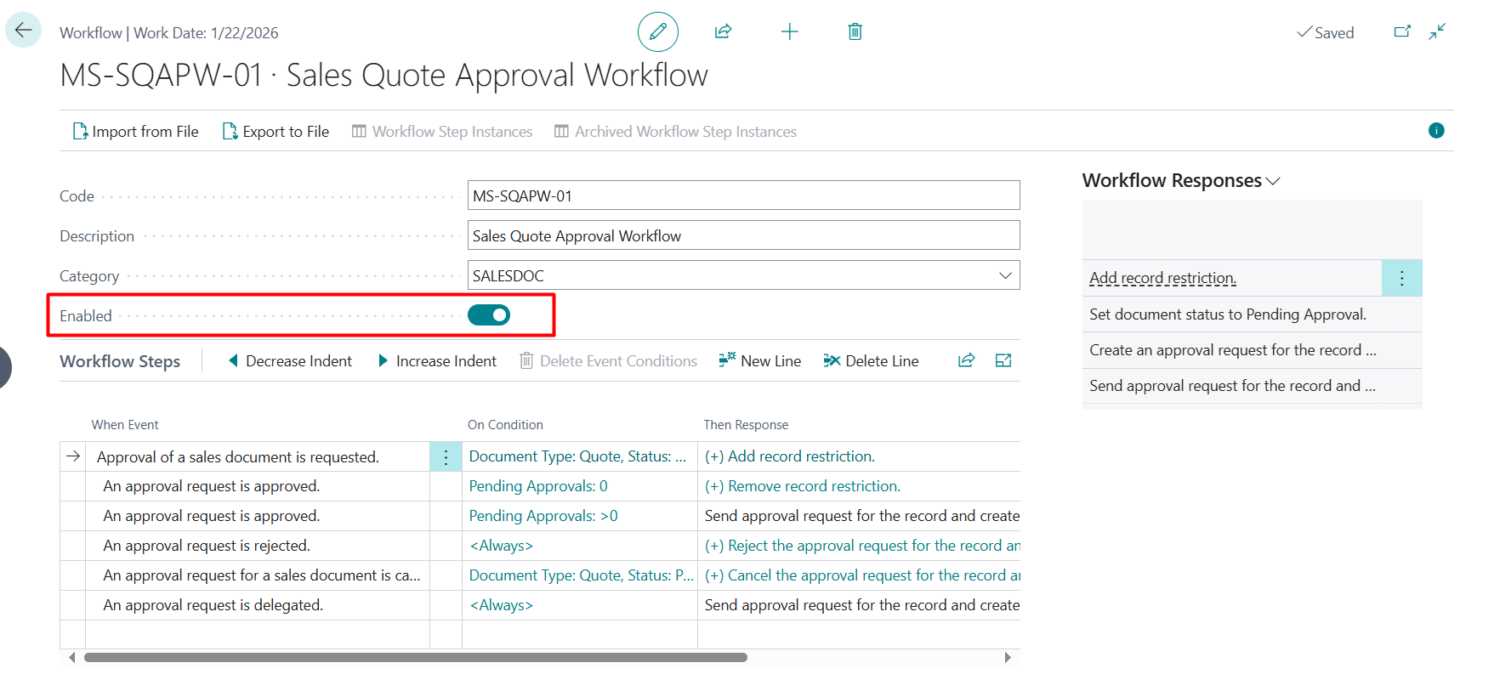
Therefore, if you want to change the workflow, you must disable it and enable it again.
4. Using Workflows
This part will illustrate what happens when an approval workflow is set up for sales orders. The workflows page has a workflow created for sales order approvals with events, conditions, and responses.
To clarify, we will look at open sales orders and make an approval request for those orders.

For this example, we have selected open order 104003. Now, we need to press the action button “Send Approval Request” (make sure the salesperson code is correct).
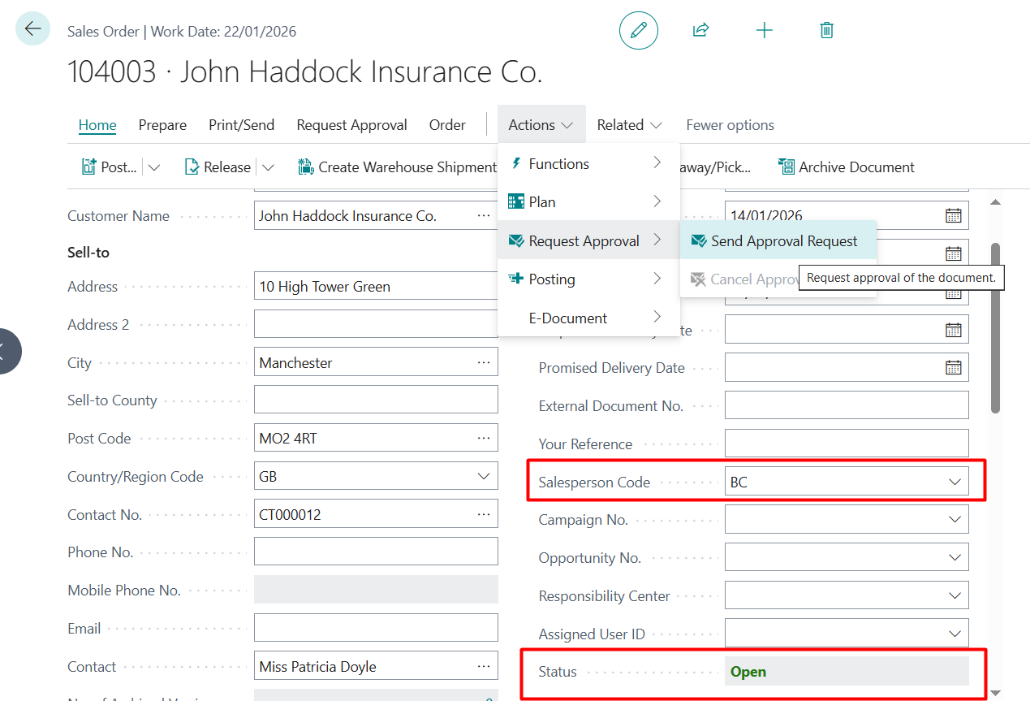
As a result, the order status changes from “Open” to “Pending Approval”.

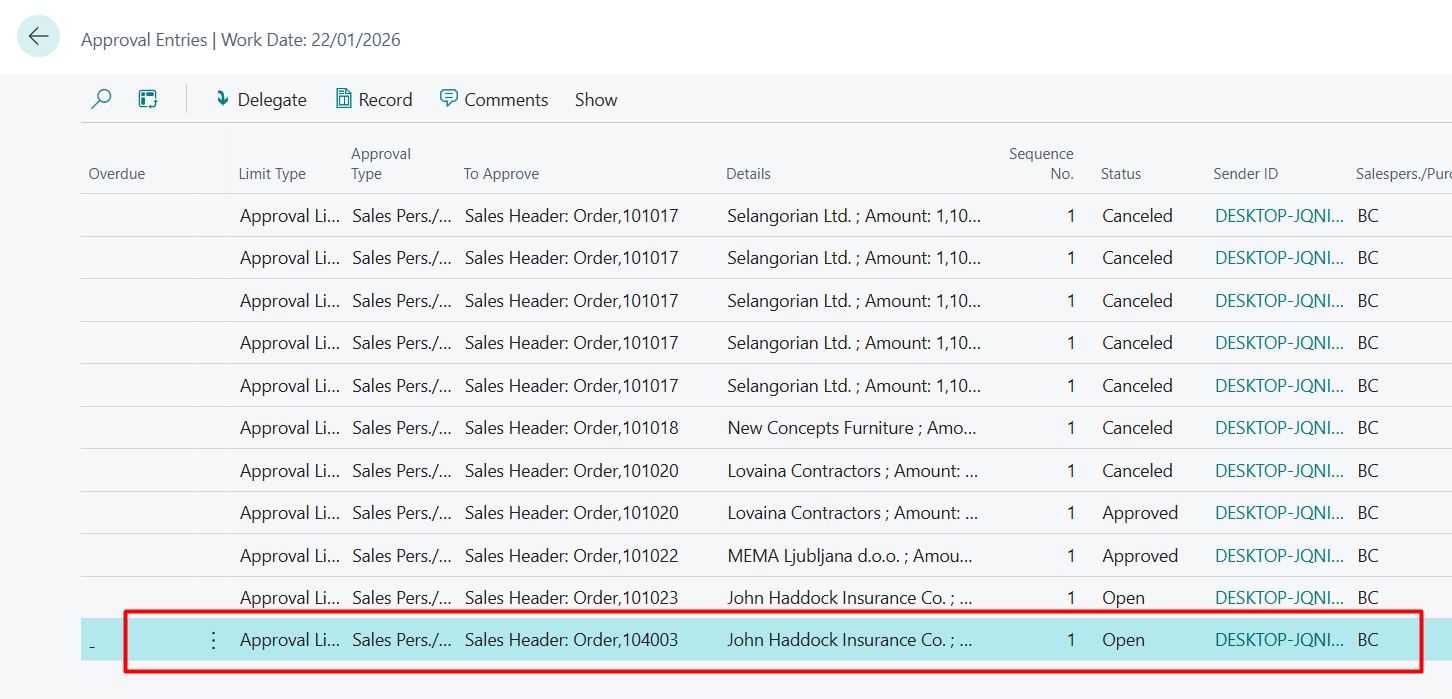
In addition, all approvals can be checked on the page “Approval Entries”, we can see the pending approvals we have created:
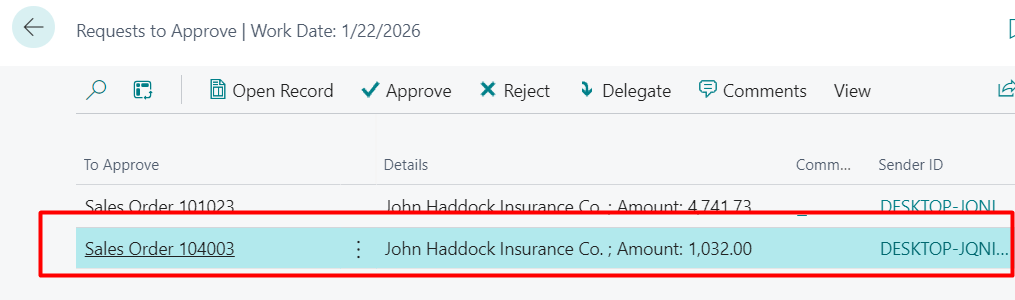
At this stage, the approver (in our case, user TEST) must either approve or reject the request. The pending requests can be found on the “Requests to Approve” page. In this example, we will proceed by selecting the action button “Approve”:
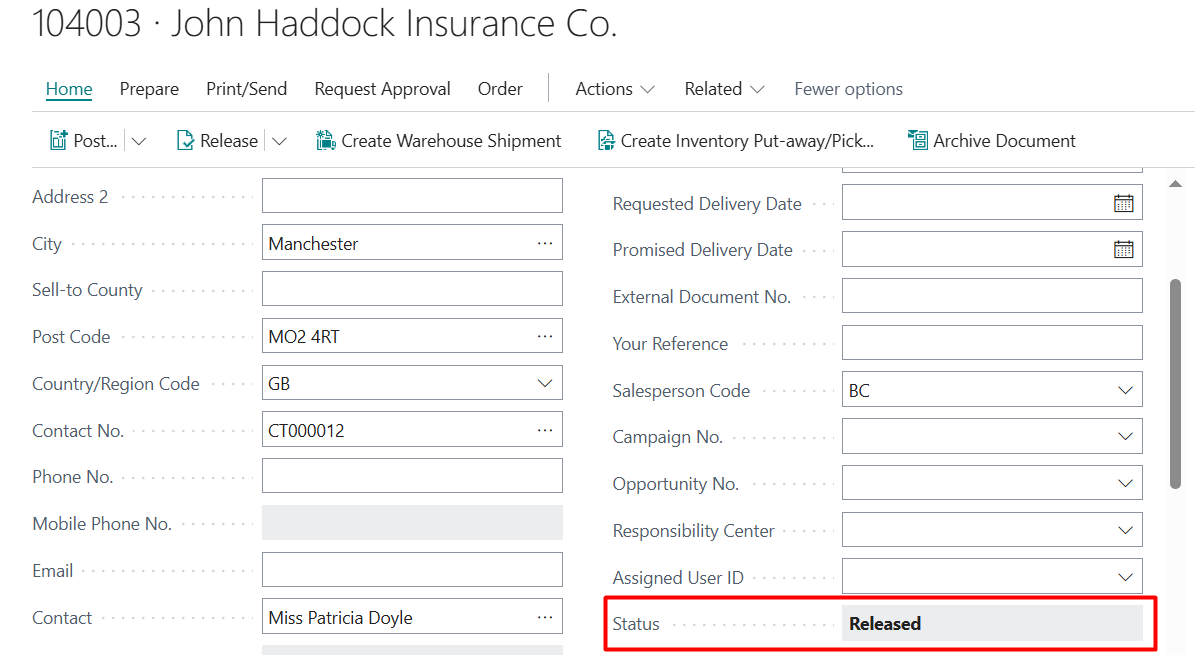
Finally, the order becomes “Released”.
 ”:
”:
5. Conclusion
To conclude, the Approval Module for Microsoft Dynamics 365 BC streamlines processes by automating workflows for tasks like purchase approvals and document reviews. Setting up users and workflows involves defining permissions, triggers, and actions to ensure efficiency and compliance. Once configured and enabled, workflows manage tasks seamlessly, with clear steps for creation, modification, and use. This enhances productivity and maintains consistency across operations.
References
- Set up approval workflows – Business Central | Microsoft Learn
- Create approval workflows to connect tasks – Business Central | Microsoft Learn
- How to create workflows from workflow templates – Business Central | Microsoft Learn
- How to Enable Approval Workflows – Business Central | Microsoft Learn
- Set up approval users – Business Central | Microsoft Learn
- Using Approval Workflows – Business Central | Microsoft Learn