Guidelines for Partners
Remigrating Business Central exported SaaS database can be used to resolve issues such as a bad or unstable environment, configuration inconsistencies, or data integrity problems.
When you export a Business Central SaaS database, a BACPAC file is created – a logical export of the SQL database (schema + data) – and save it to an Azure Blob Storage container that you control.
This lets you download the database for reporting, offline analysis, or remigration scenario.
1. Requirements for remigrating exported Business Central SaaS database
- Subscription: The tenant must have a paid Business Central subscription.
- Permissions: Your user needs the D365 BACKUP/RESTORE permission set and must be either a tenant admin or delegated partner admin for export purposes, also it is best to have SUPER permissions for Cloud Migration.
- Export limits: Each environment can be exported up to 10 times per month.
- Storage restrictions: You must export to a Standard general-purpose v2 Azure Storage account (premium storage isn’t supported).
- Environment type: You can export production environments only (sandbox export support is being enhanced in newer releases).
For guidance to export BC SaaS database please see:
- https://learn.microsoft.com/en-us/dynamics365/business-central/dev-itpro/administration/tenant-admin-center-database-export
- https://yzhums.com/5010/ (Credits to Yun Zhu)
2. Restore the Business Central SaaS database and create a login to access your SQL server from the outside
Bacpac file can be restored by using Sql Server Management Studio (SSMS) or PowerShell.
2.1. Restore .bacpac file by using SSMS
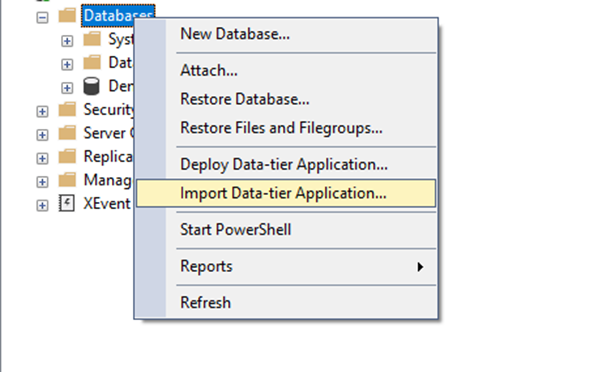
Right click on Databases and choose Import-Data Tier Application:
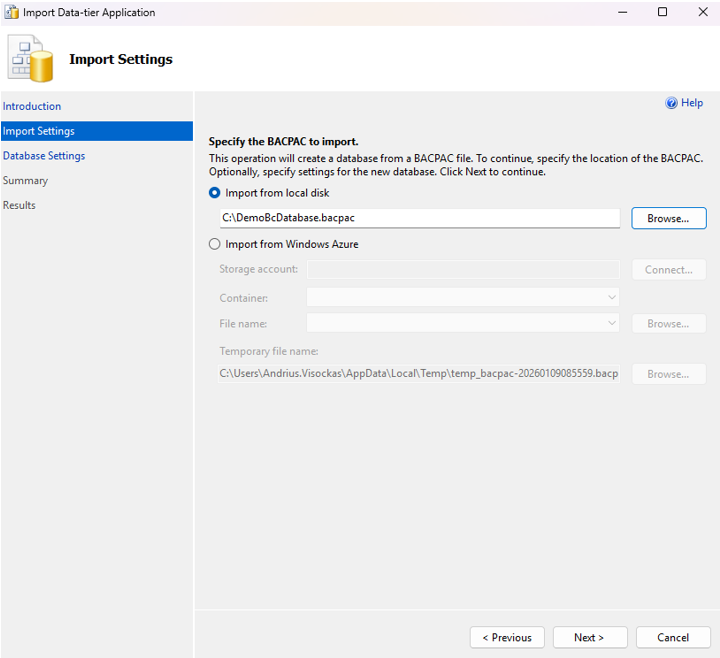
Click Next, and choose your .bacpac file:
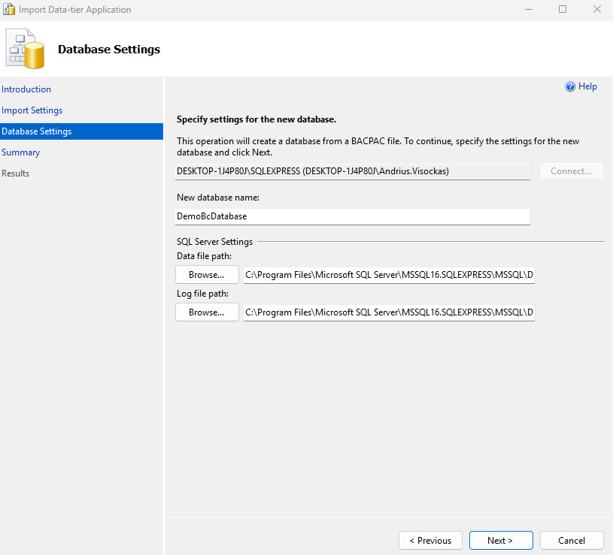
Click Next, and type the name of the database:
Click Next, and then finish to verify the import settings and begin importing the database:

2.2 Restore .bacpac file by using Powershell
Download and install latest Microsoft® SQL Server® Data-Tier Application Framework.
[string]$myBacpac = “C:\temp\BCDemoDatabase.bacpac”
[string[]]$commandParameters = @( “/Action:Import” “/SourceFile:”$myBacpac”” “/TargetConnectionString:”Data Source=<SqlServerName\Instance>;Initial Catalog=<DatabaseNameToRestoreAs>;User ID=UserForBacPacImport;Password=Password;TrustServerCertificate=True””
)
[string]$LatestSqlPackage = Get-Item ‘C:\Program Files\Microsoft SQL Server*\DAC\bin\sqlpackage.exe’ -ErrorAction SilentlyContinue | ForEach-Object { (Get-Command $).Source } | Sort-Object { (Get-Item $).VersionInfo.ProductVersion } -Descending | Select-Object -First 1
if ($LatestSqlPackage) { Write-Host “Using SqlPackage: $LatestSqlPackage” & $LatestSqlPackage @commandParameters } else { Write-Error “SqlPackage.exe not found” }
2.3 Migrate exported Business Central SaaS Database
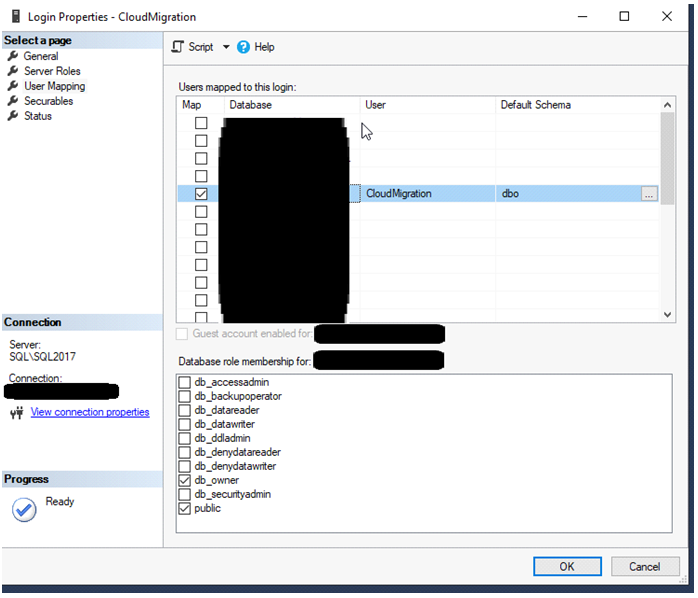
Run SQL Management Studio and create new login for SQL server that your database is on. Login should have “SQL Server authentication” type and db_owner membership for the database that you are migrating, master, model, msdb and tempdb databases:


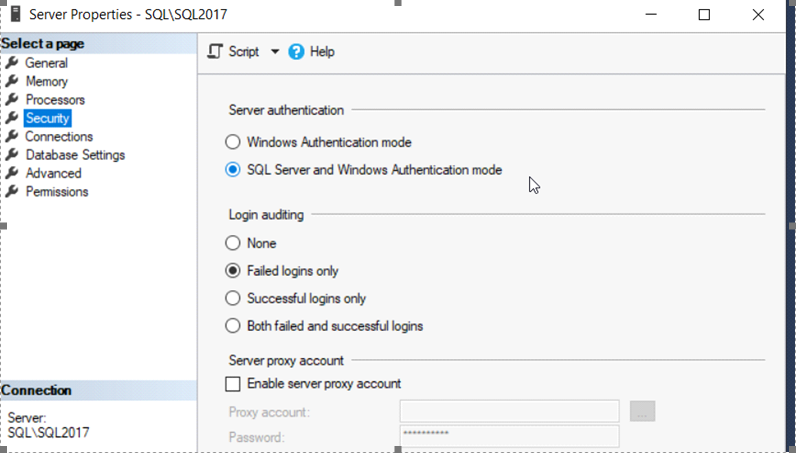
- Make your SQL server accessible from the outside
- Make sure that your SQL server authentication is set to SQL Server and windows authentication:
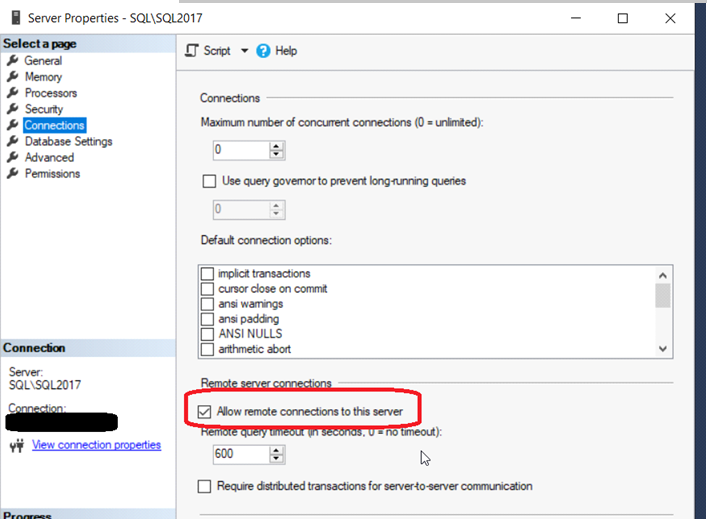
- Make sure that remote connection to your SQL server is allowed:
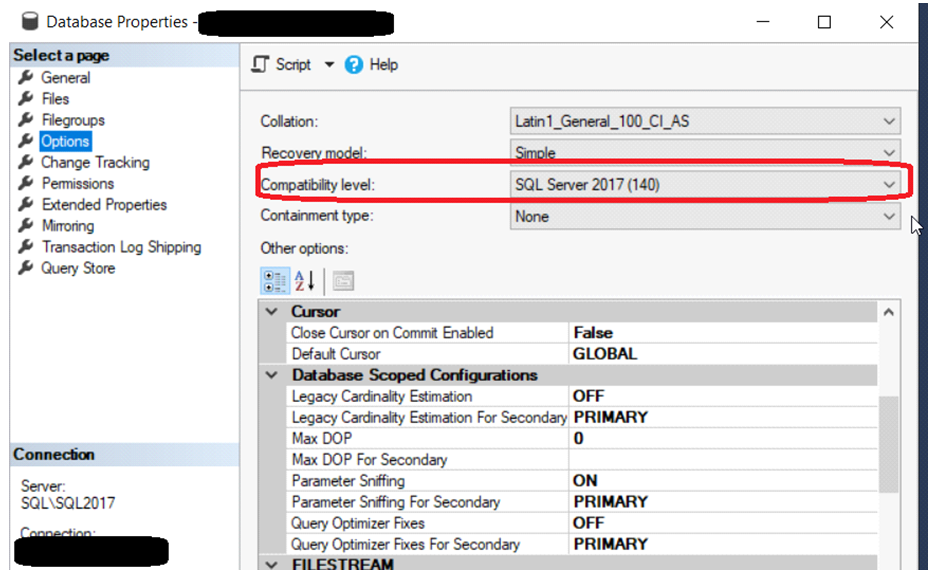
- Make sure that your database compatibility level is at least 130:
- Make sure that Tracking is enabled on your database:

- Step 3 – Import custom extensions
Now it is needed to import all required custom extensions. First of all, we have to prepare target extension for cloud:
- Go to app.json file and change “target” value to “Cloud” -> “target”: “Cloud”
- Press F1, in the appeared text box type “Generate permission” and select the first value to generate current extension permissions file:

- Build extension (CTRL + SHIFT + B)
Go to page “Extension Management” -> “Manage” -> “Upload Extension”:

Select target extension *.app file:

Lastly, click on “Deploy” button.
- Set up Microsoft Integration runtime service
Download and install Microsoft Integration runtime service. You can find install on google typing “Microsoft Integration runtime service download”.
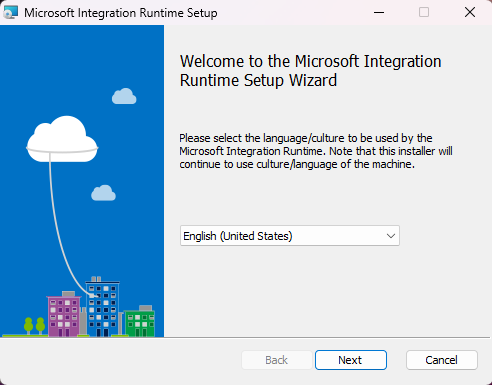


Leave it for now – this software will be needed later on. It will make a connection between your server (where on-prem database is) and SaaS environment.
- Set up Cloud Migration
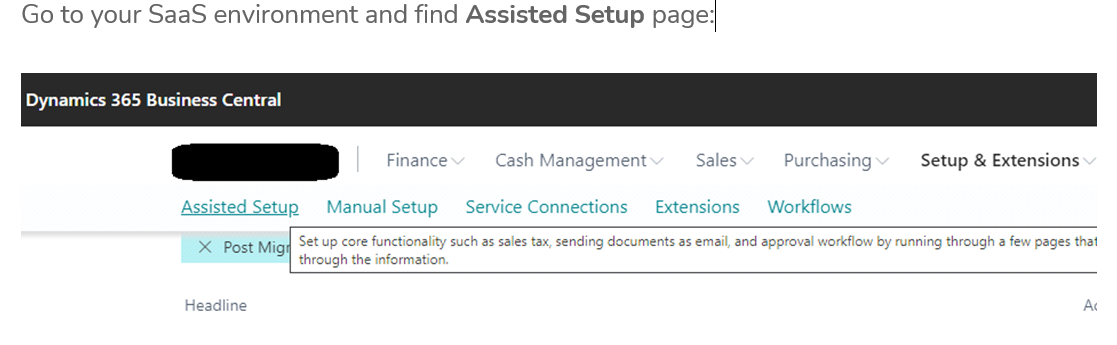
Go to your SaaS environment and find Assisted Setup page:
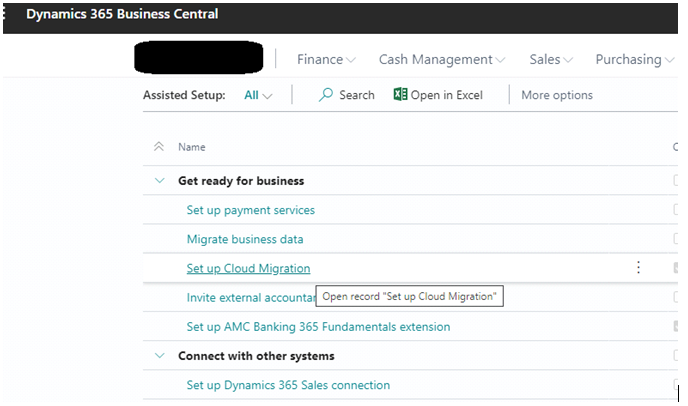
Choose Set up Cloud Migration:

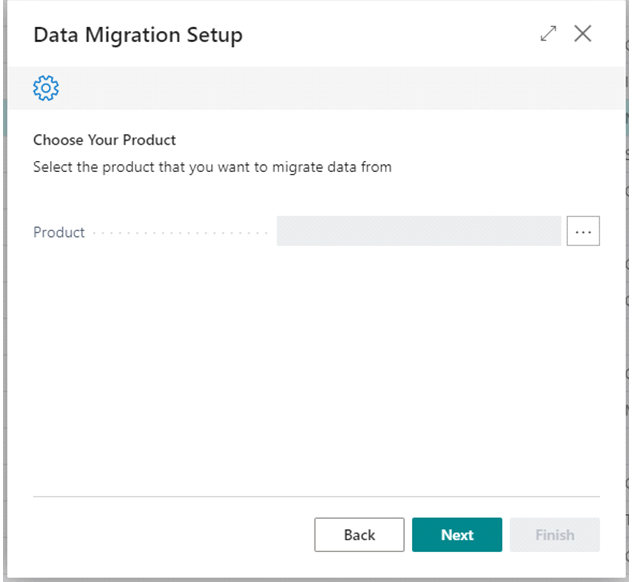
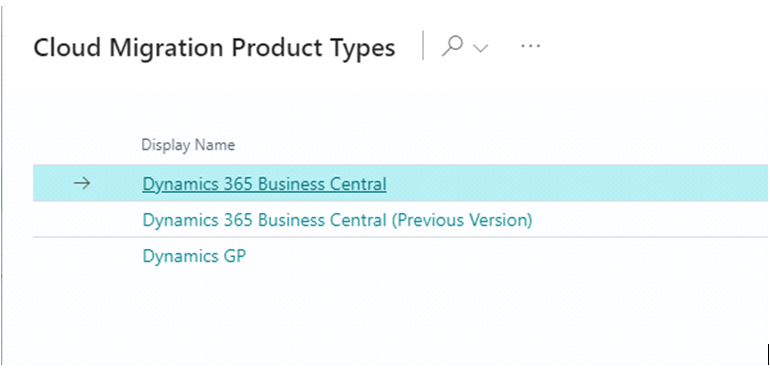
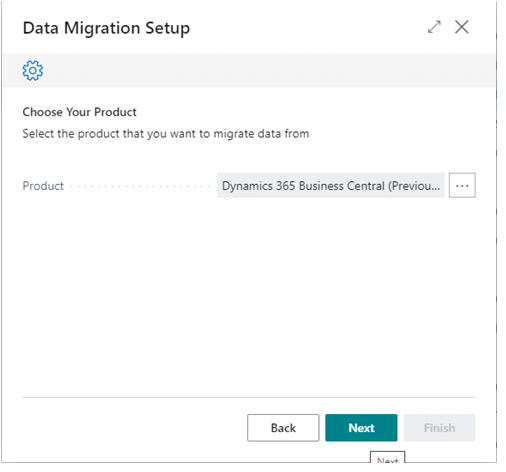
Choose from which product you are migrating:
Select Dynamics 365 Business Central if your on-prem database is on the same version as cloud environment. Select Dynamics 365 Business Central (Previous version) if your exported SaaS database was running on older BC version. For e.g (database is BC26.5, target env is BC27)
Now connect your server and SaaS environment. For SQL Connection String use template shown when you click on words “SQL Connection String”:
Server=myServerName\myInstanceName;Database=myDataBase;User Id=myUsername;Password=myPassword;
If you are setting up Cloud Migration for the first time – leave “Integration Runtime Name” field empty. You will need to create new integration runtime.

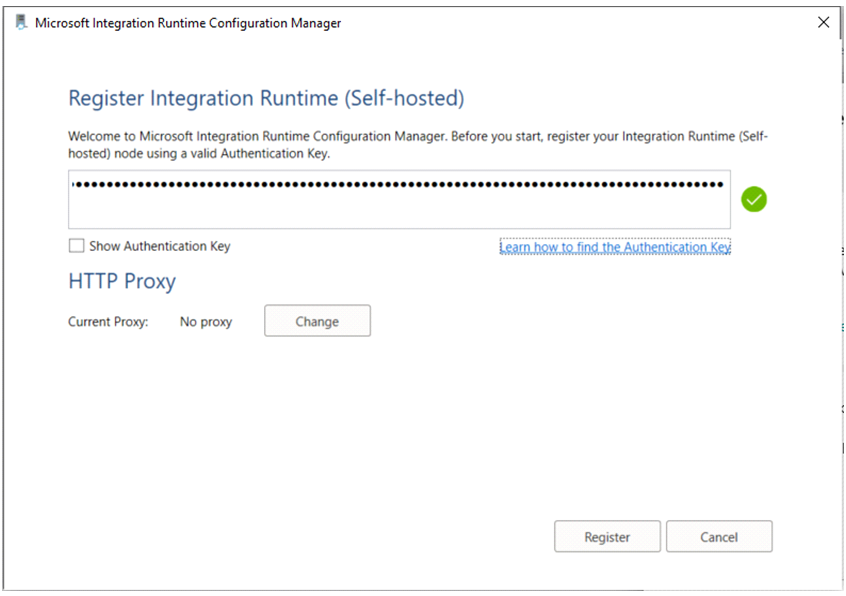
NOTE: Skip the following 2 screenshots, if the integration runtime service is already ready to use.

Copy provided Authentication Key and paste it into Integration Runtime service window. Press Register:
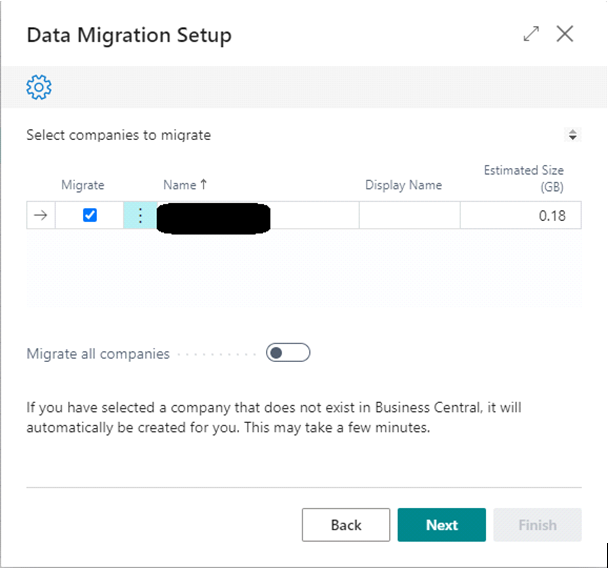
Once SaaS environment is connected to your on-prem database, select companies to migrate:
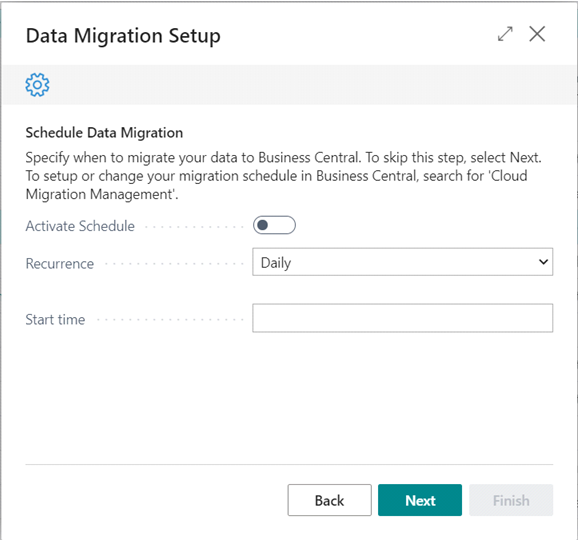
Data migration process can be scheduled for later (just skip this step and press Next if you are planning to run data migration immediately):


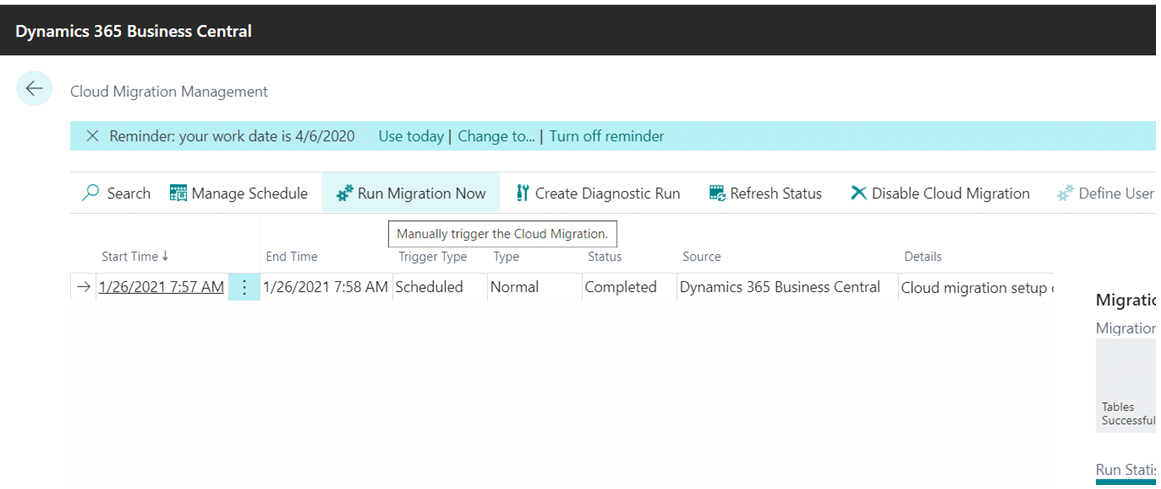
- Run Cloud Migration
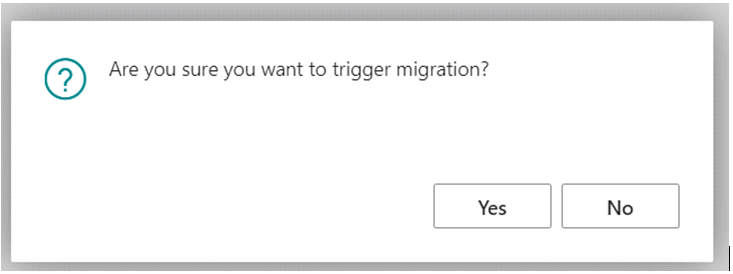
Cloud Migration Management window open up, where data migration can be started manually, migration schedules can be managed, etc. In order to start data migration, press Run Migration Now action (It can be, that company initialization process is still running in the background, so you have to wait for it to finish and Run Migration Now again):
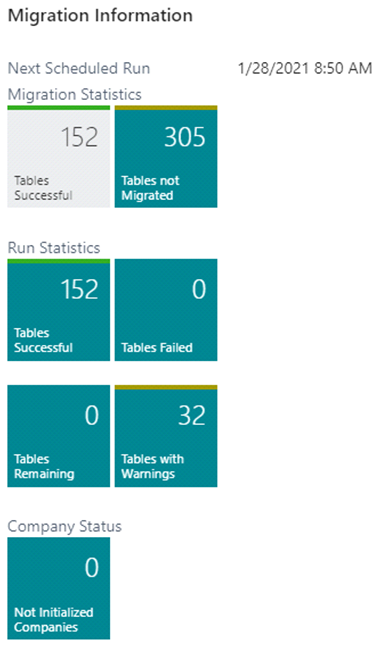
You can press Refresh Status action in order to check what is a status of your data migration (In Progress, Failed, Completed). Once your data migration is Completed – you can check all the statistics in the factbox on the right:
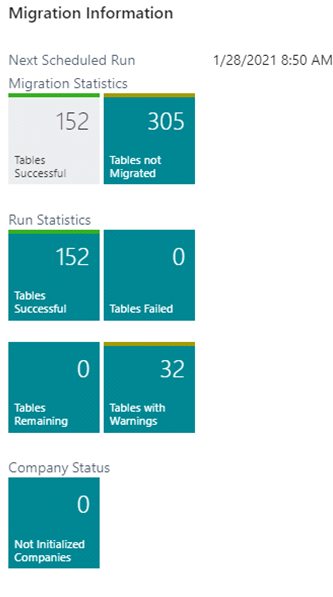
It is important to review Tables Failed if there are any. Tables not Migrated shows the list of standard tables that are not included in cloud migration (most system tables, users, permissions, etc.). All of these should be setup manually by partner once migration is completed.
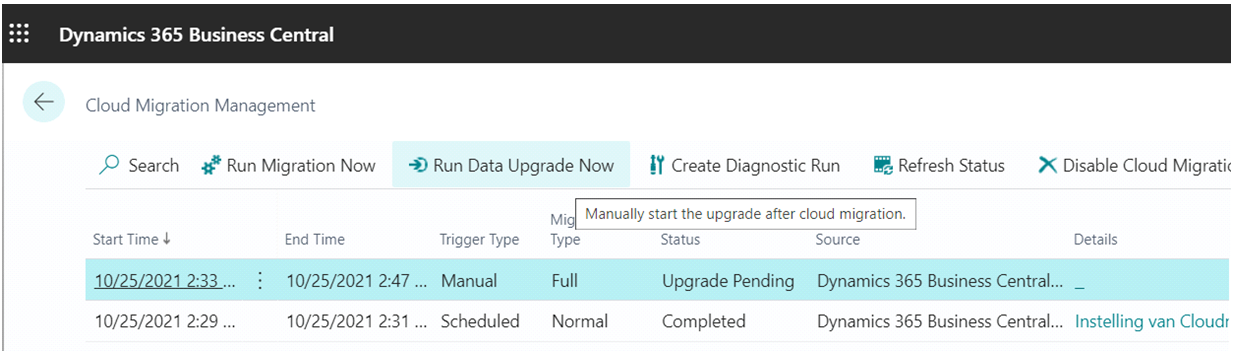
- Run Data Upgrade (Skip if exported database version is the same as target environment)
Since BC19 (Business central 2021 wave 2) a separate step has been introduced to start data upgrade when migrating from earlier versions.
After executing “Run Migration Now” you will see Status “Upgrade pending”. Execute “Run Data Upgrade Now” to upgrade the data.
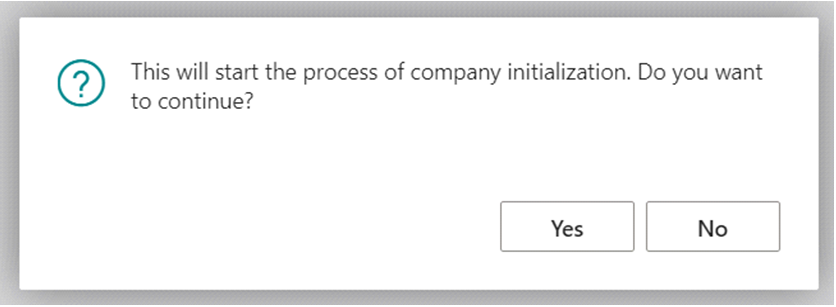
- Initialize companies
Company initialization should be performed after data migration is successfully completed. Click on Not Initialized Companies if there are any:
 Click Schedule company initialization action:

Conclusion
Re-migrating an exported Business Central SaaS database (BACPAC) can be an effective solution in many scenarios, such as resolving data integrity issues, correcting misconfigured environments, or addressing challenges related to version compatibility, schema alignments.